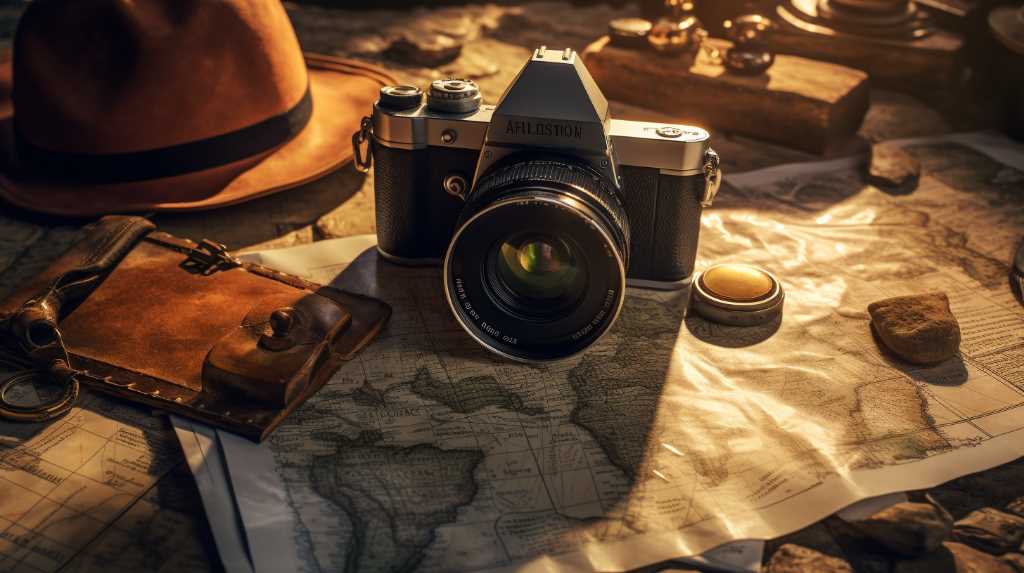
Decoding the Ancient: A Guide to Photographing Archaeological Marvels
You're about to embark on a journey through time, capturing the splendor of age-old civilizations through your lens. This guide will become your go-to resource, helping you discover the best angles, light settings, and understand site regulations.
You'll master your camera's features, learn to frame shots expertly, and add context to your images.
Get ready to unravel history, one click at a time.
Let's decode the ancient together, shall we?
Key Takeaways
- Research and understand the chosen archaeological site before photographing
- Experiment with photography techniques to skillfully manipulate light and shadows
- Respect site regulations and preservation guidelines while photographing
- Master the balance between shadows and highlights to enhance the overall aesthetic of the photographs
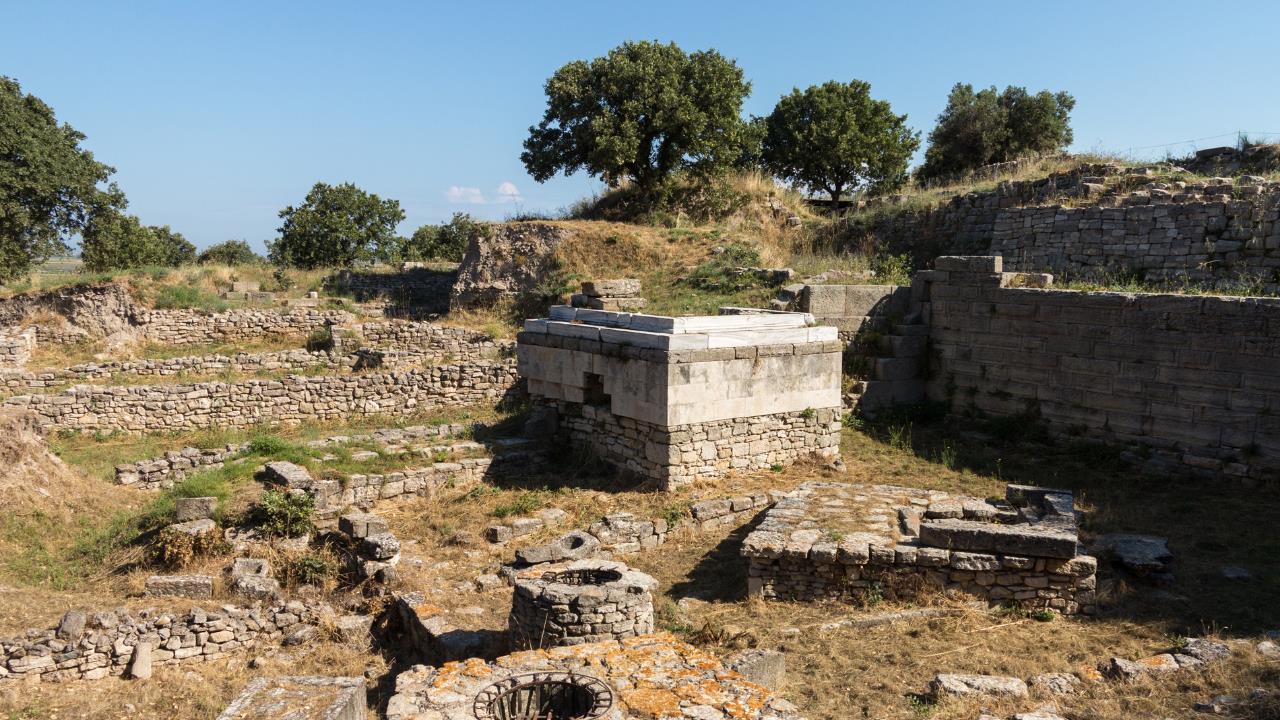
Researching Your Archaeological Site
Before you even pack a single piece of your photography equipment, it's crucial that you devote a considerable amount of time to researching your chosen archaeological site. Grasp its historical context, unearth the tales it whispers, understand the significance of its relics. This knowledge won't only enrich your experience but also aid in capturing meaningful, story-laden shots.
Read scholarly articles, peruse site maps, and if possible, converse with experts. You'll be surprised how much insight you can glean from these sources. Familiarize yourself with the site's rules and regulations too, as they can affect your shoot. Remember, you're not just taking photos; you're documenting history.

Next, we'll tackle identifying the best angles.
Identifying the Best Angles
You're ready to move onto the next crucial step: identifying the best angles.
This involves a keen understanding of angle exploration techniques and the ability to discern optimal shot selection.
Let's engross ourselves in these aspects, since they can make a world of difference in capturing the grandeur of archaeological marvels.
Angle Exploration Techniques
While it's crucial to grasp the basics of camera work, understanding how to explore and identify the best angles can truly elevate your archaeological photography.
Begin by examining the subject from various perspectives. Don't limit yourself to eye-level shots; instead, experiment with high-angle and low-angle views. These can dramatically alter the perception of your subject, showcasing its grandeur or intricacy.
Consider the direction of natural light and the shadows it casts—these can emphasize textures, creating a sense of depth and dimension. Remember that angles can reveal or obscure details, so take the time to investigate.
Practice and patience are key in mastering angle exploration, but the results will be worth it.
Optimal Shot Selection
In identifying the optimal shot, you'll need to consider a number of key factors that can dramatically improve your archaeological photography.
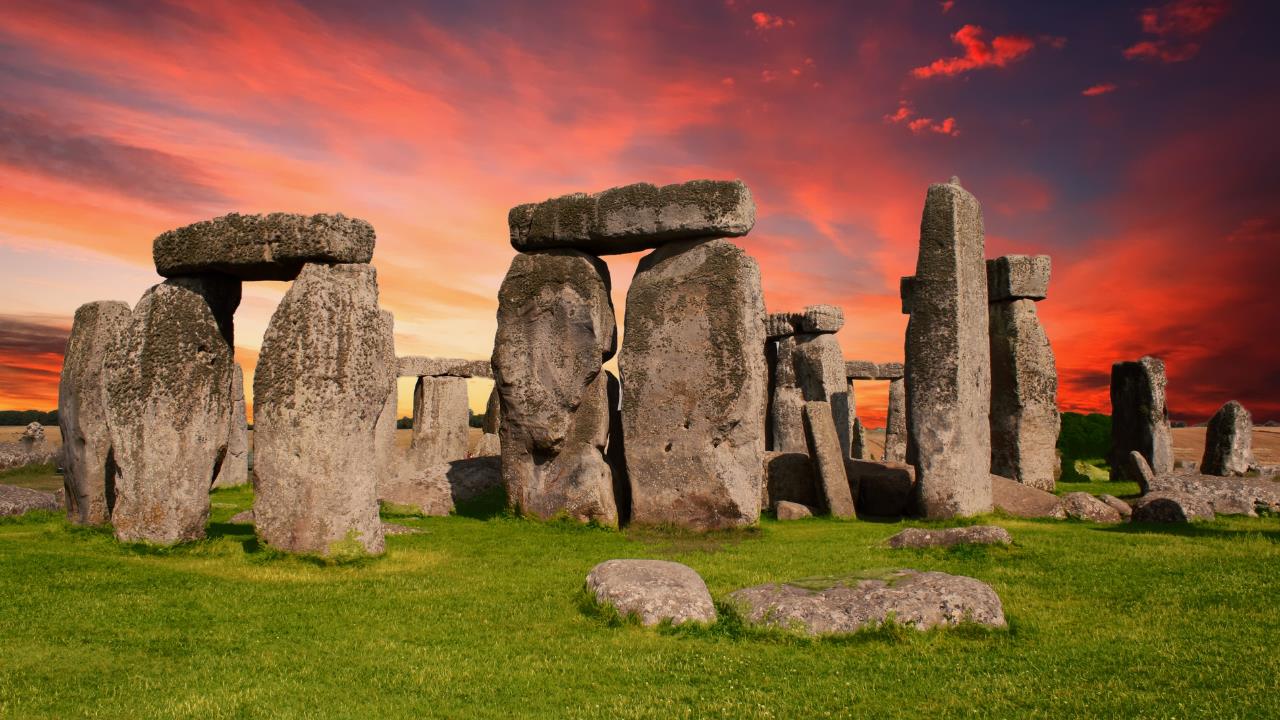
The foremost of these is angle selection. Take into account the object's orientation, its relationship to the surroundings, and how different perspectives might unveil intriguing elements.
For instance, a low-angle shot of a towering ruin can emphasize its grandeur, while a bird's eye view may reveal intricate ground patterns unnoticed from ground level. Experiment with various angles, but remember, the goal is to capture not just an image, but the story and significance of the artifact.
Once you've found the perfect angle, the next step is fine-tuning your camera settings. This leads us to the next section: adjusting light settings effectively.
Adjusting Light Settings Effectively
You're now ready to tackle the art of adjusting light settings effectively.
This task begins with a solid understanding of light basics. Before you can manipulate exposure settings to your advantage, it's important to grasp concepts such as light intensity, direction, and color temperature.
Once you have a good foundation in light knowledge, you can start experimenting with adjusting exposure settings. This involves manipulating the aperture, shutter speed, and ISO settings on your camera to control the amount of light that enters the lens.
Finding the right balance of shadows and highlights is crucial in archaeological photography. Shadows can add depth and dimension to your photos, while highlights can bring out important details and textures. By adjusting your exposure settings, you can ensure that both shadows and highlights are properly exposed.
Mastering the art of adjusting light settings takes practice and experimentation. Don't be afraid to try different techniques and settings to achieve the desired effect. With time and experience, you'll be able to breathe life into your archaeological photography by skillfully manipulating light.
Understanding Light Basics
To capture the true essence of archaeological marvels, you'll need to master the art of adjusting light settings effectively. Understanding light basics is pivotal to this endeavor, and involves two primary aspects:

- Natural Light
- Direction: Understanding whether the light source is frontal, side, or backlit can drastically affect your image's appearance.
- Quality: The time of day impacts the light's softness or harshness, which subsequently influences the photo's mood.
- Artificial Light
- Intensity: This refers to the brightness or dimness of the light. You'll need to adjust your camera's settings accordingly.
- Color Temperature: Different light sources cast different colors. Recognizing this will help you balance colors effectively.
Manipulating Exposure Settings
Now that you've gotten a handle on the basics of light, let's dive into how you can manipulate your camera's exposure settings to capture archaeological wonders in their best light.
Your camera's exposure is determined by three factors: aperture, shutter speed, and ISO. Play around with these settings to find the perfect balance.
A narrow aperture (high f-stop number) and slow shutter speed can capture sharp, detailed images in low light. Conversely, a wide aperture (low f-stop number) and fast shutter speed are ideal for well-lit scenes.

ISO affects the camera's sensitivity to light. A higher ISO allows for faster shutter speeds, but can introduce noise.
As you master these elements, you'll be able to create stunning shots, even in challenging conditions.
Up next, let's explore how to balance shadows and highlights.

Balancing Shadows, Highlights
Mastering the balance between shadows and highlights in your shots can dramatically enhance the depth and detail of archaeological marvels. Adjusting light settings effectively requires a keen understanding of how light interacts with your subject. Here are a few tips:
- Manipulate Shadows:
- Use natural light: Early morning or late afternoon light can cast longer, more dramatic shadows.
- Utilize artificial lighting: A portable light can help illuminate shadowy areas, revealing hidden details.
- Control Highlights:
- Use diffusers: Soften harsh light sources that cause glaring highlights.
- Employ post-production: Digital editing tools allow you to tone down overly bright areas.
Understanding and Respecting Site Regulations
Before you venture out with your camera, it's crucial to familiarize yourself with the site regulations in order to protect and respect the integrity of these archaeological wonders. These rules aren't simply bureaucratic red tape but exist to safeguard these irreplaceable monuments of history.
Many sites prohibit the use of flash photography, tripods, or drones to prevent disruption or damage. Others may have strict guidelines about where you can walk or set up your equipment.
Violating these protocols can result in hefty fines, or even banishment from the site. Remember, you're a guest in these ancient spaces. Treat them with the reverence they deserve, and your photographs will glow with the authenticity of your respect.
Mastering Camera Features and Framing
In order to capture the true essence of archaeological marvels, you'll need to get a firm grasp on your camera's features and understand the art of framing. Mastering manual mode, for example, provides control over aperture, shutter speed, and ISO, which are critical for capturing detailed, well-lit images.
Below are essential camera features and framing techniques:

- Camera Features:
- Aperture: Controls depth of field. Smaller f-numbers create a shallow focus, highlighting your subject against a blurred backdrop.
- Shutter Speed: Dictates motion capture. Fast speeds freeze action, slow speeds create motion blur.
- Framing Techniques:
- Rule of Thirds: Imagine your viewfinder divided into thirds both ways. Place key elements along these lines for balanced composition.
- Leading Lines: Use the site's structures to guide the viewer's eye through the frame.
Each element manipulates your shot's overall aesthetic, so experiment and refine your technique.
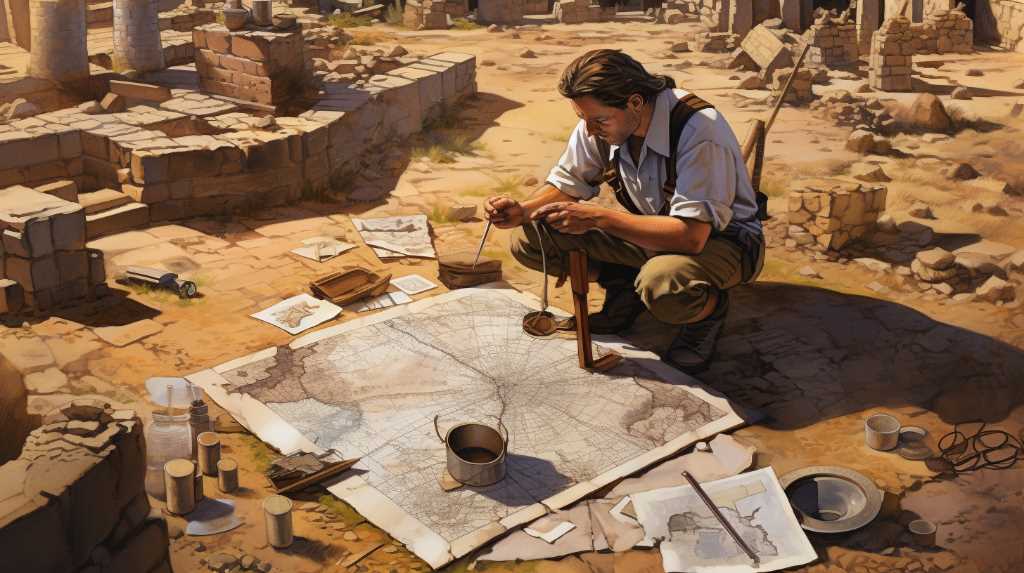
Adding Context and Editing Photos Tastefully
Once you've captured a significant number of shots, it's time to add context and fine-tune your photos with tasteful editing.
Context in archaeological photography often means incorporating elements that convey scale, location, and historical significance. You can do this by including tools, people, or familiar landmarks in your frame.
When you begin editing, remember that subtlety is key. Over-editing can distort the object's authenticity and misrepresent its historical truth. Focus on enhancing clarity and lighting to highlight the subject's inherent beauty. Use cropping judiciously to emphasize the subject while preserving the context.
Lastly, consider converting some images to grayscale to underscore texture and form. With these tips, you'll add depth and richness to your archaeological photographs.
Conclusion
Unearthing the magic of ancient wonders through your lens is a thrilling journey. Remember, research your site and find captivating angles. Master light settings and respect site regulations. Optimize your camera features and frame your shots creatively.

Finally, tastefully edit your photos, adding relevant context to bring the story alive. With practice and patience, you'll soon be capturing the essence of archaeological marvels, preserving history in your unique photographic style.
Happy shooting!
