A New Approach to the Perfect Chop
For a long time, I was skeptical about the necessity of brining. I had read all the arguments for and against the process, and because I was already getting great results with other seasoning methods, I didn’t think it was worth the extra step. However, a gift from my daughter changed my perspective completely. She gave me the book Flavorize by Dr. BBQ, and while working through his techniques, I decided to test his Maple Brine on some thick, bone-in pork chops. After one bite, I was an instant convert. This was easily the best pork chop I have ever eaten.
Why Brining is a Game Changer
Even for a relatively small cut like a pork chop, brining is an incredibly effective technique. It works through osmosis to pull moisture and seasoning deep into the muscle fibers, which is crucial for a lean protein like pork that can dry out quickly over high heat. By submerged the chops in a solution of salt, sugar, and aromatics, you are essentially “plumping” the meat. This creates a safety net during the cook, ensuring that the chops stay juicy and tender even if they stay on the grill a minute too long.
For this recipe, the maple notes in the brine provide a subtle sweetness that balances the natural saltiness of the pork. It creates a complex, savory profile that goes far beyond what a simple dry rub can achieve. Now sit back, grab a nice glass of Oregon Pinot, and enjoy this recipe for Big Green Egg Maple Brined Pork Chops.
Step 1: Making the Brine
Assembling the Maple Brine
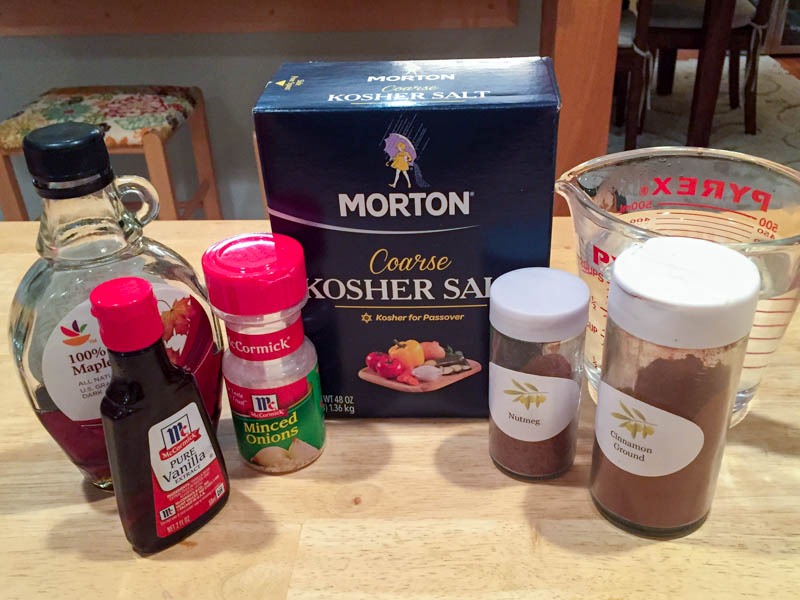
Building this flavor profile is a simple process that yields complex results. You likely already have most of the ingredients in your pantry. To create the brine, you will need:
- Maple Syrup: The primary sweetener that provides a rich, autumnal depth.
- Vanilla Extract: A secret weapon that enhances the sweetness of the maple and pork.
- Minced Onions: These add a savory, aromatic backbone to the liquid.
- Salt: The essential component for moisture retention and flavor penetration.
- Nutmeg and Cinnamon: These warm spices provide a hint of “holiday” comfort that pairs perfectly with smoke.
- Water: The base that carries all these flavors deep into the meat.
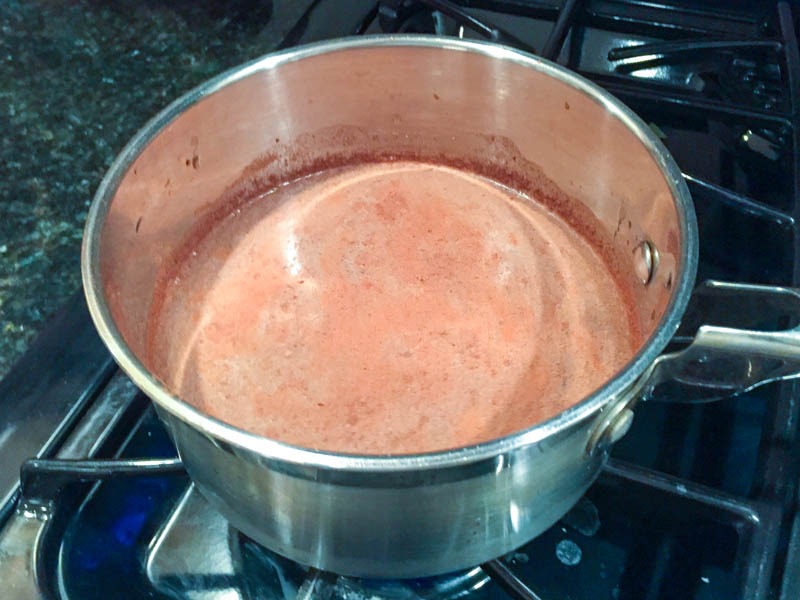
Simply combine these ingredients in a pot and whisk until the salt is fully dissolved. You should heat the mixture to help the salt dissolve. Afterwards, make sure the brine is completely chilled before you add the raw pork chops. Placing meat into a warm brine is a safety hazard and will begin to cook the exterior prematurely.
The Importance of the Chill
Temperature control starts before the meat even hits the Big Green Egg. Once you have simmered your ingredients to fully dissolve the salt and integrate the spices, you must bring the liquid down to a safe temperature. Adding raw pork to hot or even lukewarm liquid is a major food safety “no-no” and will ruin the texture of the meat.
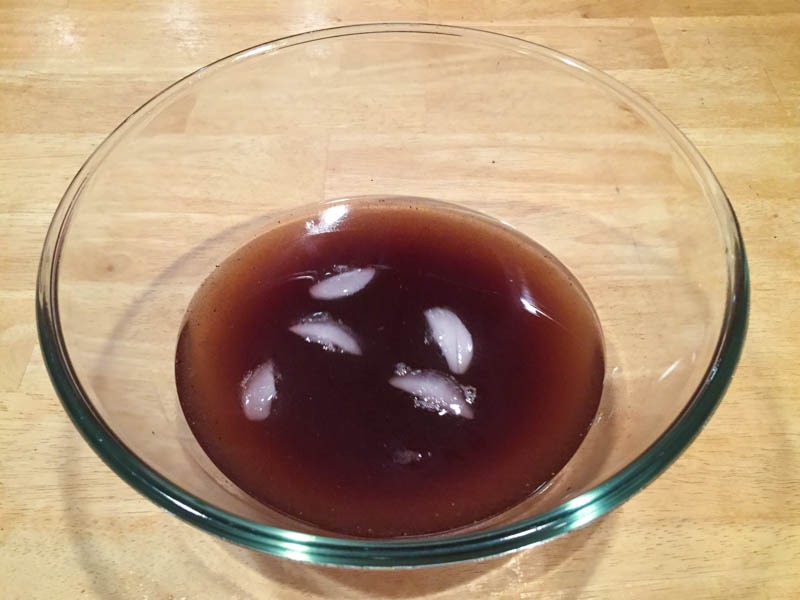
To speed up this process, cool the brine down with 2 cups of ice water. This should be an equal amount to the water used during the initial simmer. This “shock” method does two things:
- Rapid Cooling: It brings the brine to a refrigerator-safe temperature instantly so you can get the chops submerged right away.
- Perfect Dilution: It ensures the salt-to-water ratio is exactly where it needs to be so the brine isn’t too aggressive.
Once the brine is ice-cold, place your chops in a gallon-sized heavy-duty bag or a glass bowl, pour the liquid over them until they are fully submerged, and let them rest in the refrigerator.
Step 2: Brine the Pork Chops
The Brining Process
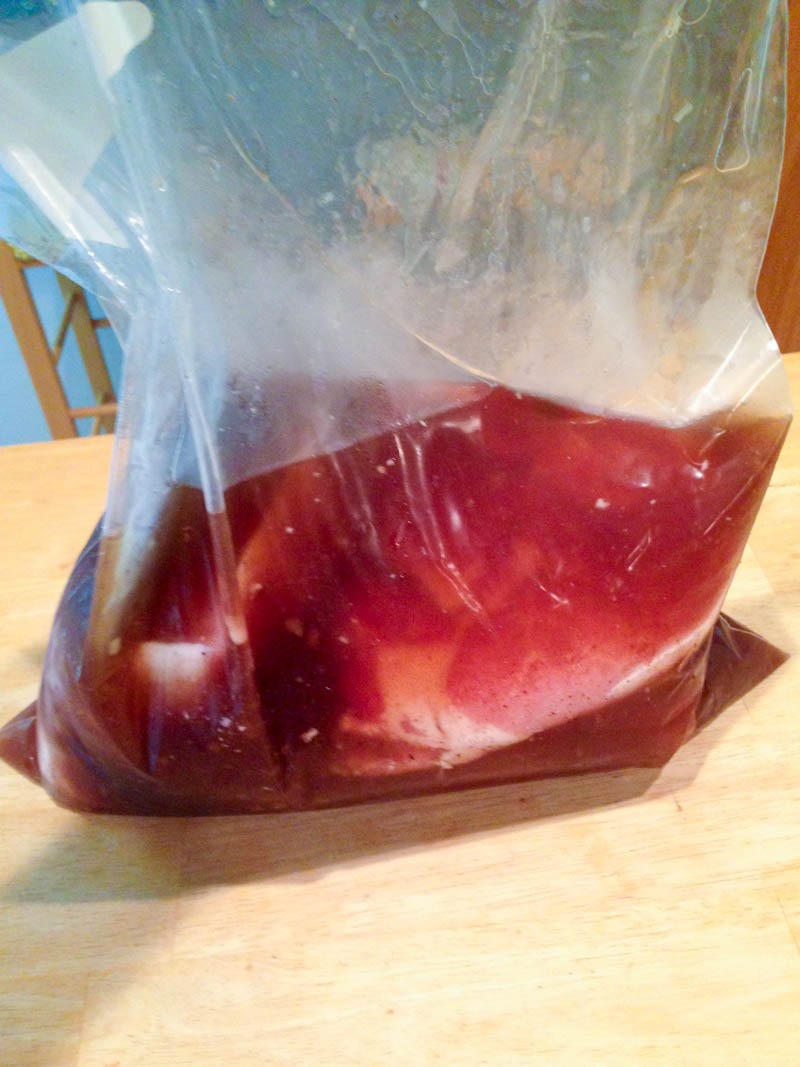
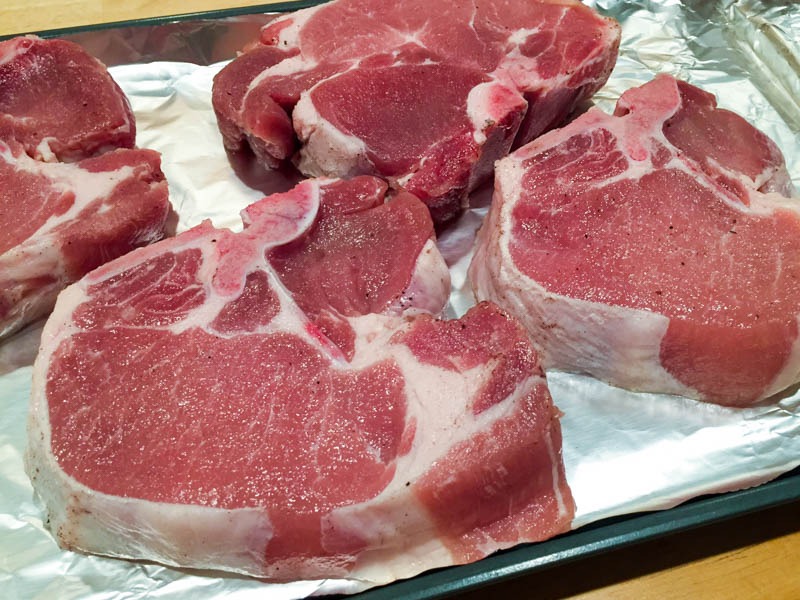
Once your brine is completely chilled, it is time to prep the meat. Place your thick, bone-in pork chops into a large, heavy-duty Ziploc bag and pour the brine inside. Squeeze out as much air as possible to ensure the liquid is in constant contact with every inch of the pork. Place the bag in a bowl, just in case of leaks, and let it rest in the refrigerator for 4 hours.
This timeframe is the “sweet spot” for a standard thick-cut chop. It is long enough for the salt and maple to penetrate the center of the meat, but not so long that the texture of the pork becomes mushy or overly salty.
Brining Times by Cut and Size
Not all pork chops are created equal. Depending on the thickness and whether or not the bone is intact, you may need to adjust your clock. Use this table as a general guide to ensure you get the best results without over-brining.
| Pork Cut | Thickness | Recommended Brine Time |
| Thin Cut (Boneless) | 1/2″ to 3/4″ | 30 to 45 Minutes |
| Standard Bone-In | 1″ | 1 to 2 Hours |
| Thick Cut (Double Bone) | 1.5″ to 2″ | 4 to 6 Hours |
| Pork Tenderloin | Whole | 4 to 8 Hours |
For this specific recipe, I used a 1.5″ thick bone-in chop, which is why the 4-hour mark worked so perfectly. If you are using thinner grocery store chops, keep an eye on the clock so the salt doesn’t overpower the delicate flavor of the maple and vanilla.
Step 3: Remove Pork Chops from Brine and Fire up the Big Green Egg
From Brine to Grill
After four hours, the pork chops have absorbed all that maple and vanilla goodness. Remove the chops from the Ziploc bag and rinse them thoroughly under cold water. This step is vital because it removes the excess salt from the surface of the meat, preventing your final dish from being overly salty.
Once rinsed, use paper towels to pat the pork chops completely dry. Achieving a great sear requires a dry surface; if the meat is wet, it will steam rather than crust. While the chops sit for a moment to take the chill off, it is time to fire up the Big Green Egg.
Setting Up the Big Green Egg
You want to prepare your Egg for direct grilling at a medium-high temperature. This allows you to get a beautiful char on the outside while the thick-cut chops cook through evenly.
- The Setup: Fill the firebox with high-quality lump charcoal and light it in a few spots. Leave the convEGGtor out for this cook since we want the meat directly over the coals.
- The Temperature: Aim for a steady dome temperature of 400°F. This heat is high enough to caramelize the sugars from the maple brine but controlled enough to cook a thick bone-in chop without burning the exterior.
- The Grate: Make sure your stainless steel or cast iron grate is clean and preheated. A hot grate is the secret to those perfect, non-stick grill marks.
Step 4: Grill the Pork Chops
Searing for Success
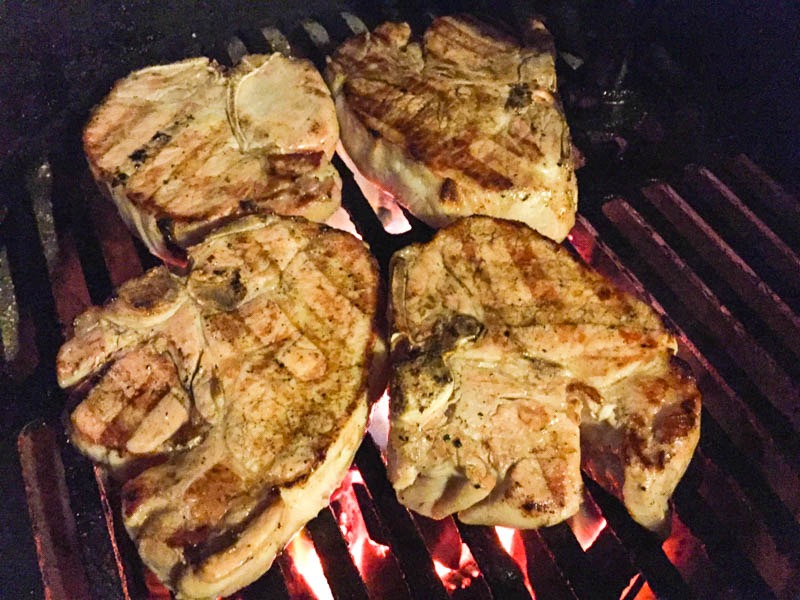
With the Big Green Egg stabilized at 400°F to 450°F, it is time to grill. Place the chops directly over the hot coals. For a thick, bone-in chop, you are looking at approximately 5 minutes per side, but remember that time is only a guide. The real secret to a perfect pork chop is monitoring the internal temperature.
The Pull Temperature: 140°F is Key
Pork has a reputation for being dry, but that is usually the result of overcooking. To ensure these stay incredibly juicy, I use my Thermapen to check the center of the chop, making sure to stay away from the bone for an accurate reading.
- The Pull: Remove the pork chops from the grill as soon as they hit 140°F.
- The Carryover: Place the chops on a warm plate and tent them loosely with foil. During the 5 to 10-minute rest, “carryover cooking” will occur. The internal temperature will naturally rise another 5 degrees, bringing your chops to a perfect, safe, and succulent 145°F.
By pulling them slightly early, you prevent the muscle fibers from tightening up and squeezing out all that delicious maple brine you worked so hard to put in there.
Step 5: Rest and Serve
The Final Rest
Resist the urge to cut into these immediately! Giving the chops a full 5 to 10 minutes to rest allows the juices to redistribute throughout the meat. If you slice too early, all that maple-infused moisture will end up on the cutting board instead of in your mouth.
The Perfect Pairing: Creamy Risotto
To turn this into a truly world-class meal, I served these chops alongside a creamy Parmesan risotto. The rich, velvety texture of the risotto provides a beautiful contrast to the wood-fired crust of the pork. The subtle sweetness from the maple and vanilla in the brine also plays incredibly well with the savory, salty notes of the cheese in the rice.
I have to be honest: I may never eat a pork chop again that wasn’t brined first! This technique completely transformed my approach to lean proteins, and I know it will do the same for you.
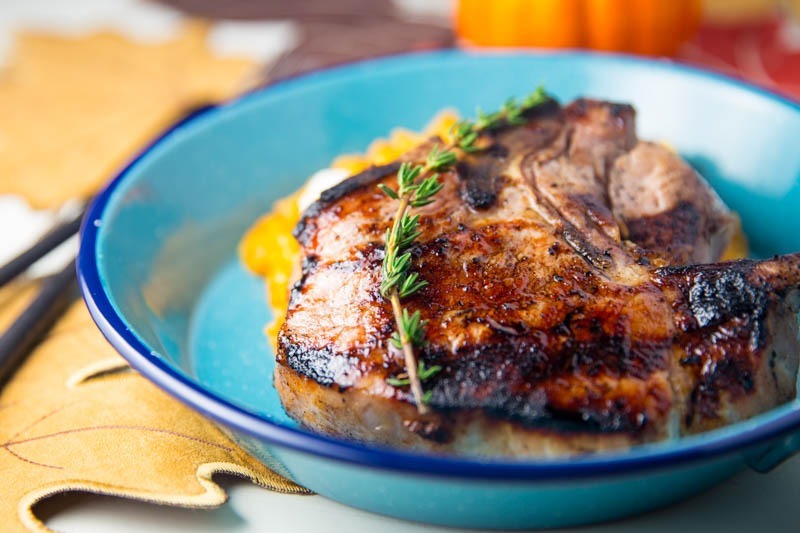
Dinner is served
Print
Big Green Egg Maple Brined Pork Chops
This recipe for Maple Brined Pork Chops is from Dr. BBQ’s book Flavorized. It was so good I had to make it and share it with you all.
Prep Time 15 minutes minutes
Cook Time 10 minutes minutes
Total Time 25 minutes minutes
Servings 4
Author The BBQ Buddha
Brine Ingredients:
- 2 c water
- 2 c ice water
- 1/2 c pure maple syrup
- 1/4 c Morton’s Kosher Salt
- 1 tbsp. vanilla extract
- 1 tsp granulated onion
- 1 tsp black pepper
- 1/2 tsp cinnamon
- 1/4 tsp ground nutmeg
Mix the water, syrup, salt, vanilla, onion, pepper, cinnamon, and nutmeg in a medium sauce pan
Heat until it simmers the let it simmer 1 - 2 minutes stirring frequently
Remove from heat and poor in to ice water
When the brine is cool add the brine to a large Ziploc bag with the pork chops
Place in the refrigerator for 4 hours
Remove the pork chops from the brine, rinse, and pat dry
Preheat the BGE to 400-450°F measured at the dome
Cook the pork chops 4-5 minutes on one side then flip
Cook for another 4-55 minutes or until the Thermapen measures 140°
Pull the pork chops and let them rest 5 minutes before serving
The post Big Green Egg Maple Brined Pork Chops appeared first on The BBQ Buddha.
