Unlocking the skill of changing golf shaft adapters can significantly broaden the horizons for golfers, enabling them to seamlessly switch between shafts and heads based on their preferences.
Fortunately, the process of changing golf shaft adapters is relatively straightforward, offering the flexibility to experiment with diverse shafts in different heads. This transformation has proven to be a game-changer, especially when encountering enticing sales on preferred shafts with mismatched adapters.
In this guide, we will walk you through a step-by-step process on how to change a golf shaft adapter, delving into essential tools, cleaning techniques and the installation of the new adapter, providing an accessible resource for golfers seeking budget-friendly ways to explore and experiment with new shafts and clubs.
Time To Complete
This is not a process to rush. Allocate adequate time for a proper job, allowing the epoxy to set as per instructions. The process should take around 20 minutes but most epoxy mixes should sit for a minimum of 30 minutes before use with many requiring 24 hours to fully cure. Read all epoxy instructions before starting.
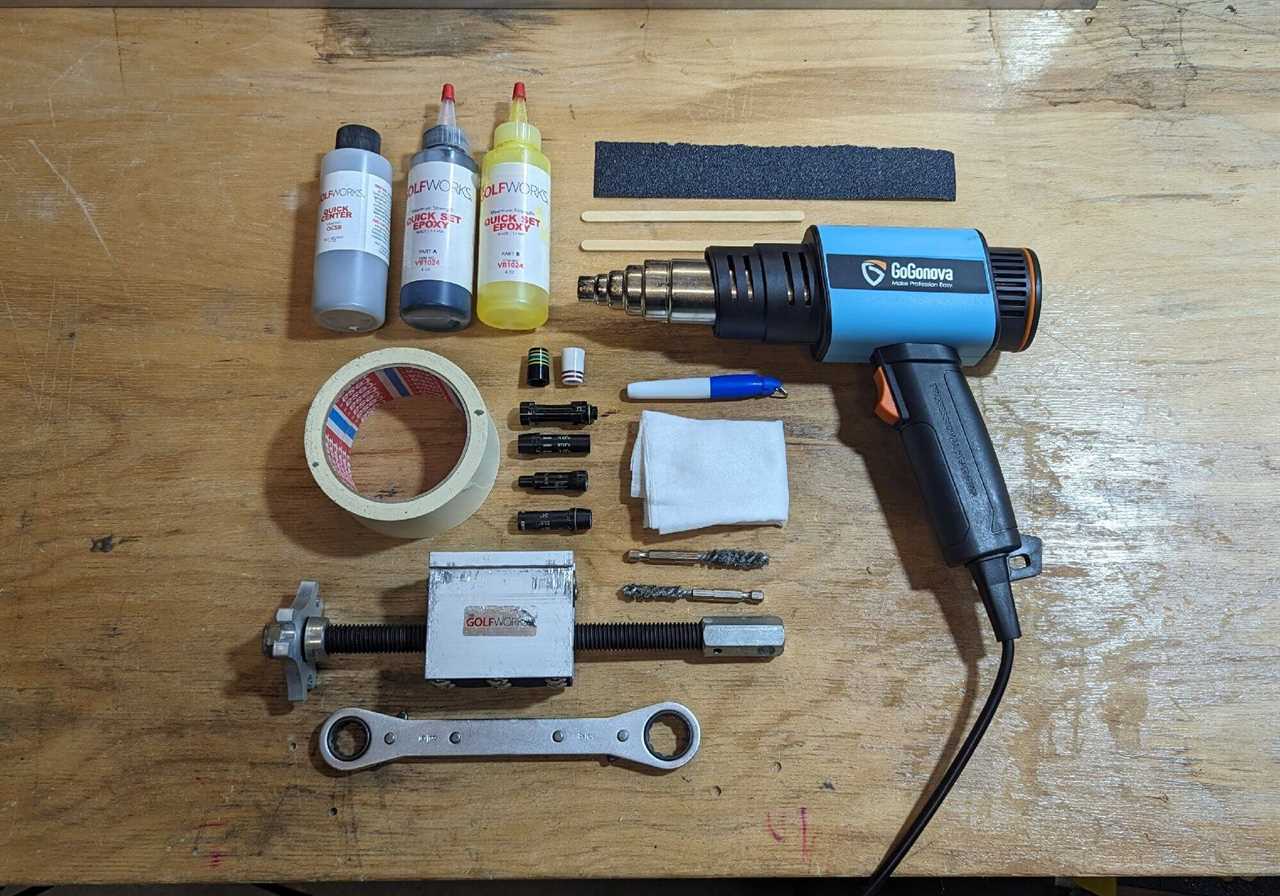
Step 1: Set Up Your Workstation
Similar to regripping a golf club, take the time to properly set up your workstation. Have epoxy bottles, tape, sandpaper and a drill with a wire brush ready. Ensure the heat gun is plugged in and ready to go.
While some steps can be done later, having everything ready eases stress and potential frustration.
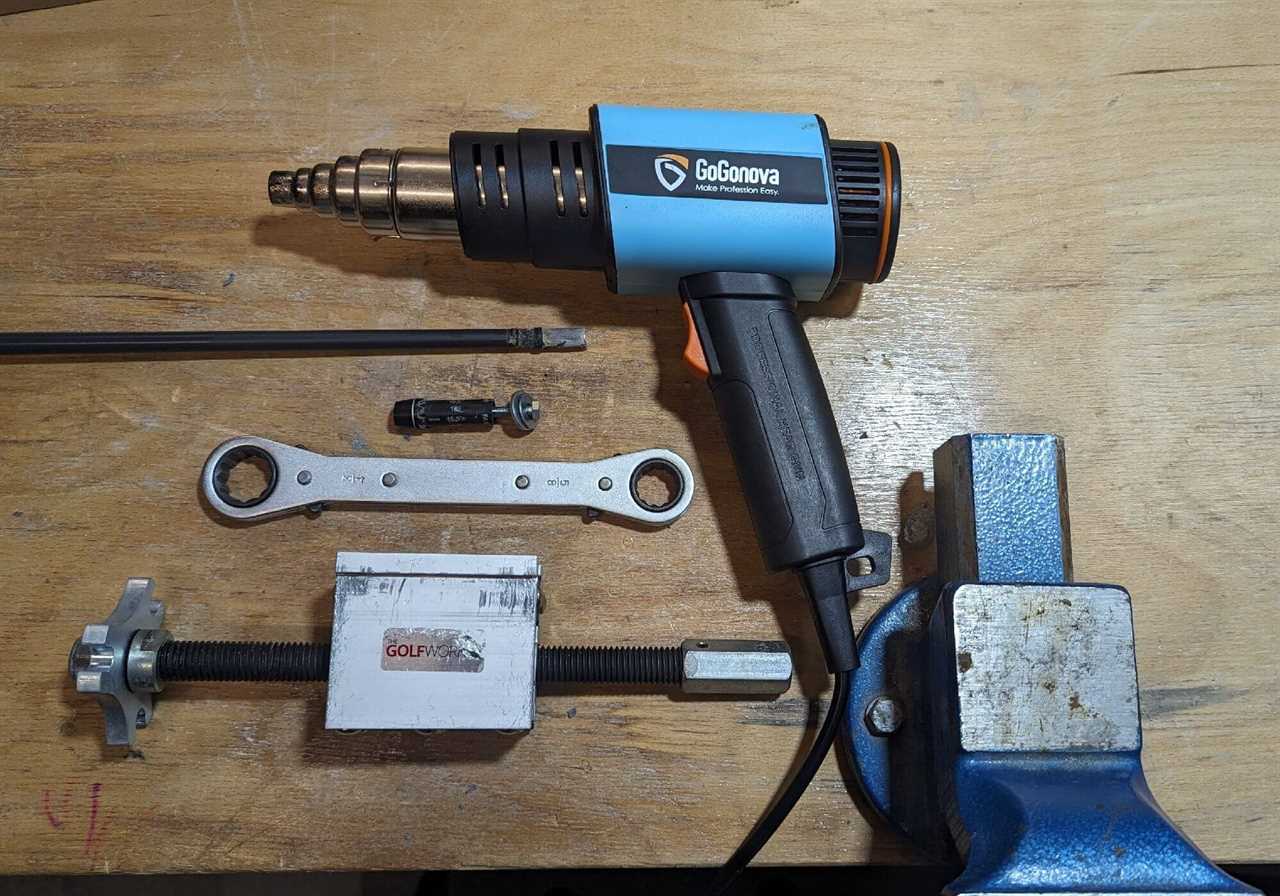
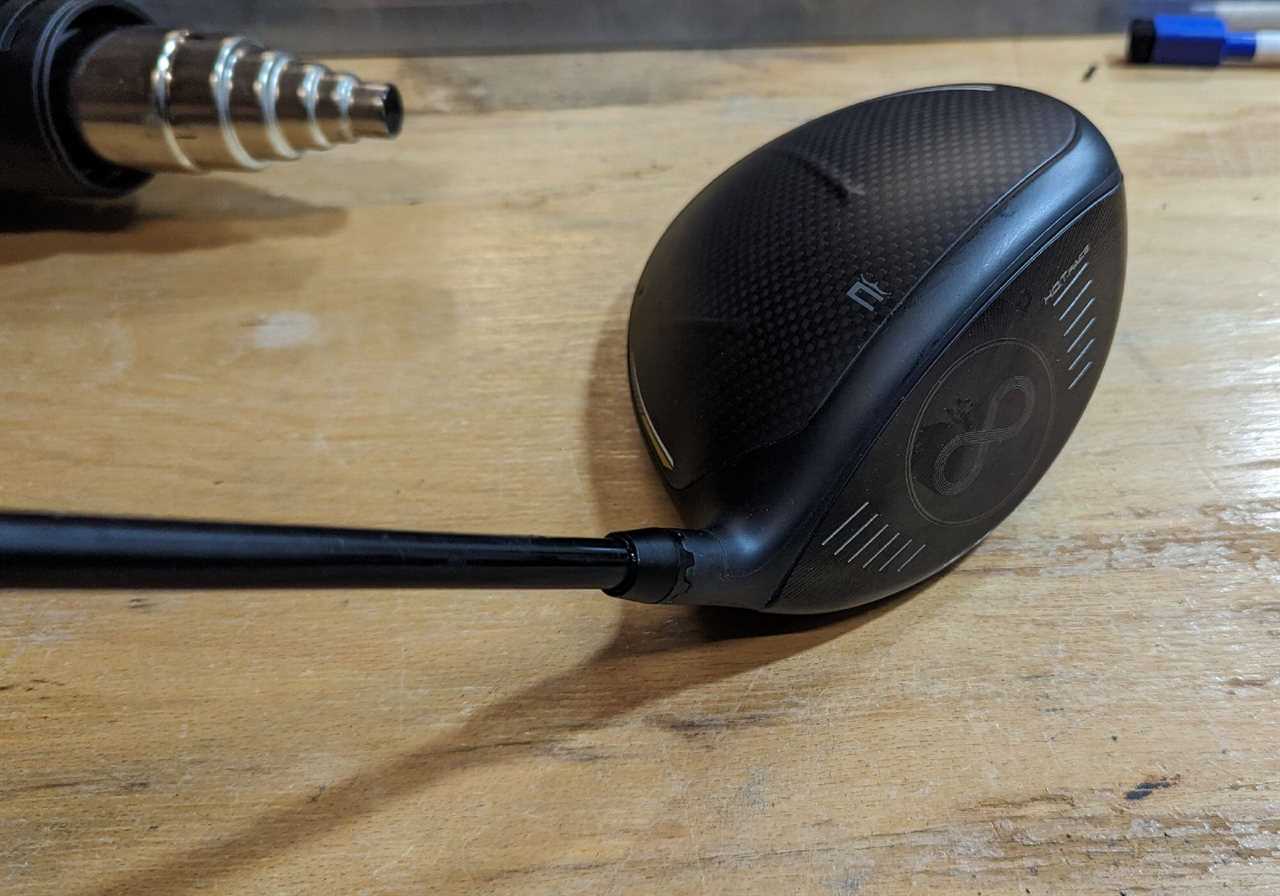
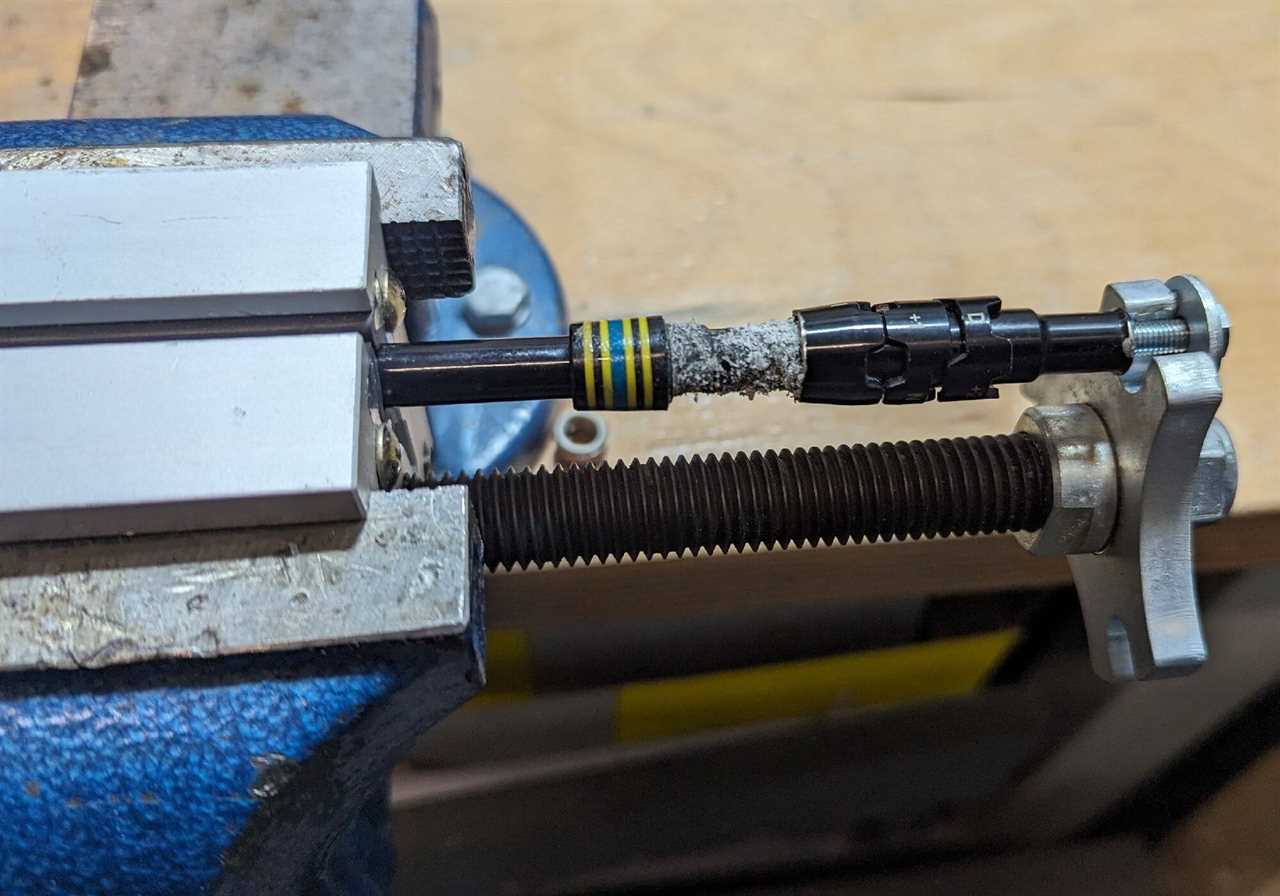
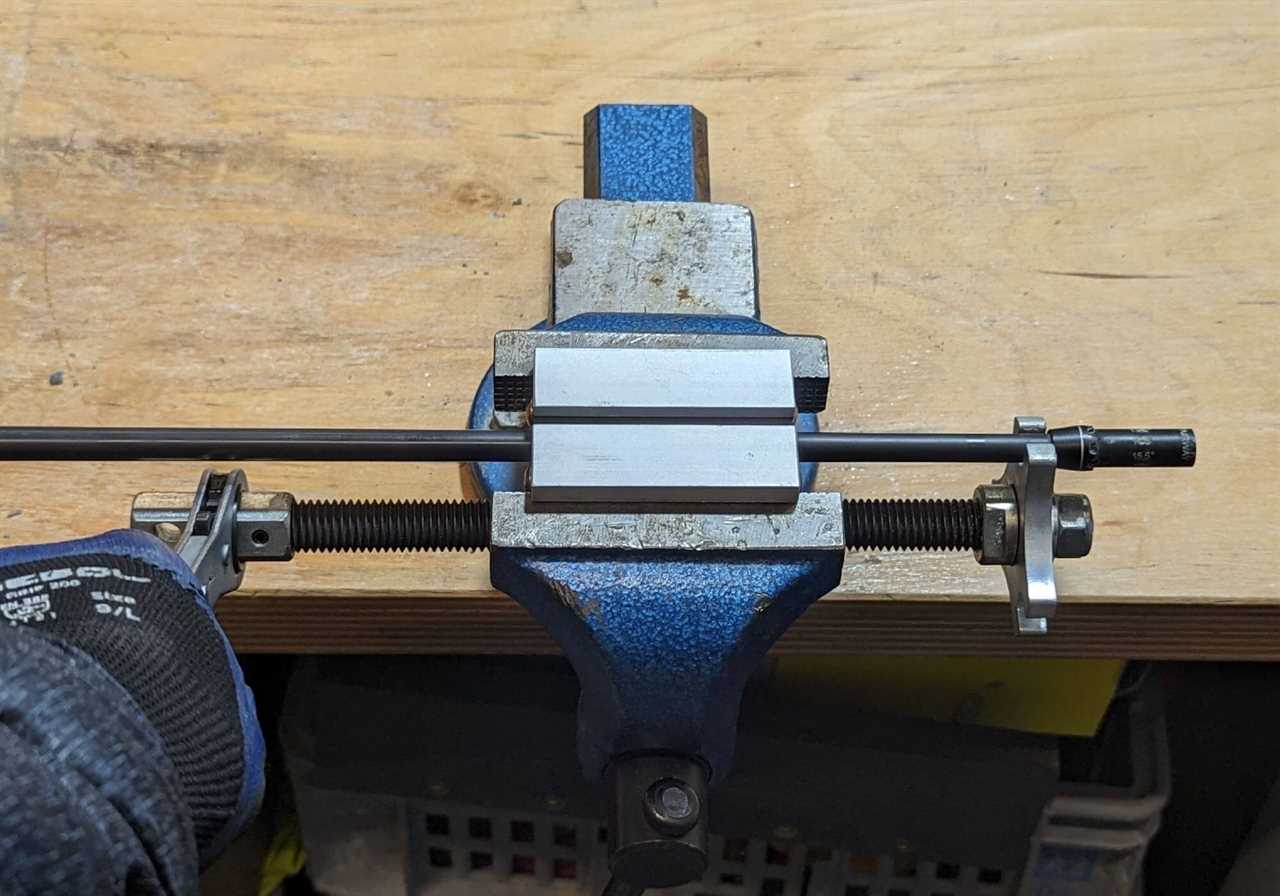
Step 2: Removing Old Adapter
Start by clamping the shaft into the puller and placing it into the vise. Apply on low heat evenly with the heat gun for 30 to 40 seconds to break the seal and warm the old epoxy for easy removal. Be careful not to overheat, especially with a graphite shaft.

Add torque via the puller to remove the adapter. OEM shaft savers or a screw and washer can be alternatives to avoid damage to the shaft and ferrules.
The adapter should slide off with relative ease. Once removed, place the hot adapter aside to cool and take the shaft out of the puller.
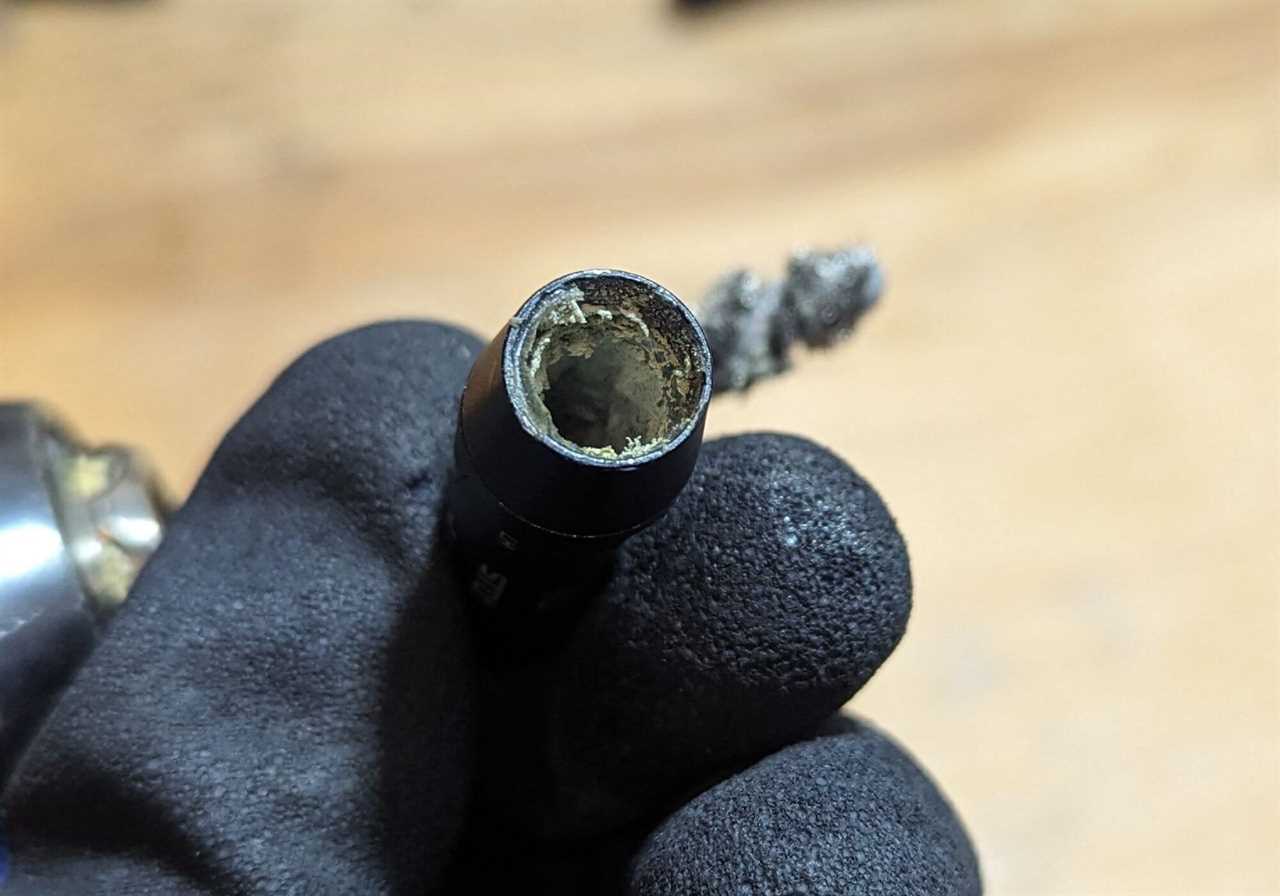
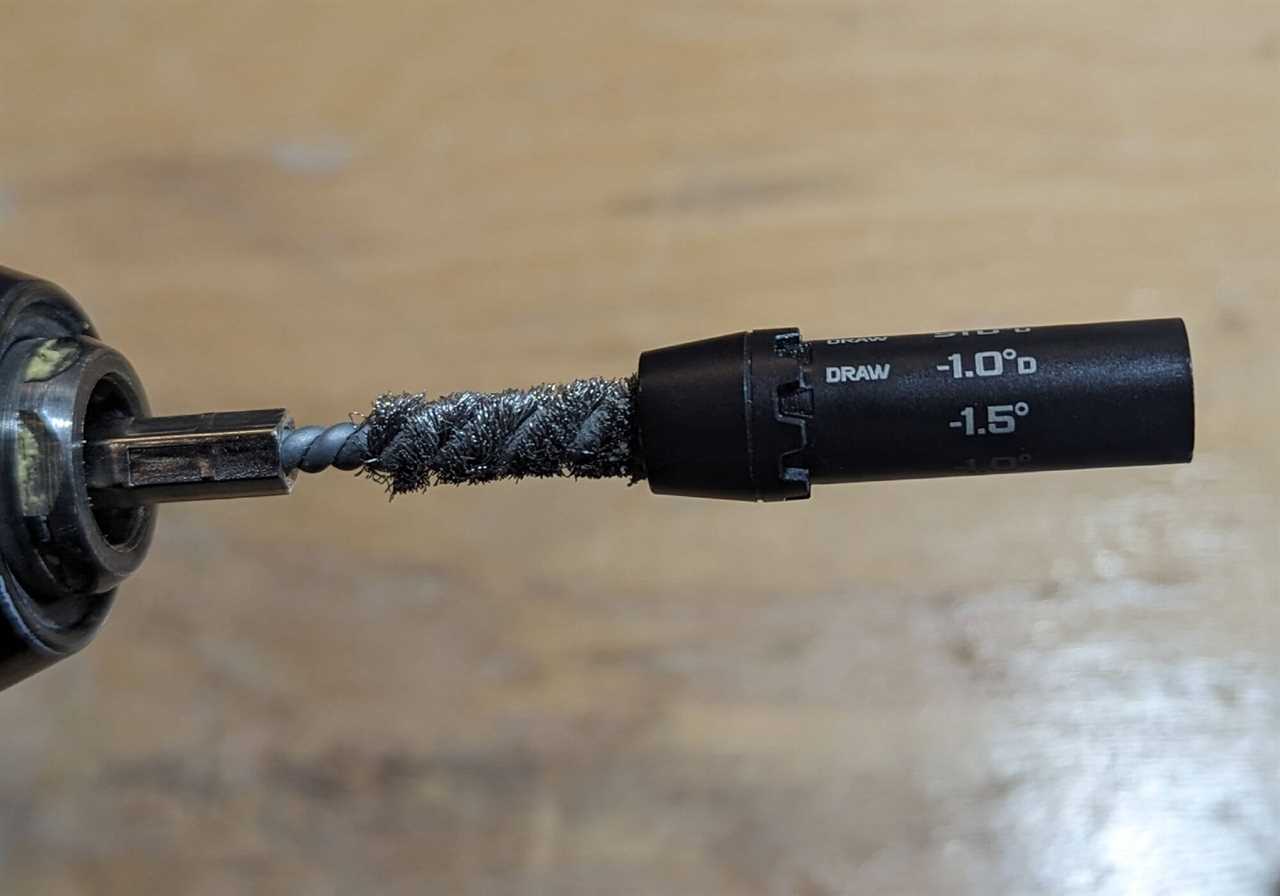
Step 3: Clean Shaft and Adapter
Old epoxy will be on the shaft and inside the old adapter. Clean these thoroughly to ensure consistency and a proper fit into the new adapter.
Use sandpaper to remove old epoxy without going into the graphite of the shaft. Use the drill and wire brush to clean the inside of the old adapter while the epoxy is still warm. Delaying this may make the removal process more difficult.
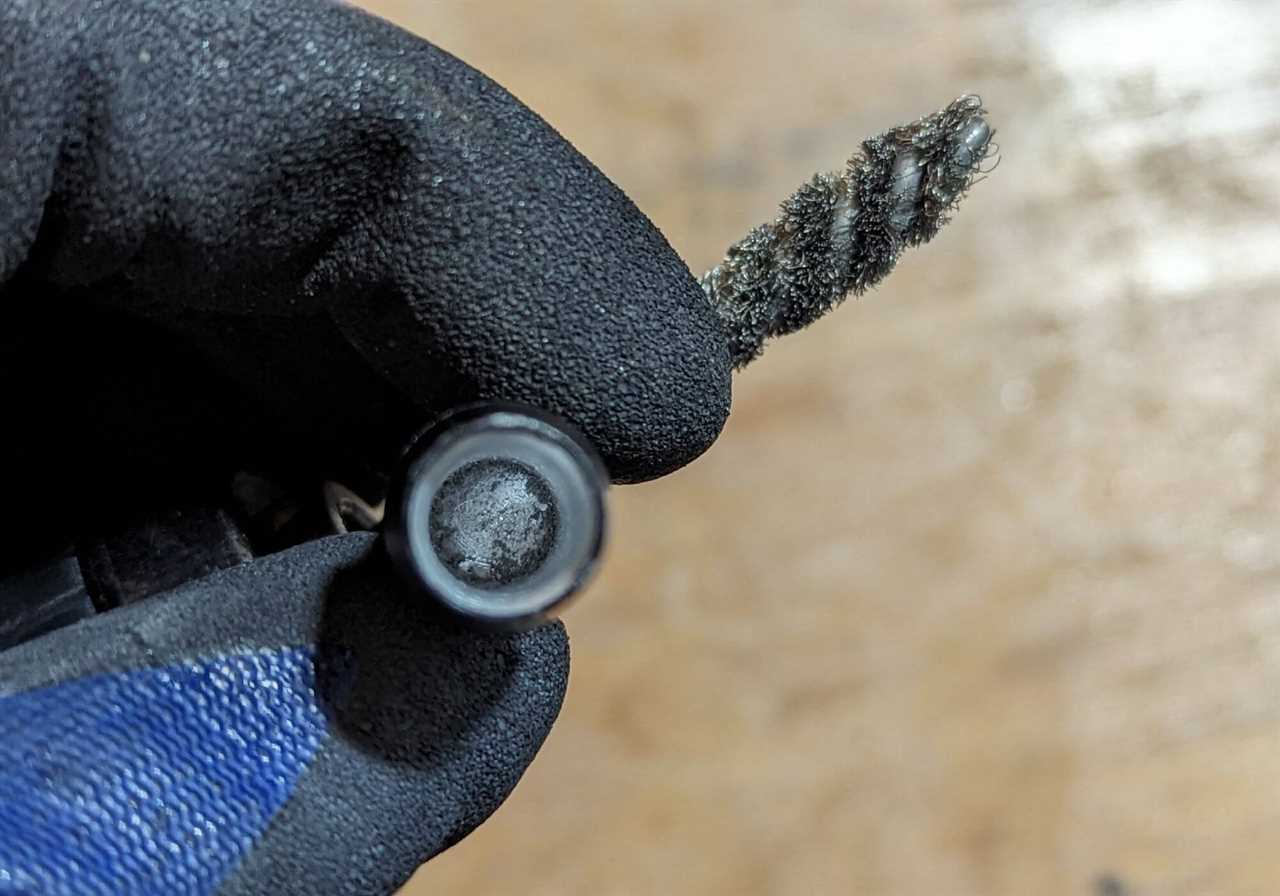
Note: Old epoxy may be in the bottom of the shaft tip. Use a small drill bit to create space for the new epoxy and air.
Once cleaned, take the new adapter and shaft and put them together for a dry fit. This will allow you to see if the adapter will go on properly and that the fit is exact. Marking the shaft at this point will tell you how far the adapter needs to go onto the shaft prior to full installation. This is also important for alignment with grip and shaft orientation.

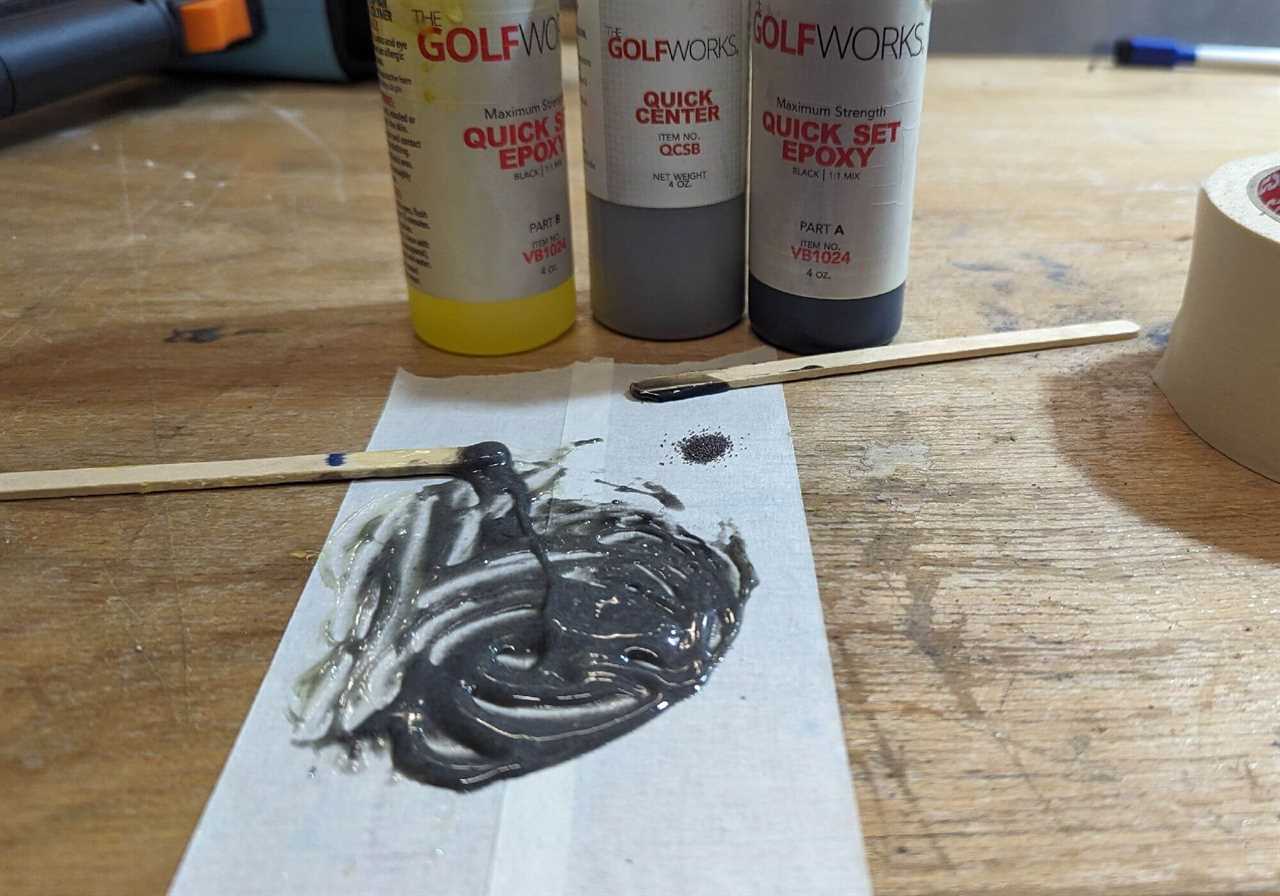
Step 4: Ready The Epoxy
Before pouring the epoxy, place two strips of tape on the workbench or lay a piece of paper to protect the working surface. This will be where the epoxy is poured out in two equal parts and mixed together. Please note that different epoxies may have different instructions so read the label before starting.
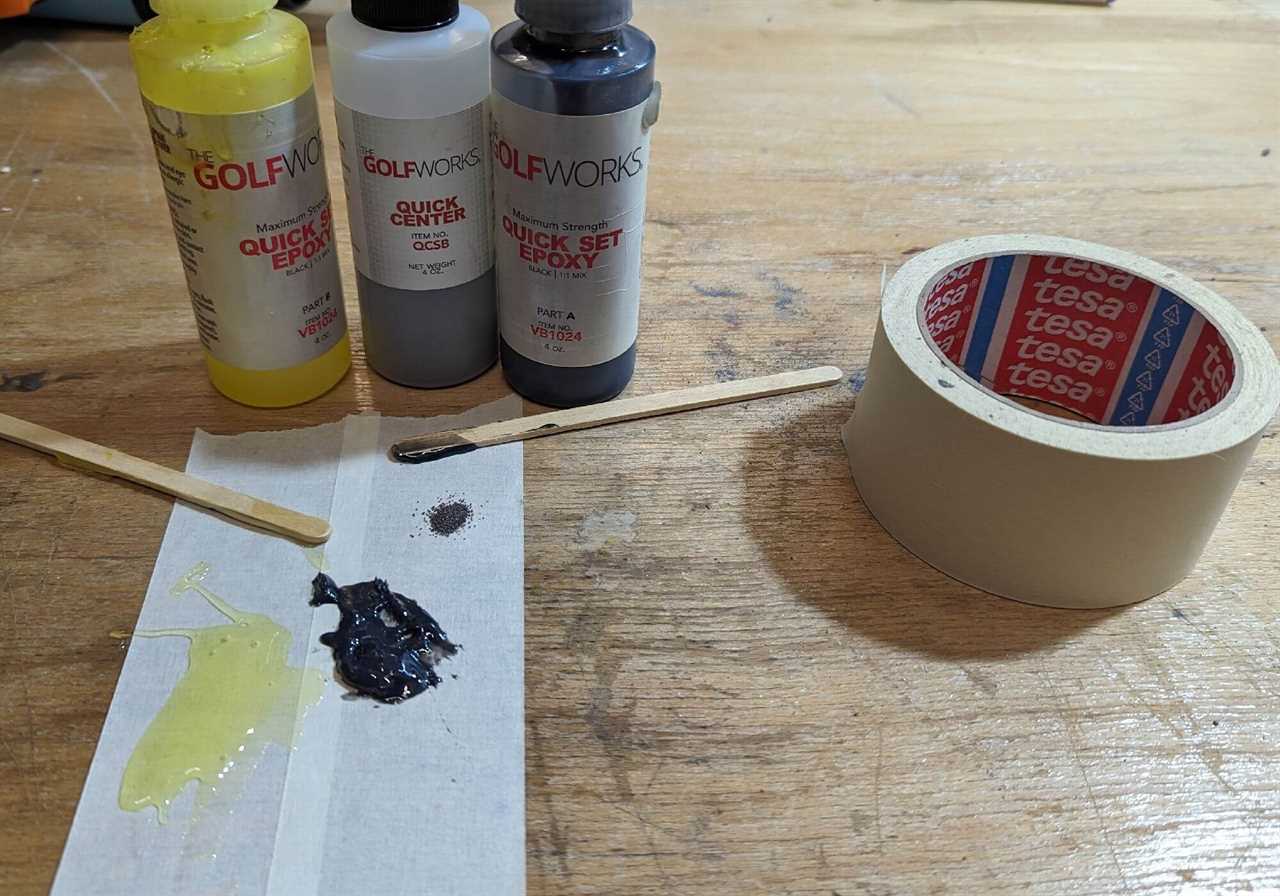
Use a wooden stick to mix the epoxy for activation. Ensure it is mixed well and evenly for a better bond.
*Although optional, shaft beads help center the shaft and reduce play between the adapter and the shaft. Only a small pinch is required per install.
*For some adapters requiring ferrules, install the ferrule before epoxy and the adapter. For several other adapters, they are built-in or not required.
Step 5: Putting It All Together
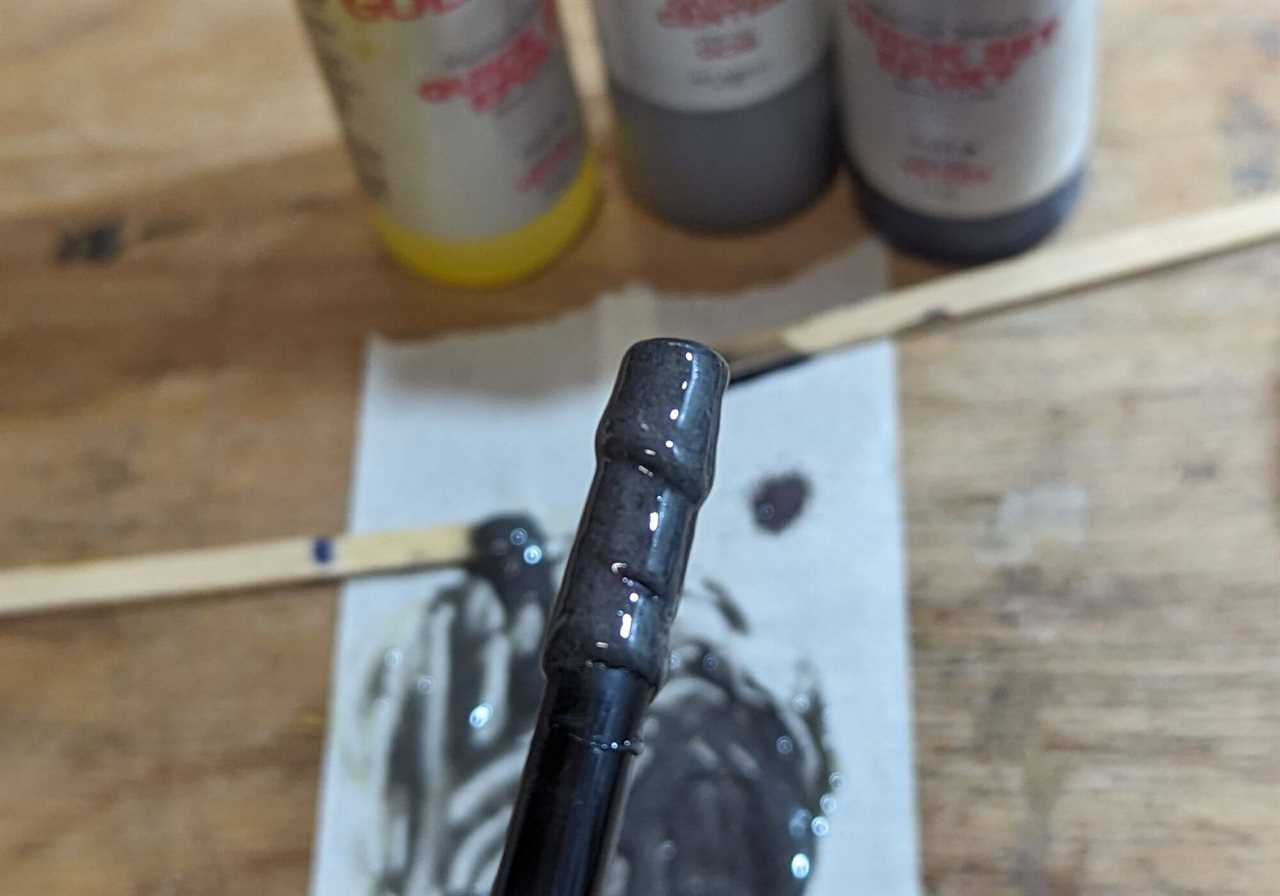
Apply epoxy to the shaft and a little inside the adapter. Apply a generous amount of epoxy to the shaft with the stick or by twirling the club in the epoxy.
Slide the adapter on while rotating it. This allows the epoxy to evenly coat the shaft. There should be a little resistance and, in some cases, an extra push is required to release any trapped air.

If the adapter requires a ferrule, slide it down after the adapter is on. Excess epoxy will be pushed out. Use a paper towel to clean the excess from the adapter, ferrule and shaft. Tapping the adapter and shaft on the ground ensures the adapter is fully on with no gap. Check again for excess epoxy.
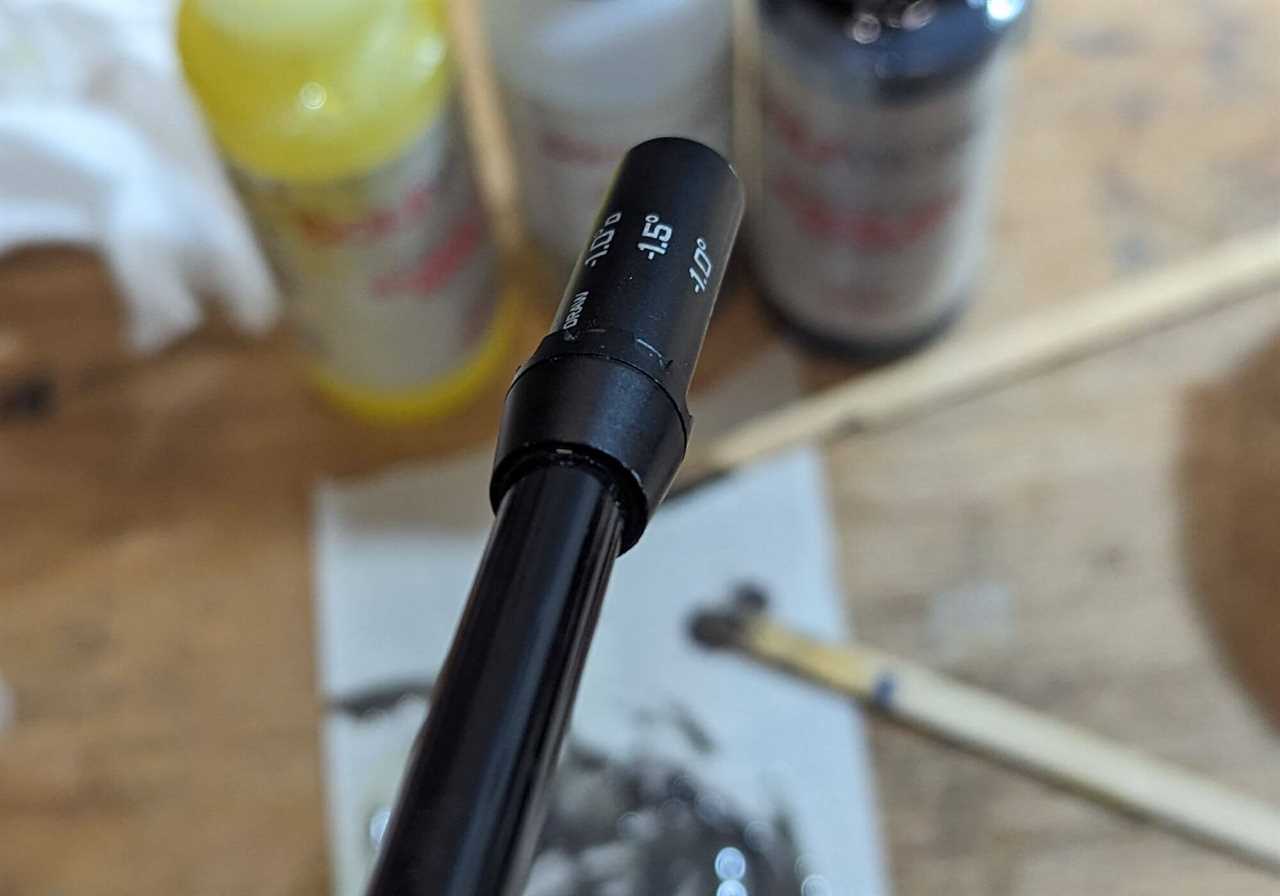
Step 6: Alignment and Wait
Check and finalize alignment as there is still time to make fine adjustments if required. Do this before the epoxy has time to set. Then place the shaft in a warm, dry area for the recommended epoxy curing period. Afterward, install the head, check alignment again and go hit some golf balls!
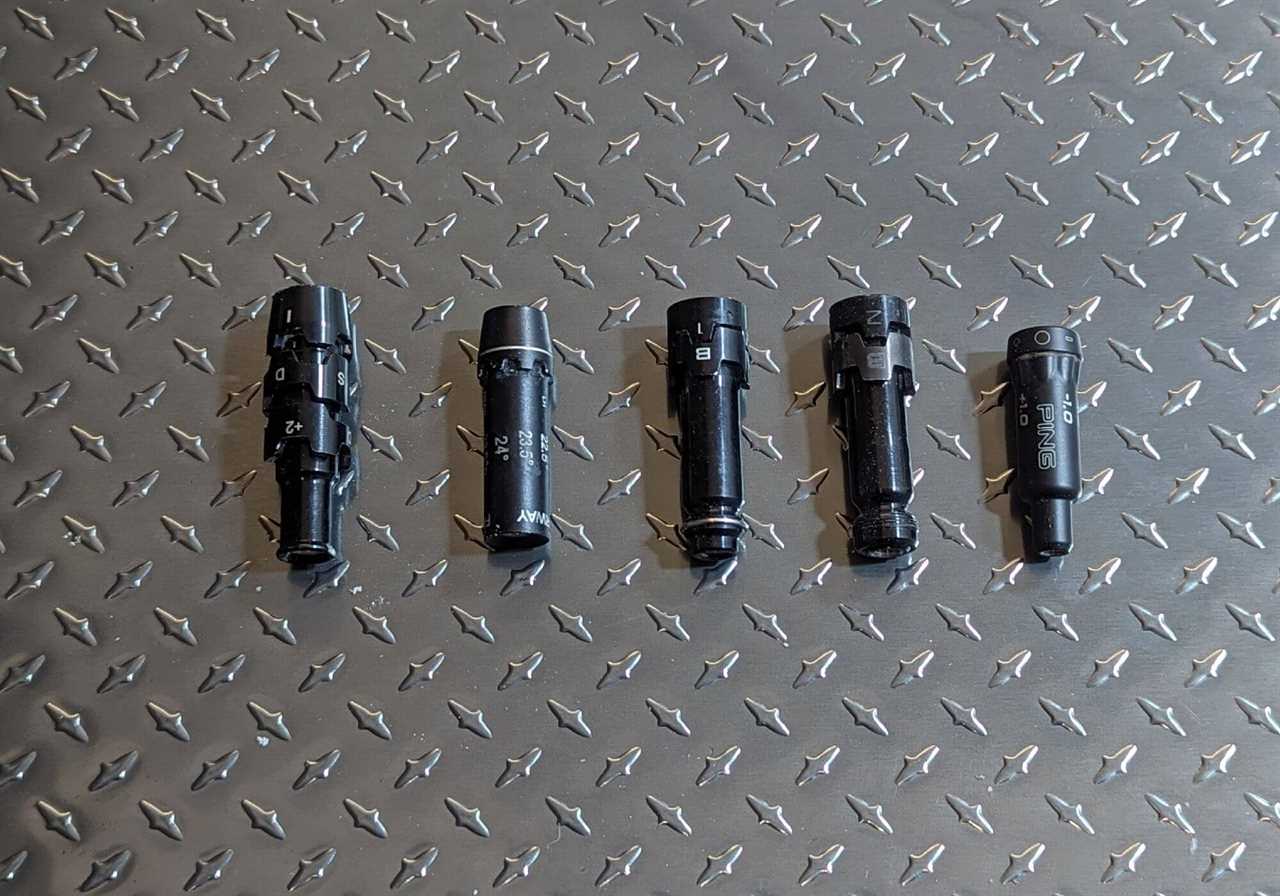
*Note: Different companies have different adapters (Titleist, PING, COBRA, Callaway, TaylorMade and others) with some having different adapters depending on the year of the driver head, hybrid head or fairway wood head. Double-check adapter compatibility before starting the process.
*There are systems like the All-Fit system that aim to make this process easier, avoiding several potential changes between a Callaway adapter, PING adapter and others. The All-Fit system uses one adapter with different collars allowing changes to be made without removing the adapter itself.
Cost
If you don’t have a vise, they can be found on Amazon for $20 to $30. The basic shaft puller is the most expensive but most useful tool in this entire process. I purchased my basic shaft puller for $144 and it has since paid for itself by saving hours of my time. I purchased my basic shaft puller for $144 and it has since paid for itself by saving hours of my time. Other equipment such as epoxy solutions ranging from $17 to $30 can be found online. Golf shaft adapters or sleeves can be purchased on Amazon, in golf shops and online for $8 to $12 per unit. A wire brush drill kit will generally cost less than $10.
A heat gun costs about $25. It can be used for many projects and is a worthwhile investment for any DIY golf club builder.
The OEM adapter saver kit is $10 but a screw and washer can be used instead.
Most of you likely have the other products, like tape and gloves. Starting from scratch would cost roughly $250. This may seem costly but these tools can be used for future golf club projects.
Changing golf shaft adapters opens possibilities for golfers seeking to optimize their equipment without breaking the bank. Though it requires time and an investment in tools and supplies, the process empowers enthusiasts to experiment with shafts and club heads. It also allows you to capitalize on sales or deals on preferred shafts, overcoming limitations imposed by proprietary adapters. Don’t let a fixed adapter limit your options. Embrace the freedom to explore and personalize your golf club configuration.
Enjoy this article? Let us know in the comments section below.
Want to learn more about club building? Check out our latest post about regripping golf clubs.
The post How to Change Golf Shaft Adapters appeared first on MyGolfSpy.
https://mygolfspy.com/news-opinion/how-to-change-golf-shaft-adapters/
