A 4Runner long travel suspension is an aggressive upgrade that increases wheel travel. This is the total up-and-down distance your wheel can move. The goal is to keep your tires on the ground, no matter how wild the terrain gets.
This translates to more traction, better stability, and a new level of control on tough trails. It’s a fundamental change to how your 4Runner performs off-road.
What Long Travel Suspension Actually Does
A long travel kit rewires how your 4Runner handles rough terrain. It is not the same as a standard lift kit. A lift kit just raises your truck’s height for bigger tires but doesn’t boost performance.
Long travel is all about maximizing wheel articulation. This articulation is what keeps you moving forward. It works whether you’re at high speed in the desert or crawling over rocks.
Imagine approaching a large rut on the trail. Stock suspension would likely lift a wheel off the ground, causing a loss of traction. A long travel system lets that same wheel drop deep into the rut, keeping the tire planted.
The Real-World Performance Gains
This upgrade is about unlocking a new level of off-road capability, not just looks. You’ll feel the difference most in sketchy situations where tire contact is critical. It’s a matter of performance and safety.
The numbers show the true story. A stock 4Runner has about 9-10 inches of wheel travel. A good long travel kit can push that to between 14 and 18 inches.
This huge jump in articulation allows you to maintain speed and control. You can see how these kits work by checking out the options on TruckBrigade.com.
Standard vs Long Travel Suspension Key Differences
| Metric |
Stock 4Runner Suspension |
Long Travel Suspension |
| Wheel Travel |
~9-10 inches |
14-18+ inches |
| High-Speed Stability |
Limited; can feel unstable |
Excellent; absorbs bumps easily |
| Low-Speed Articulation |
Moderate; wheels lift on obstacles |
Exceptional; keeps tires on ground |
| Track Width |
Stock |
Typically 2-4 inches wider per side |
| Primary Goal |
Comfortable on-road ride |
Maximum off-road performance |
The performance difference is night and day. While stock is a great all-arounder, long travel is built for off-road domination.
What’s In a Long Travel Suspension Kit?
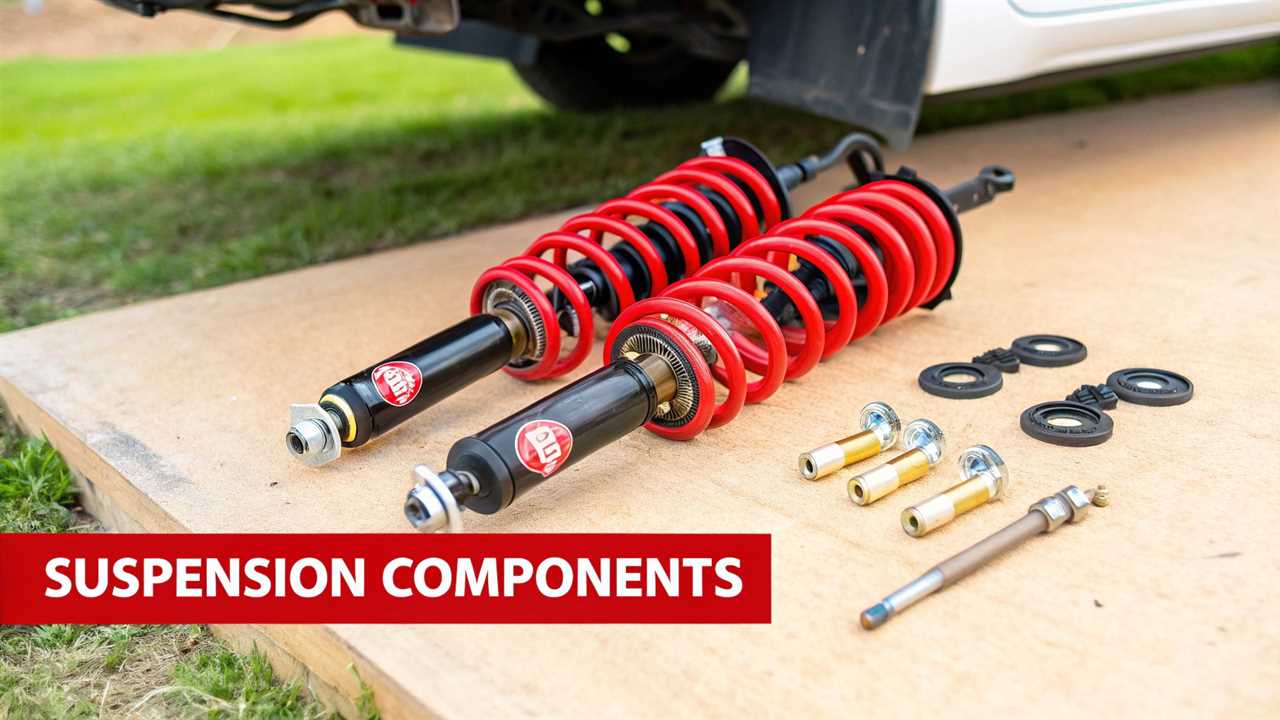
A true 4Runner long travel suspension is a complete, engineered system. It is not just about installing bigger shocks. Every part works in harmony to handle extra stress and motion.
Understanding the components makes the premium price tag easier to grasp. The control arms are the foundation of the kit. They connect your wheel hubs to the 4Runner’s frame.
Control Arms And Coilovers
These kits use extended upper and lower control arms to increase travel. These longer arms push your wheels further out, creating a wider, more stable track width. This extra length is key to the gains in wheel articulation.
Longer arms must be paired with specialized long-travel coilovers. For example, kits for 4th Gen 4Runners can deliver about 11.5 inches of wheel travel. They combine extended arms with uniball joints and adjustable remote reservoir coilovers.
Here’s the bottom line: every piece in a long travel kit is interdependent. You can’t just install longer shocks with stock control arms and call it a day. The entire front end has to be replaced as a single, cohesive unit to work correctly and, more importantly, safely.
Axles And All The Fixings
The wider stance creates a new problem: your factory CV axles are now too short. They could bind or snap when the suspension flexes on the trail. That’s why every proper long travel kit includes extended-length CV axles.
Finally, the kit includes essential supporting parts like extended brake lines. These accommodate the new suspension droop. These components transform a standard rig into a high-performance machine, a topic we explore in our guide on the Toyota 4-Runner for overlanding.
Finding the Right Kit for Your 4Runner
Ready to take the plunge into long travel suspension? The right kit for your 4Runner depends on your budget and how you use your rig. Be honest about your driving style.
Are you building a desert machine for high-speed runs? Or is your goal a capable rig for slow-speed rock crawling and overlanding?
It’s easy to want a full race-spec kit, but that might be overkill. High-end systems can have a harsh on-road ride and require frequent maintenance. On the other hand, a cheaper kit may not hold up to aggressive driving.
Define Your Primary Use
Figuring out your rig’s main job will narrow down your options. A high-speed prerunner relies heavily on its shocks. This is where bypass shocks and beefy uniball upper control arms excel.
If you’re building an overland rig, the durability of heavy-duty ball joints may be better. They require less maintenance, which is a big plus in the backcountry.
Here’s a quick way to think about it:
- High-Speed Desert Running: Focus on kits with bypass shocks and robust uniball control arms. Heat dissipation and strength are priorities.
- Technical Rock Crawling: Maximum articulation and durability are key. A kit with sealed ball joints can be a practical, low-maintenance choice.
- Versatile Overlanding: A “mid-travel” setup might be your sweet spot. Remember your gear adds weight, which impacts suspension choice just like the 4Runner’s towing capacity.
What the Installation Process Involves
Installing a 4runner long travel suspension is a massive job. It is not like a typical lift kit you can do in a weekend. It requires fabrication skills, special tools, and a grasp of suspension geometry.
Get ready to use your angle grinder and welder. The process involves permanently altering your 4Runner’s frame. You will be cutting, grinding, and welding to make everything fit.
A huge part of the job is reinforcing components. You’ll weld gussets onto the spindles and control arm mounts. This is because stock parts can’t handle the forces of a long-travel setup.
You’ll also need to cut away parts of your stock fenders and firewall. This is necessary to prevent tires from causing damage at full compression.
One of the most critical, and often overlooked, steps is properly setting up limit straps. These simple straps are your insurance policy. They prevent the shocks from overextending on droop, which can cause catastrophic—and expensive—damage to the shocks, CV axles, or other key components. Skipping this is just asking for a trail-ending failure.
Key Installation Stages
This image gives a high-level view of the installation workflow.
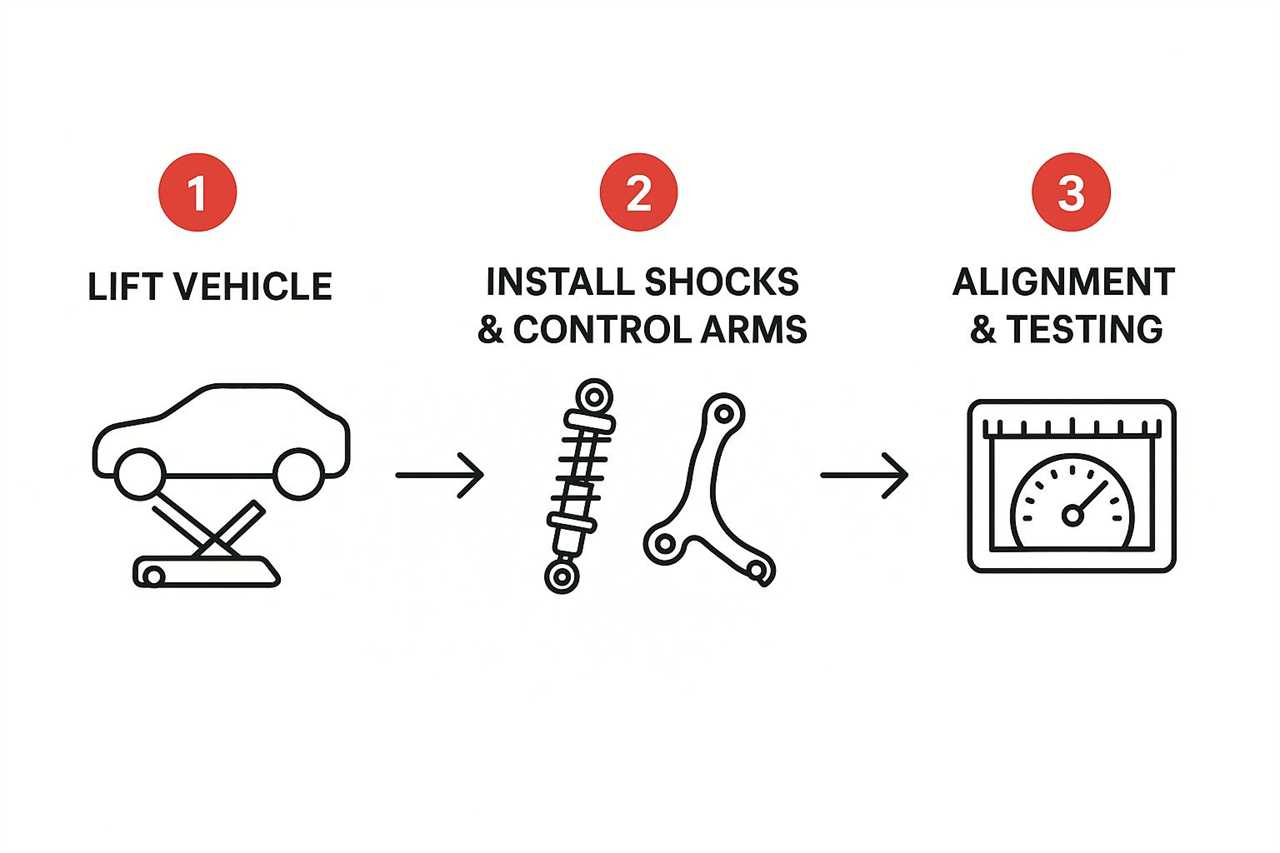
While the graphic seems simple, the “Install Components” step involves heavy cutting and welding. The final tuning and testing phases also require significant time.
These kits create a much wider stance. Your 4Runner’s track width will increase by 3.5 to 5 inches per side. This improves stability and accommodates the increased articulation.
This new geometry demands specialized long-travel coilovers. Given the complexity, many owners hire a professional shop. Check our guide on lift kit installation costs for a baseline comparison.
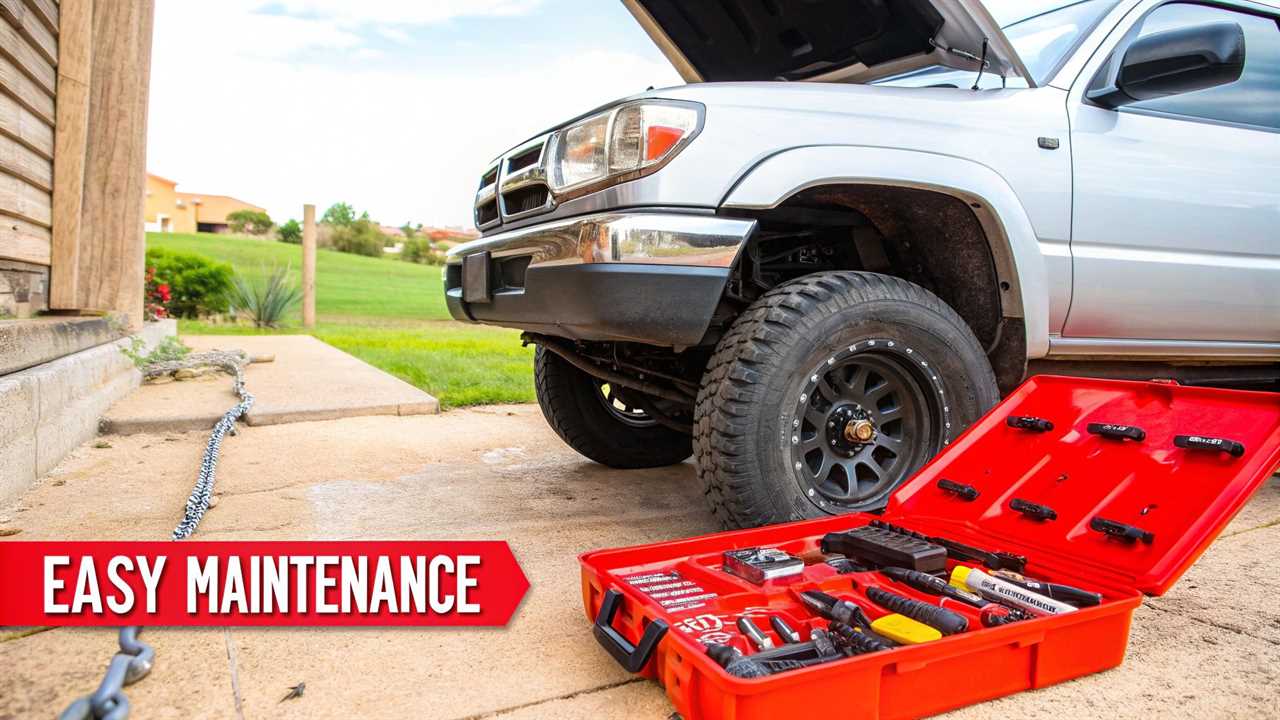
Tuning and Maintaining Your New Suspension
Installing your 4Runner long travel suspension is a huge step, but the work isn’t over. This new setup is a high-performance system. It needs proper tuning and consistent upkeep to perform its best.
Skipping maintenance is like buying a supercar and never changing the oil. First, you must set your ride height by adjusting the coilover preload. This establishes the proper suspension geometry.
Once that’s set, you can tune the shocks. This matches the suspension to your driving style and terrain.
Dialing In Your Shocks
This is where you customize your truck’s feel. Shock adjusters can smooth out gravel roads or absorb huge hits.
- Compression Damping: This controls how the shock handles impacts. Too soft, and you’ll bottom out; too firm, and the ride is harsh. Start in the middle and adjust a few clicks at a time.
- Rebound Damping: This manages how quickly the shock extends after compression. Too fast, and the truck feels bouncy; too slow, and the suspension can “pack down” over rapid bumps.
Proper shock tuning isn’t a one-and-done deal. It’s a process of trial and error. Be patient, experiment with different settings, and keep tweaking until the ride feels perfect for you.
Essential Maintenance Checklist
Long travel kits take a beating, so regular inspections are non-negotiable. These systems see more stress than factory parts. If you need help, professional car suspension repair services can keep your setup performing well.
Run through this checklist after every big off-road trip:
- Uniballs: Inspect them for any play and keep them clean and lubricated.
- Hardware: Check all bolts, especially control arm hardware, and torque to spec.
- Shocks: Look for any signs of leaks from the shock seals.
- Bushings: Grease polyurethane bushings regularly to prevent squeaking and wear.
Common Questions About Long Travel Setups
Thinking about a 4Runner long travel suspension setup? It’s a serious upgrade that brings up many questions. Let’s tackle some of the most common ones.
Can you still daily drive a rig with a long travel kit? The short answer is yes, but know what you’re getting into. Your 4Runner will be much wider, making tight parking lots a challenge.
You’ll also likely notice more body roll on pavement. However, a well-tuned system can feel surprisingly plush and comfortable on the street.
Required Supporting Modifications
What else do you need to buy? This is a critical question. A long travel kit requires several supporting parts.
- Extended CV Axles: Your factory axles won’t be long enough for the new, wider track width.
- Extended Brake Lines: You’ll need longer lines to handle the massive increase in suspension droop.
- Fiberglass Fenders: Wider fiberglass fenders are needed for proper tire clearance.
- Limit Straps and Bump Stops: These prevent your shocks and other parts from damage.
A lot of folks think a long travel kit is a simple bolt-on project. The reality is that the kit itself is just the beginning. The real price tag includes all the mandatory supporting parts, plus professional installation and fabrication work.
The total cost often surprises people. A kit may cost $3,000 to $10,000, but that’s just for the main components. Professional installation can add another $1,500 to $4,000.
With all the other essentials, the total investment is realistically $10,000 to $20,000.
Here at Offroading.com, we live for this stuff. We’ve got the expert guides and no-nonsense reviews you need to make the right calls for your build. Check out our resources to get your next project started with confidence at https://www.offroading.com.
https://offroading.com/4-runner-long-travel-suspension/?utm_source=rss&utm_medium=rss&utm_campaign=4-runner-long-travel-suspension
Did you miss our previous article...
https://manstuffnews.com/4x4-off-road-cars/12-best-mud-tires-for-truck-resources-in-2025
