Think of an ATV maintenance schedule as your machine’s health plan. It’s the roadmap that tells you what needs attention and when, usually based on hours or miles. Following it is the secret to keeping your quad ready for the trail at a moment’s notice and avoiding those trip-ending breakdowns that always seem to happen miles from anywhere.
Why An ATV Maintenance Schedule Matters
Your ATV doesn’t live the pampered life of a commuter car. It’s constantly battling mud, dust, water, and bone-jarring vibrations. Every single ride puts an incredible amount of stress on the engine, suspension, brakes, and electricals. Pretending otherwise is just asking for a major mechanical failure and a repair bill to match.
This is where a proper maintenance schedule saves the day. It shifts you from a reactive “fix-it-when-it-breaks” approach to a proactive one. It’s about way more than just changing the oil; it’s a complete wellness check that pays off big time in performance, safety, and the long-term value of your machine.
To give you a quick overview, I’ve put together this at-a-glance table. It’s a handy cheat sheet for the most common service intervals.
ATV Maintenance At-A-Glance Schedule
| Frequency |
Key Maintenance Tasks |
| Every Ride |
Pre-ride inspection (T-CLOCS: Tires, Controls, Lights, Oil, Chassis, Stands) |
| 10-25 Hours |
Oil and filter change, air filter cleaning, chain adjustment & lube |
| 50-100 Hours |
Spark plug inspection/replacement, brake system check, coolant check |
| 100-200 Hours |
Valve clearance inspection, full brake system service, wheel bearing check |
| Annually |
Coolant flush, brake fluid change, full chassis and suspension inspection |
This table is just a starting point, of course. Always defer to your specific owner’s manual, but this gives you a solid framework for what to expect.
Protecting Your Performance and Investment
Letting maintenance slide has a real, measurable cost. When you ignore a basic ATV maintenance schedule, you can see engine efficiency drop by up to 30%, fuel consumption spike, and the risk of a catastrophic failure skyrocket.
The ATV market is huge—reaching around USD 16.30 billion globally, according to some reports. That’s a massive number of machines that rely on regular care. Your ATV, which might have cost anywhere from $5,000 to over $12,000, is a serious investment. Protecting it starts with consistent upkeep. You can dig deeper into market trends over at Zion Market Research.
Think of your maintenance rhythm like this:
- Pre-Ride Checks: A quick five-minute look-over before every ride to spot anything obvious.
- Interval Service: The core of your schedule, based on operating hours or mileage.
- Seasonal Prep: Getting your quad ready for winter storage or the prime riding season.
A well-maintained ATV doesn’t just run better; it feels better. The throttle is crisper, the suspension feels dialed in, and you can ride with confidence, knowing your machine has your back.
Enhancing Rider Safety
At the end of the day, a maintenance schedule is a safety checklist. A loose axle nut, a worn-out brake cable, or even low tire pressure can easily cause a serious accident on the trail. By systematically checking these critical parts, you’re not just taking care of a machine—you’re ensuring a safer ride for yourself and anyone with you. This guide will give you a clear, actionable plan to keep your ATV running in peak condition.
Your Pre-Ride Inspection Checklist
While a detailed maintenance schedule based on hours or miles is your long-term playbook, your first line of defense against trail-side trouble is the pre-ride inspection. Don’t worry, this isn’t some complex, time-consuming job. It’s a five-minute habit that quickly becomes second nature.
Think of it as a quick chat with your machine before you ask it to perform. For this, we’ll borrow and adapt the T-CLOCS framework (Tires, Controls, Lights, Oil, Chassis) that motorcyclists have used for years. It’s a simple, memorable system that’s perfect for ATVs.
Tires and Wheels
Your tires are the only thing connecting you and your several-hundred-pound machine to the dirt, so that’s where we start. A quick glance is fine, but you really need to get your hands on them.
- Pressure Check: Don’t just kick the tires. That tells you nothing. Grab a quality low-pressure gauge and check the PSI. The wrong pressure absolutely kills performance and handling. For a deeper dive on finding that sweet spot, check out our guide on how to set your ATV tire pressure.
- Damage Inspection: Look for any obvious cuts, punctures, or things stuck in the tread. Pay close attention to the sidewalls—they take a beating from rocks and sharp roots and are a common failure point.
- Lug Nuts: Get in there and give each wheel a good wiggle. You shouldn’t feel any play or looseness. A quick visual check to confirm all the lug nuts are still there and look tight is a good final step.
Controls and Cables
Next up, let’s check how you actually command this beast. Hop on the seat and get a feel for everything before you even think about hitting the start button.
Your controls are your direct link to the ATV’s power and braking. Spongy brakes or a sticky throttle aren’t minor annoyances; they are major safety hazards waiting to happen on a difficult trail.
Run the handlebars from full left to full right. Make sure no cables are binding or pulling tight. Squeeze the front and rear brake levers and step on the foot brake. They need to feel firm and solid, not soft or “spongy.” Finally, give the throttle lever a few flicks. It has to snap back to the idle position on its own, every single time.
Lights and Electrical
Even if you’re strictly a daytime rider, your electrical system is doing more than just powering the lights.
Cycle through your headlights (both high and low beams), taillights, and brake lights to make sure they all work. Critically, test the engine kill switch. You never want to find out that switch has failed during an actual emergency. If you have a digital dash, make sure it powers on cleanly and isn’t flashing any error codes.
Oil and Fluids
Now for the lifeblood of your engine. This part takes seconds and can save you from a catastrophic, wallet-emptying engine failure down the road.
- Engine Oil: Pull the dipstick or check the sight glass (follow your owner’s manual here). The level needs to be right between the high and low marks.
- Coolant: Just look at the coolant overflow reservoir. You should see the fluid level sitting somewhere in the designated range.
- Brake Fluid: Take a peek at the master cylinder reservoirs. The fluid should be clear and topped up to the line.
Chassis and Drivetrain
The last thing to do is a quick walk-around. You’re looking for anything on the frame and suspension that seems loose, broken, or is flat-out missing. Scan the ground under the machine for any fresh fluid drips. Grab the drive chain to check for excessive slack or give your drive shafts a look-over for any damage. Catching these little things now is what keeps them from turning into big, ride-ending problems.
The Core Maintenance Schedule By Hours
While those quick pre-ride checks are your first line of defense, the hour-based ATV maintenance schedule is what really protects your investment for the long haul. This is where you get your hands dirty, performing scheduled services that keep your machine’s most critical components in top shape. Instead of just guessing when something needs attention, you’ll be working off a clear, repeatable calendar based on operating hours—the single most accurate way to measure real-world wear and tear.
Sticking to a schedule isn’t just about preventing breakdowns; it’s a massive safety issue. Industry data has shown that mechanical failures, often stemming from neglected maintenance, contribute to roughly 18% of all ATV-related accidents. Being disciplined with your service schedule can slash the risk of major engine and transmission failures by up to 40%. When your safety is on the line, those are numbers you can’t ignore.
Every 10 to 25 Hours of Riding
This first major service interval is all about the lifeblood of your machine—its fluids and filters. After the initial break-in period (which is usually the first 10 hours on a brand-new quad), this becomes your most frequent and important service routine.
- Engine Oil and Filter Change: This is absolutely non-negotiable. Your engine oil does three jobs: it lubricates, it cools, and it cleans. After 25 hours of churning through dusty trails and running at high RPMs, that oil is loaded with microscopic metal shavings and other contaminants. Swapping it out along with the filter is the single best thing you can do for your engine’s longevity.
- Air Filter Cleaning: Think of the air filter as your ATV’s lungs. A clogged filter will choke the engine, robbing it of power and forcing it to run rich, which can quickly foul your spark plugs. You need to pop it out and clean it based on the manufacturer’s specs. Foam filters usually get washed and re-oiled, while paper filters are often just replaced. A clean filter lets your engine breathe freely and perform its best.
- Chain and Drivetrain Check: If you have a chain-driven quad, check the tension and give it a good coat of quality chain lube. For shaft-driven models, take a close look at the protective boots around the joints for any tears or cracks that could let dirt and water seep in.
Pro Tip: Always, always use a torque wrench on the oil drain plug. It is incredibly easy to overtighten and strip the threads in the soft aluminum engine case. That can turn a simple 20-minute job into a costly, weekend-ruining repair. I’ve seen it happen more than once.
This handy infographic serves as a great visual cue for the daily habits that build a foundation for these deeper service intervals.
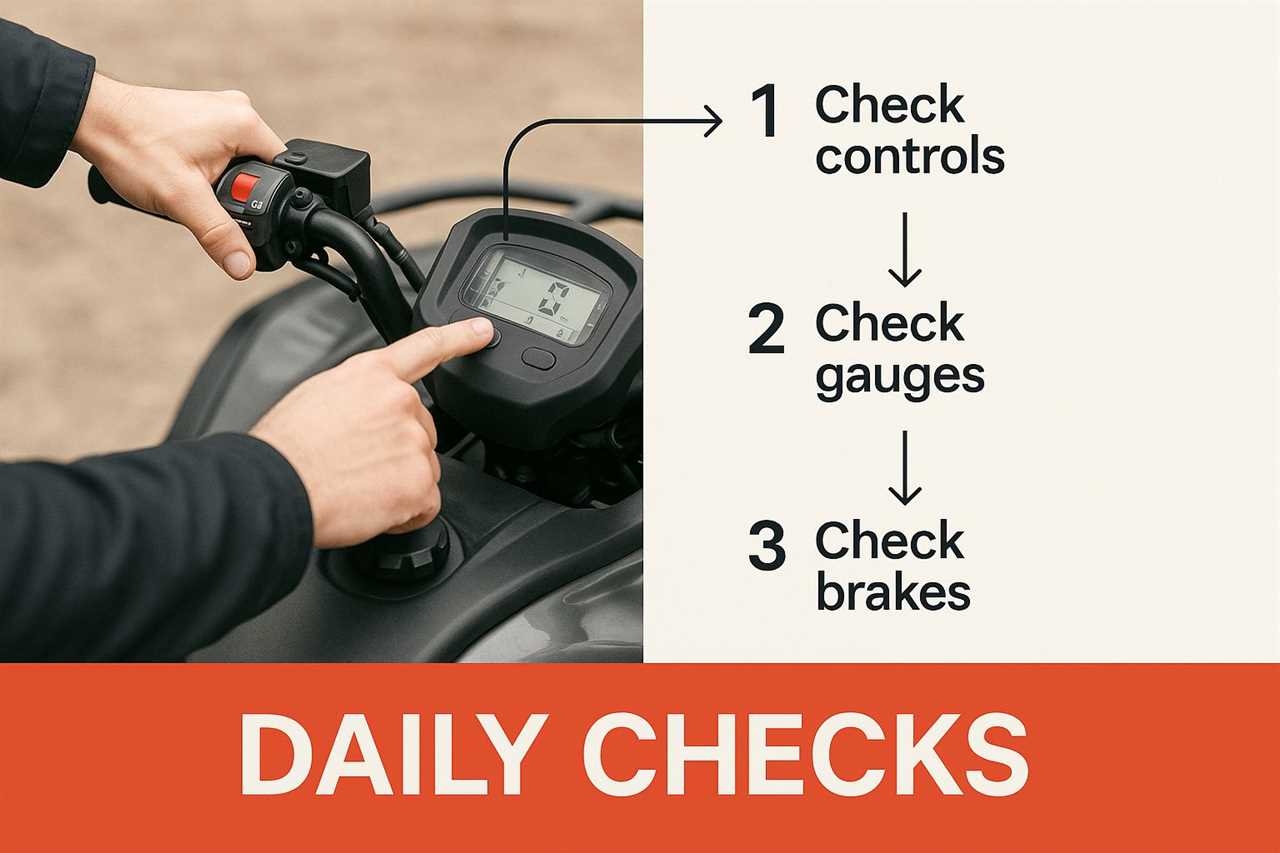
It’s these quick checks on things like controls and gauges that support the bigger maintenance plan, ensuring your machine is reliable every time you head out.
To help you keep everything straight, here’s a more detailed breakdown of what to tackle at each service interval.
Detailed Service Interval Breakdown
| Service Interval (Hours/Miles) |
Engine & Oil System |
Air & Fuel System |
Chassis & Brakes |
| Every 10-25 Hours |
Change engine oil & filter. |
Clean & re-oil air filter. |
Check/lube drive chain. |
| Every 50-100 Hours |
Inspect spark plug. |
Check fuel lines for cracks. |
Inspect brake pad wear & fluid. |
| Every 100+ Hours |
Inspect/adjust valve clearance. |
Service/clean carburetor or throttle body. |
Change differential/gearbox oil. |
| Annually (or 200+ Hours) |
Replace coolant. |
Replace fuel filter. |
Inspect/re-grease wheel bearings. |
This table gives you a solid framework, but remember to always consult your owner’s manual for the exact specifications for your particular model.
Every 50 to 100 Hours of Riding
As you start logging more hours, your focus broadens beyond the basic fluids. Now it’s time to look at the ignition, fuel, and braking systems. These tasks don’t need to be done as often, but they’re just as critical for performance and safety.
At this point, you’ll want to pull the spark plug and have a look. The plug is like a window into your engine’s health. A nice tan or grayish-brown color means everything is running perfectly. If it’s black and sooty, your engine might be running too rich. If it looks white or blistered, you could be running lean and dangerously hot.
You should also give your entire brake system a proper inspection, going deeper than your quick pre-ride check. Get a light and look at the brake pad thickness—most pads have built-in wear indicator grooves. Check the brake fluid level and clarity in the reservoir, too. If the fluid is dark or murky, it’s absorbed moisture and needs to be flushed and replaced. The logic here is the same as what you’d find in a good truck maintenance checklist, where brake integrity is absolutely non-negotiable for safe operation.
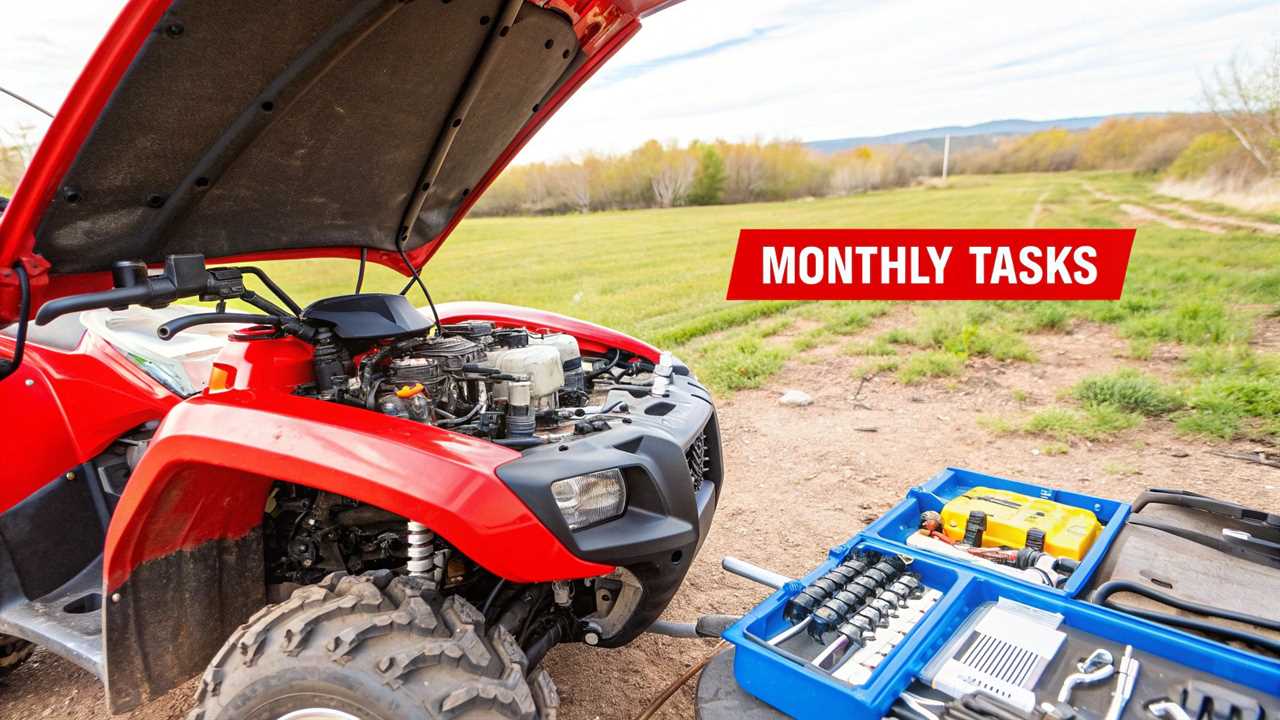
Every 100+ Hours of Riding
Once you cross the 100-hour mark, you’re getting into more involved mechanical checks that ensure the long-term health of your machine. Some of these tasks might seem a bit intimidating at first, but they’re completely manageable with the right tools and your owner’s manual by your side.
The main event here is usually the valve clearance inspection. Over time, the tiny gap between the valves and rockers can change, which directly hurts engine performance and can even lead to catastrophic engine damage if you let it go for too long. You’ll also want to service the front and rear differentials by changing the gear oil, check the wheel bearings for any side-to-side play or roughness when you spin the tire, and give the entire chassis and all suspension pivot points a detailed inspection for any signs of wear.
Seasonal Care and Long-Term Storage
Your ATV’s needs change a lot more than you might think with the seasons. A really comprehensive atv maintenance schedule isn’t just about logging riding hours—it also has to account for downtime.
Trust me, properly preparing your machine for long-term storage over the winter is just as critical as any oil change. It’s the key to avoiding a whole host of problems that love to pop up when a machine just sits idle.
Leaving an ATV to fend for itself in a cold shed is a surefire recipe for springtime headaches. Fuel goes bad, batteries die, and tires get nasty flat spots. Taking a few proactive steps before you tuck it away for the season will pretty much guarantee it fires right up the moment the trails thaw out.
Preparing Your ATV for Winter Storage
The whole point of winterizing is to shield your ATV’s most important systems from the damage that inactivity and cold temperatures can cause. You’re basically putting your machine into a safe, controlled hibernation.
- Stabilize the Fuel System: Modern gasoline can start to break down in as little as 30-60 days. When it does, it leaves behind a gummy varnish that’s an expert at clogging up carburetors and fuel injectors. The fix is easy: add a quality fuel stabilizer to a full tank of gas, then run the engine for about 5-10 minutes. This simple step circulates the treated fuel through the entire system, making sure every part is protected.
- Protect the Battery: Your battery is going to discharge slowly over time, and the cold just makes it happen faster. A completely dead battery often won’t hold a full charge ever again. The best move here is to connect a battery tender or a smart charger. These devices keep the battery topped off without overcharging and cooking it.
- Elevate the Tires: Letting an ATV sit in one spot for months is how you get permanent flat spots on your tires from the constant pressure. Get your quad up on a set of jack stands, lifting all four wheels just barely off the ground. This takes all the weight off the tires and even gives your suspension components a break.
- Pest Control: A dark, quiet engine bay or a cozy airbox looks like a five-star hotel to mice and other critters searching for a winter home. They have a nasty habit of chewing through wiring and building nests in air filters. To keep them out, place mothballs or cotton balls soaked in peppermint oil around the machine. Don’t forget to plug the exhaust outlet with a wash plug.
Waking Your ATV for Spring Riding
When riding season finally rolls around, you can’t just hop on and pin the throttle. You’ve got to reverse the storage process and give the machine a solid once-over for any issues that might have cropped up while it was sitting. This post-hibernation check is a non-negotiable part of your yearly maintenance.
First things first, remove the battery tender and pull out that exhaust plug. If you took the battery out completely, reinstall it now. Carefully lower the ATV off its jack stands and immediately check the tire pressure, airing them up to the manufacturer’s recommended PSI.
Waking an ATV from storage isn’t just about starting it; it’s about re-commissioning it. A thorough inspection for fluid leaks, frayed wires from rodent damage, and proper control function is non-negotiable before that first ride.
This is your prime opportunity to do a really detailed pre-ride inspection. Get a flashlight and look under the ATV for any new oil or coolant leaks. Check every wire and fuel line you can see for signs of chewing or nesting debris.
Finally, fire up the engine and let it warm up properly. Listen for any weird sounds, and make sure the throttle and brakes feel crisp and responsive before you hit the trail.
Pro Maintenance Tips and Common Mistakes
Once you’ve got the basics of your ATV maintenance schedule down, it’s time to dig into the tricks that really separate the seasoned riders from the rookies. Going beyond what’s in the owner’s manual is how you avoid those frustrating trailside breakdowns and eye-watering repair bills. This is where you build real confidence in your machine.
A big debate you’ll always hear is OEM (Original Equipment Manufacturer) vs. aftermarket parts. For something as critical as brake pads, the “right” choice really comes down to how you ride. Stock OEM pads are designed for a solid balance of performance and life under normal use. But if you’re constantly bombing through deep mud or crawling down super steep hills, a high-performance aftermarket pad might give you that extra bite you need, even if it wears out a bit faster.
Avoiding Common Mechanical Mistakes
It’s surprisingly easy to make a small mistake in the garage that leads to a massive headache on the trail. One of the most common blunders is over-tightening bolts, especially critical ones like axle nuts and oil drain plugs. A quality torque wrench isn’t just a nice-to-have tool; it’s an absolute necessity. It’s the only way to prevent stripped threads or, even worse, a cracked engine case.
Another classic mistake is grabbing the wrong fluid. Your front and rear differentials need a very specific gear oil, which is nothing like your engine oil. Pouring the wrong stuff in there is a fast track to grinding gears and a very expensive repair. Always, always double-check your manual for the exact fluid specs for every single component.
Your Continuously Variable Transmission (CVT) belt is one of the most important wear items on your quad. Get in the habit of spotting the early signs of failure—things like a glazed or cracked look, or that distinct burnt rubber smell after a tough ride. It’s so much better to catch it in the garage than to have it snap 10 miles from the truck.
Key Areas New Riders Often Neglect
Honestly, it’s usually the little things people forget that cause the biggest problems. Paying attention to these often-overlooked spots will make a huge difference in your ATV’s reliability.
- Pivot Points and Bushings: Every single moving part on your suspension pivots on a bushing, and most have a grease zerk fitting. If you forget to hit these with a grease gun regularly, you’ll get annoying squeaks, binding, and you’ll wear out expensive A-arms and other suspension parts way too fast.
- Air Filter Cleaning Technique: This one is huge. When you’re cleaning a foam air filter, never twist or wring it out like you’re doing laundry. That action can create tiny tears in the foam you might not even see, which lets fine dust right into your engine. Instead, gently squeeze the cleaner out, blot it dry with a clean rag, and then re-oil it properly.
- Electrical Connections: Vibration and water are the mortal enemies of your ATV’s wiring. Every so often, take a minute to unplug the main electrical connectors, look for any green crusty corrosion, and put a little dab of dielectric grease in there before plugging them back in. This simple step can save you hours of chasing down mysterious electrical gremlins.
When you start adding accessories, you need that same level of care. If you’re putting on a light bar or other powered gear, you have to be mindful of the electrical load. Our guide on how to install an ATV winch is a great place to start, as it walks through how to safely tap into your machine’s electrical system for upgrades.
Got Questions About ATV Care? We’ve Got Answers.
Even with the best ATV maintenance schedule in hand, real-world riding throws curveballs. I get it. You’ve got specific questions about how all this applies to your machine and your kind of riding. Let’s dig into some of the most common questions I hear from riders to get you back on the trail with confidence.
How Do I Adjust My Schedule for Extreme Conditions?
This is a big one. If you’re spending your weekends plowing through deep mud, churning up sand, or fording water, your maintenance plan needs to get way more aggressive. Forget the standard hour intervals for a minute and think in terms of intensity.
A hard day in the muck and grime means you need to clean your air filter immediately—don’t even think about waiting for the 25-hour mark. That grit is engine poison.
On top of that, water and sand are absolute destroyers of drivetrains and suspension. You’ll want to inspect, clean, and re-lube your chain and every single suspension pivot point far more often. I’ve personally seen pivot points seize up completely after just a few wet, muddy rides where the owner skipped this step. Seriously consider cutting your oil change intervals in half, too. The risk of water or fine dirt contaminating your engine and diffs skyrockets in these conditions.
After a day in deep water or thick mud, a full wash-down and re-lube isn’t optional; it’s the most important maintenance you’ll perform. It prevents the grit you just rode through from causing accelerated wear on every moving part.
What Are the Most Critical Tools for a Beginner?
You don’t need to drop a fortune on a pro-level workshop to get started. But having a few key tools is non-negotiable and makes following your maintenance plan a whole lot easier (and less frustrating).
Here’s what I’d consider your starter pack:
- A quality metric socket set (don’t cheap out here)
- A set of combination wrenches
- A decent variety pack of screwdrivers
- A reliable low-pressure tire gauge (your car’s gauge won’t work)
- A set of funnels to keep fluid changes from becoming a garage disaster
But if you buy one thing, make it a torque wrench. This is the one tool you absolutely cannot skip. Over-tightening bolts is the number one rookie mistake, and it’s the fastest way to strip threads or crack an expensive engine case. A torque wrench is cheap insurance against some of the most common and costly DIY blunders.
Can I Use Car Oil in My ATV?
I hear this all the time, and the answer is a firm and absolute no. It might seem like oil is just oil, but putting automotive oil in most ATVs is a surefire way to kill your clutch.
Here’s why: most ATVs use what’s called a “wet clutch” system. This means the same oil that lubricates your engine also bathes your clutch plates. Car oils are packed with friction-modifying additives designed to boost fuel economy. Those same additives will make your ATV’s clutch slip, leading to terrible performance and, eventually, a completely fried clutch.
Always, always use a motorcycle or ATV-specific oil that is rated JASO MA or JASO MA2. This certification guarantees the oil is formulated to work with your wet clutch, ensuring it grips properly while still protecting your engine.
At Offroading.com, our goal is to give you the knowledge and confidence to tackle any trail and any maintenance task. Explore our expert guides and gear reviews to get fully prepared for your next adventure. Visit us at https://www.offroading.com to learn more.
https://offroading.com/atv-maintenance-schedule/?utm_source=rss&utm_medium=rss&utm_campaign=atv-maintenance-schedule
