This recipe walks you through how to cure, smoke, slice, and store your own homemade bacon.
We’re starting with a classic maple bacon cure with balanced salt, a touch of sweetness, and then hitting it with clean, mellow smoke.
It’s not the fastest process, but it’s straightforward and satisfying. Once you’ve got the method down, you’ll be ready to experiment with your own cure blends.
One reader, Caleb, commented: “First time go with the recipe. Followed the process completely. Turned out phenomenal. My first use of pork belly since I began my “smoking” journey. Will definitely be doing this monthly. Family loved it. Awesome!. ★★★★★“
Another reader, Debi, commented: “After tasting this recipe, no other bacon compares! So tasty!! ★★★★★“
Why Make Your Own Bacon?
Sure, tossing a pack of bacon in your cart at the grocery store is easier. But when you make it yourself, you get full control over the flavor, quality, and process.
Here’s why it’s worth doing at least once:
- Flavor You Control – You choose the cure ingredients, the smoke level, and the final texture. Want a hint of maple? More smoke? It’s all up to you.
- Slice it How You Want – Thicker for breakfast plates, thinner for crisping up in a pan or layering into a sandwich.
- Better Ingredients – Whether it’s heritage breed or just a well-trimmed slab from your butcher, you’ll know exactly what’s going into your bacon. No fillers, no added water, and no surprises
It’s a satisfying process with a big payoff at the end. Plus, serving homemade bacon on burgers or for weekend breakfasts is really the ultimate flex.
Nitrates and Curing Salt
This recipe uses Prague Powder #1, also known as pink curing salt, which contains sodium nitrite. It’s a key ingredient for safely curing meats like bacon, helping prevent nasty stuff like Clostridium botulinum from setting up shop.
Some folks get nervous when they hear the word “nitrite.” That’s understandable. But just like fire, knives, and offset smokers, it’s all about using it properly. When measured accurately and used as intended, curing salt is a time-tested method that people have used to make bacon safely long before refrigeration existed.
This is a beginner’s guide focused on how to cure and smoke bacon safely, not a deep dive into the nutritional science. If you want to dig into the health debates or read up on the research, here are a couple of solid resources:
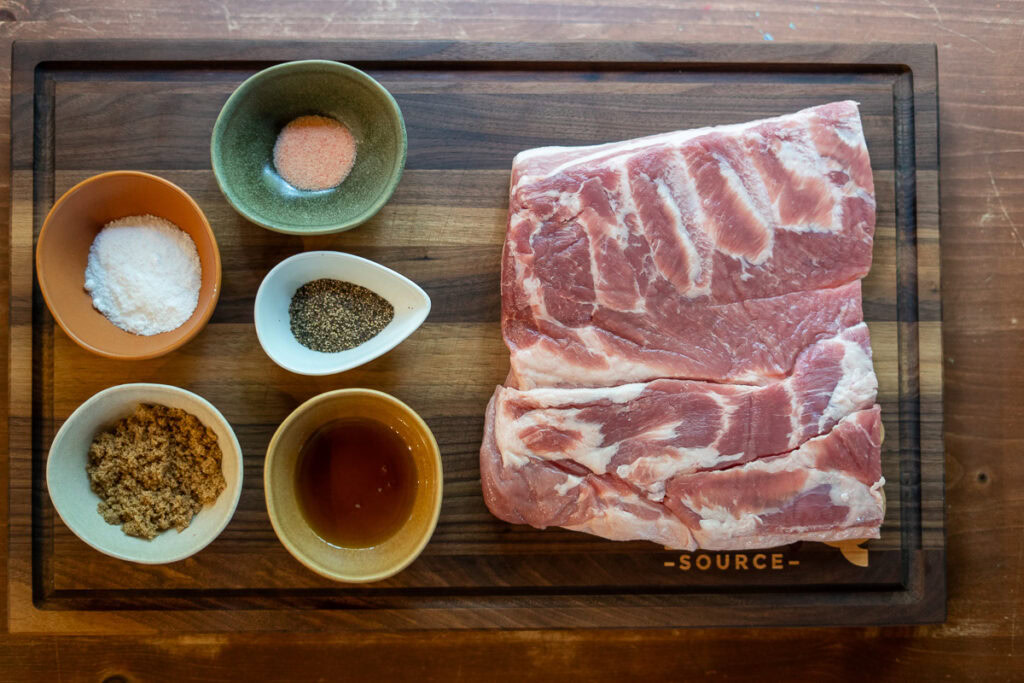
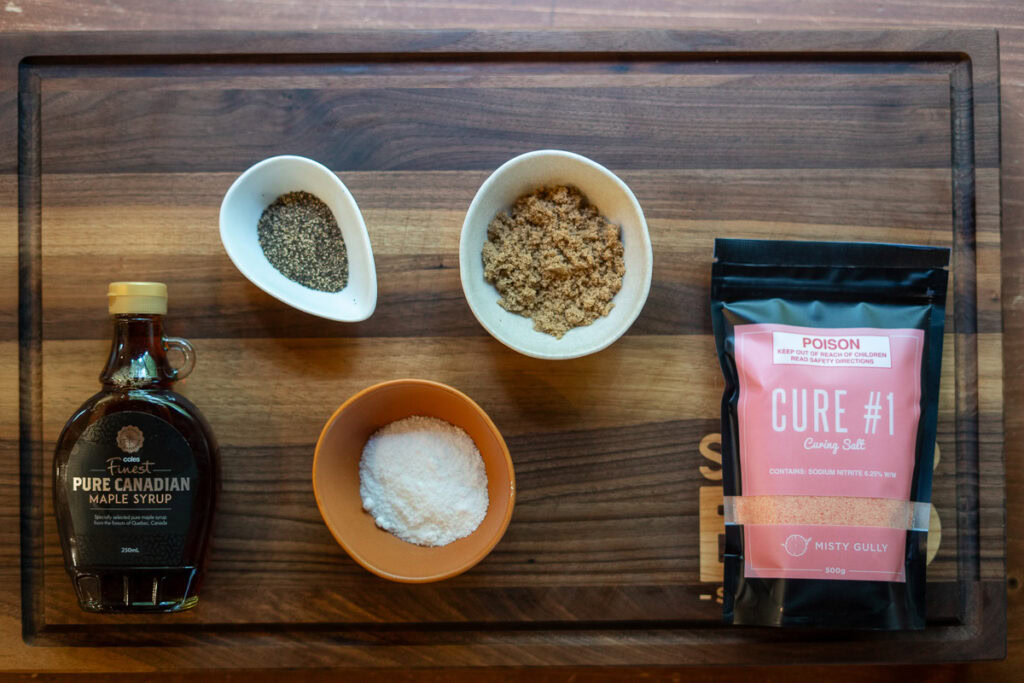
Ingredients you need
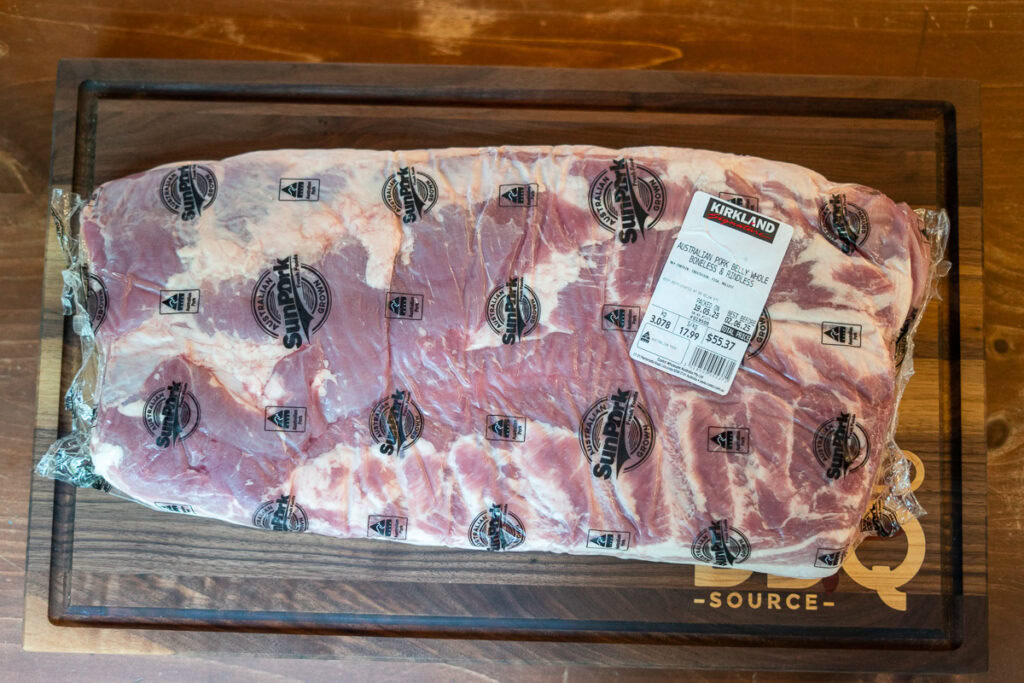
- Skinless Pork Belly – Look for even thickness. Around a 3 lb slab is ideal for home curing. Big enough to be worth the effort, but still easy to handle. You can often find them at Costco, Asian grocery stores, or ask your butcher to order one in.
- Prague Powder #1 – This pink curing salt is essential for preventing harmful bacteria and giving bacon its signature flavor and color. Measure by weight, not volume
- Kosher Salt – Use kosher salt, not table salt. Morton and Diamond Crystal measure differently by volume, so it’s best to weigh your salt.
- Maple Syrup – Adds a subtle sweetness that plays beautifully with the smoke. Use real maple syrup (not pancake syrup) for the best flavor.
- Brown Sugar – Balances the salt and brings depth to the cure. You can adjust up or down depending on how sweet you like your bacon.
- Black Pepper – Coarsely ground or cracked pepper adds a nice savory edge. Feel free to leave it out if you want more of a neutral, sweet flavor
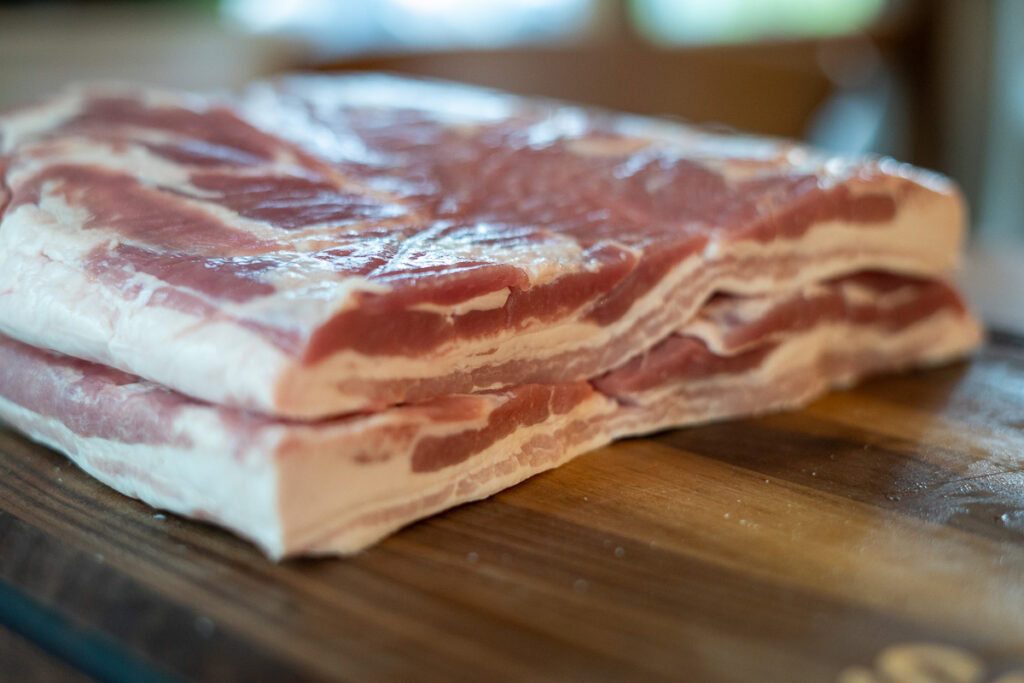
What’s the Best Cut of Pork for Bacon?
Most bacon is made from either pork belly or pork loin, which are cured and sometimes smoked. In this recipe, we’re using pork belly for that classic bacon appearance and taste.
When choosing your pork belly, look for one with a balanced 50/50 ratio of meat to fat, with creamy white fat and firm pink meat. Avoid pieces that are overly fatty or thin on one end, as this can lead to uneven curing and smoking.
Whole pork belly used to be difficult to get your hands on but is now common to find at good butchers or even Costco.
If your budget allows, look for heritage breeds like Berkshire, Duroc, or Kurobuta. These tend to have richer flavor, better fat quality, and superior texture.
How to Cure and Smoke Your Own Bacon
1. Prep your pork belly
Before you start curing, it’s crucial to trim and weigh your pork belly accurately. The salt and curing salt (Prague Powder #1) must be calculated based on the exact weight of your meat to ensure proper curing and food safety.
For this recipe, I started with a large pork belly from Costco and sliced it into two 3 lb slabs. If your belly is close to 3 lb, trim any uneven edges to square it up and get it as close as possible to 3 lb even. This makes it easier to apply the cure evenly and follow the recipe as written.
If you’re working with a larger piece (like a 6 lb belly), you can double the cure recipe below. For anything more or less, I recommend recalculating the cure ingredients using gram weights to match your specific pork belly size.
I prefer to buy a larger pork belly and divide it into smaller slabs for a couple of reasons:
- Better yield for your effort – Curing and smoking takes time, so you might as well end up with more than a snack. If you’re firing up the smoker, make it worth it.
- More room to experiment – Splitting the belly lets me try different cure blends in the same batch.

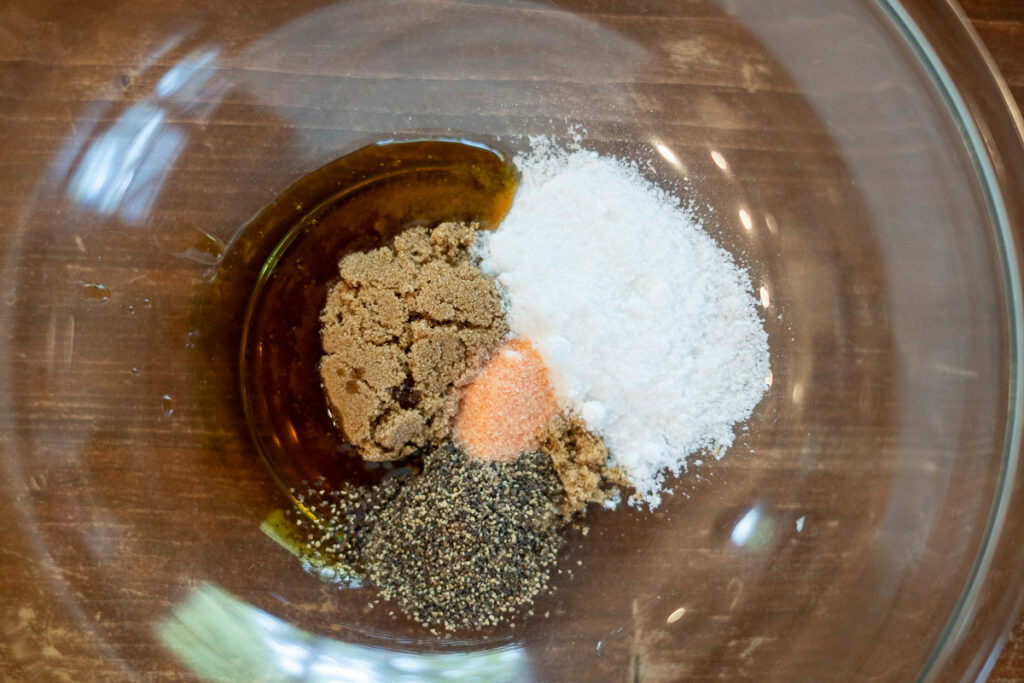
2. Make the cure
Curing draws moisture out of the pork belly and preserves it, while also building flavor before smoking.
In this recipe, I use a simple but well-balanced cure made with kosher salt, Prague Powder #1, brown sugar, maple syrup, and optional coarse black pepper.
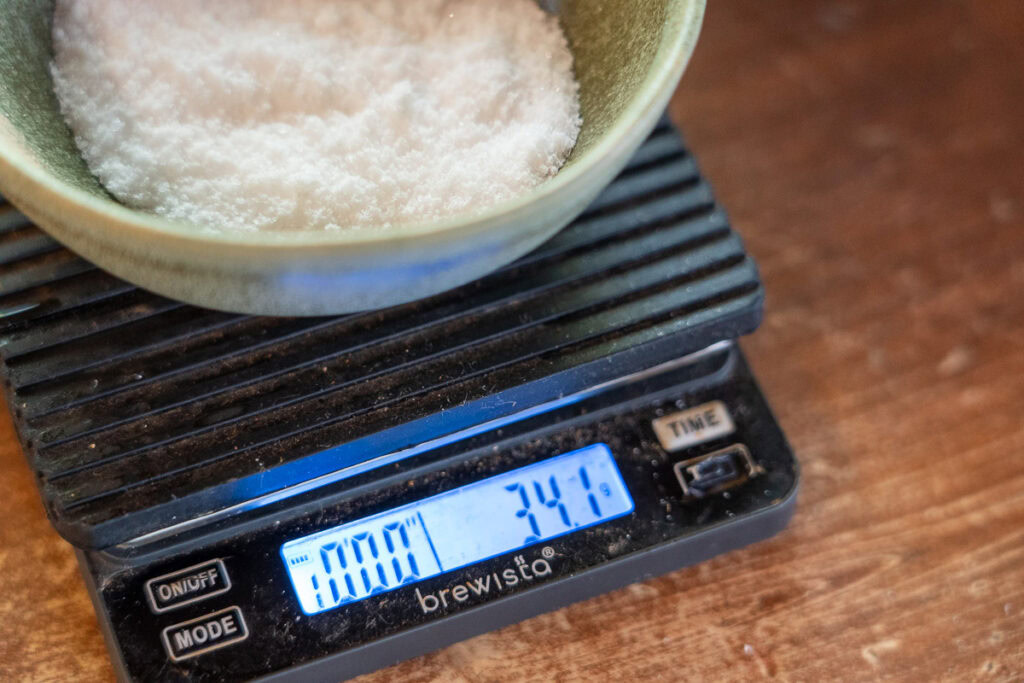
For the best results, I highly recommend using a kitchen scale to weigh your ingredients in grams rather than relying on tablespoons. This is especially important for the curing salt, which needs to be precise for both safety and flavor.
Combine everything in a bowl and mix well until the sugar and salt are evenly distributed. Add the pork belly and coat well.
You can also apply the cure directly to the meat inside a zip-top or vacuum-sealable bag. This keeps things clean and makes sure all the cure stays in contact with the pork belly. Just massage the mixture all over the meat, making sure to coat every surface thoroughly.
Why We Use Grams (Not Tablespoons)
When it comes to home curing, you need to forget about freedom units and embrace the mathematical superiority of the metric system.
Curing salt isn’t something you eyeball. It contains sodium nitrite, which prevents harmful bacterial growth during the curing process. Too much can be unsafe. Too little and your bacon won’t cure properly.
Always measure by weight using a digital scale. Never round up, and never guess. Use only the amount specified for the weight of your pork belly. A little goes a long way. Adding more doesn’t make it safer.
3. Seal and wait for 7 days
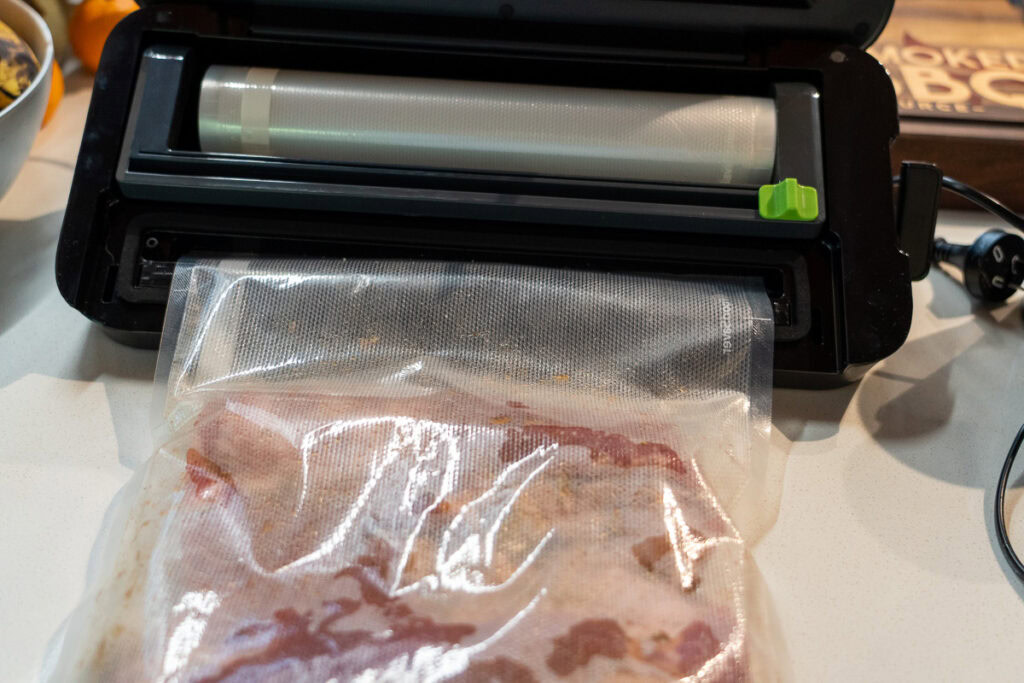
Once you have your pork belly with the cure place it in a vacuum seal or Ziploc bag.
I like to vacuum seal, as the cure will draw out a lot of liquid from the pork belly, and you don’t want that escaping into your fridge. If you don’t have a vacuum sealer that’s OK, just make sure you get as much air out as you can.
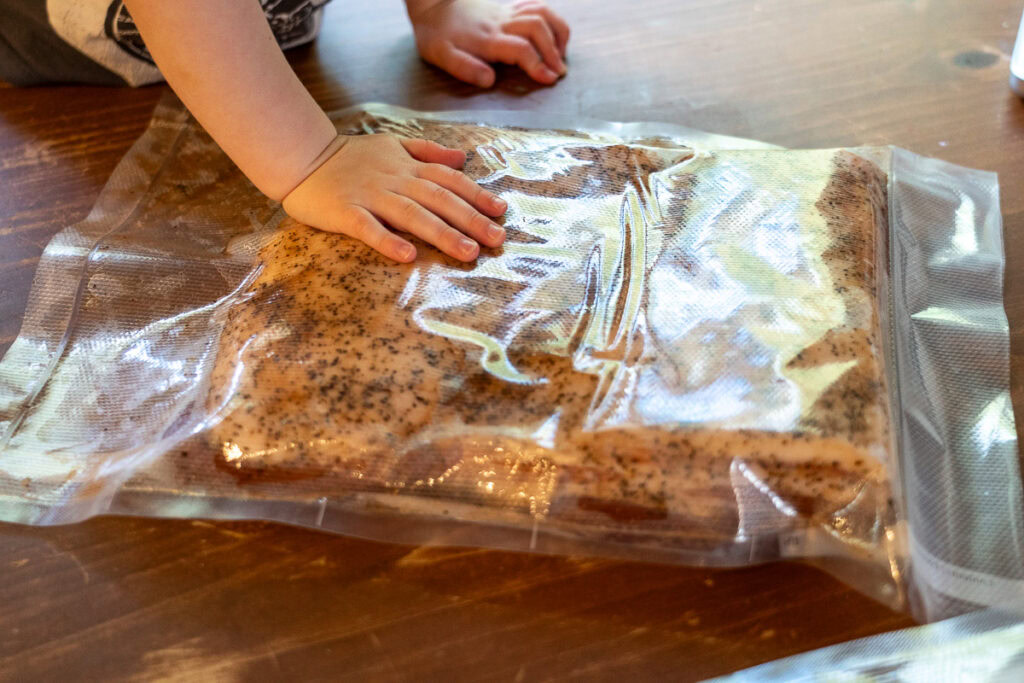
Put it in the refrigerator for 7 days. You want to make sure that you flip the pork belly every day so that the juices and flavors move throughout the whole cut and don’t just sit on one side of the meat the whole time.
I like to get the little ones involved in this step. Pretend you’re living on a homestead, and make it a daily chore to flip and rotate the curing bacon!
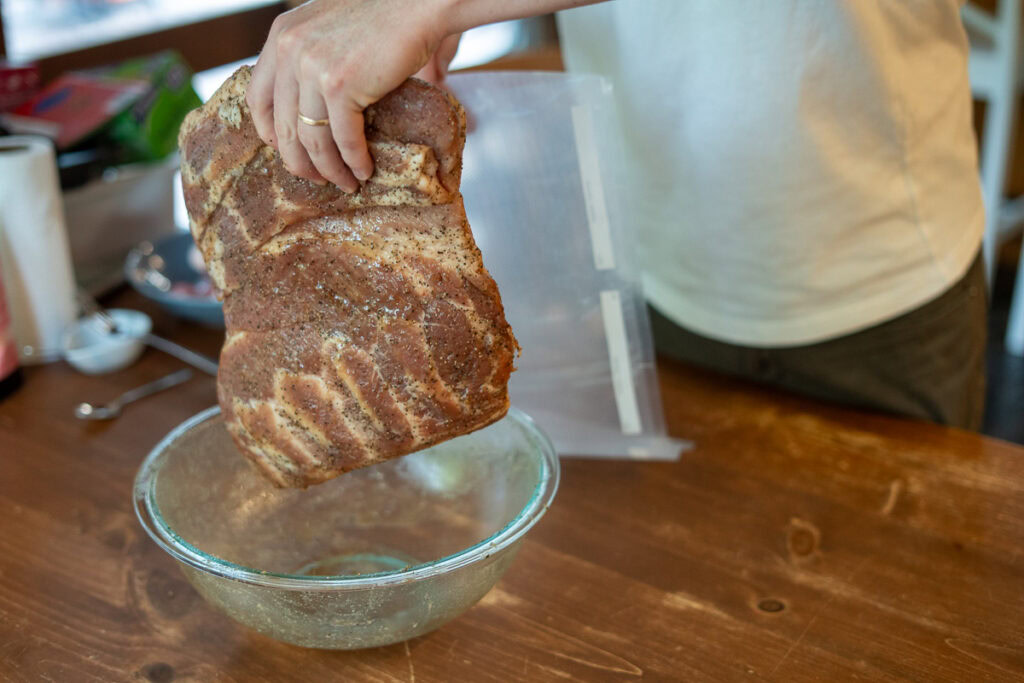
4. Rinse, Dry, and Taste Test
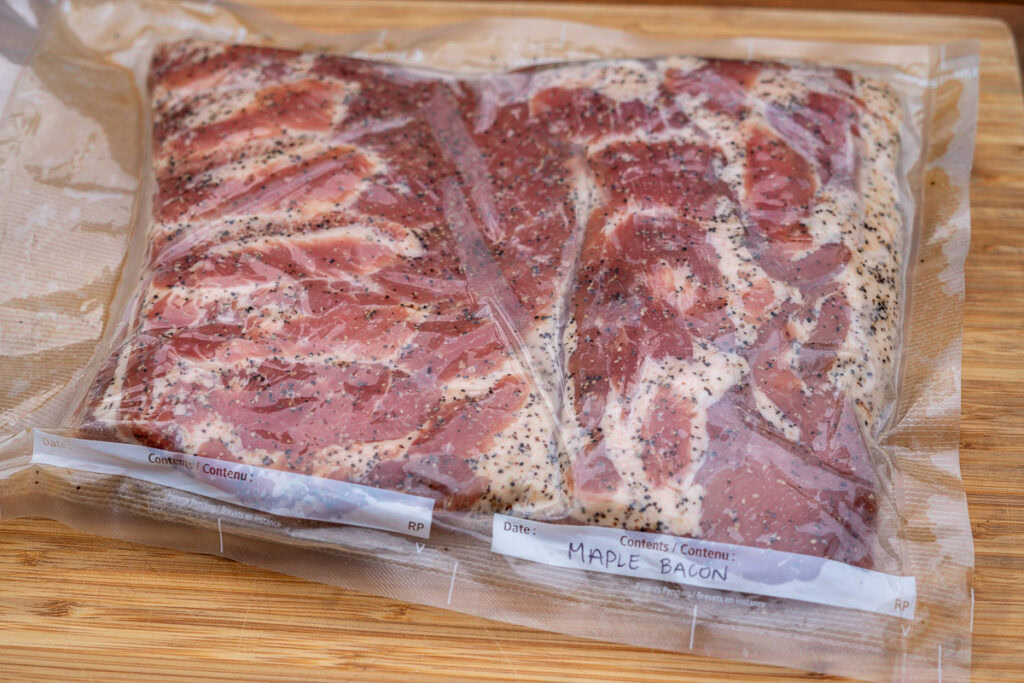
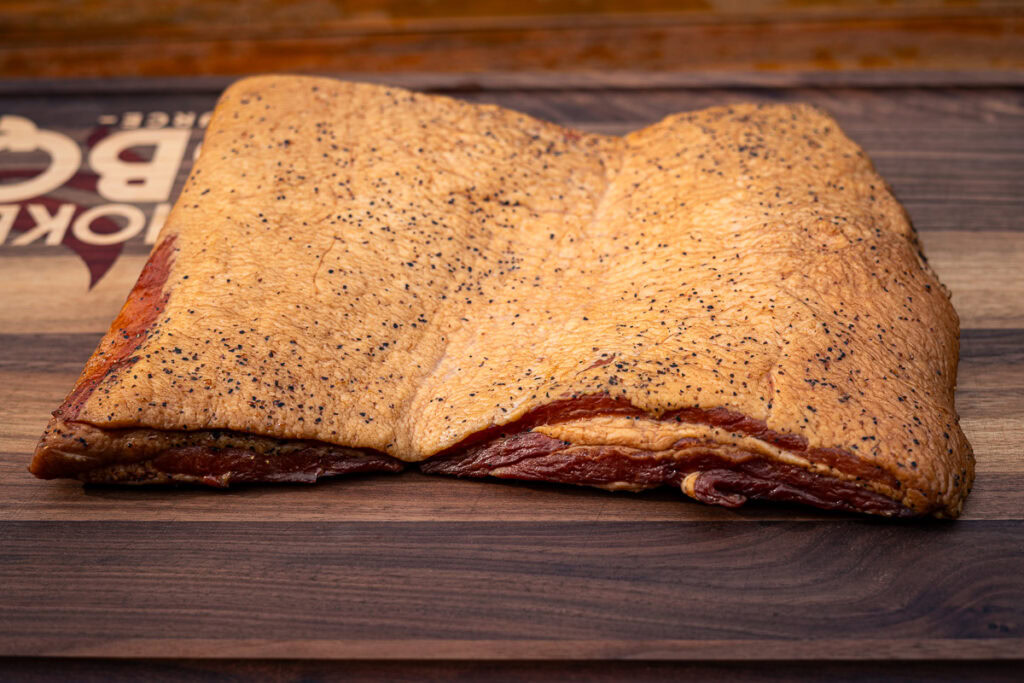
After seven long days of flipping and waiting, your pork belly has officially become bacon. It should now have that deep pink color that signals it’s fully cured.
There’s one more important step before firing up the smoker, so you’ll need a little more patience.
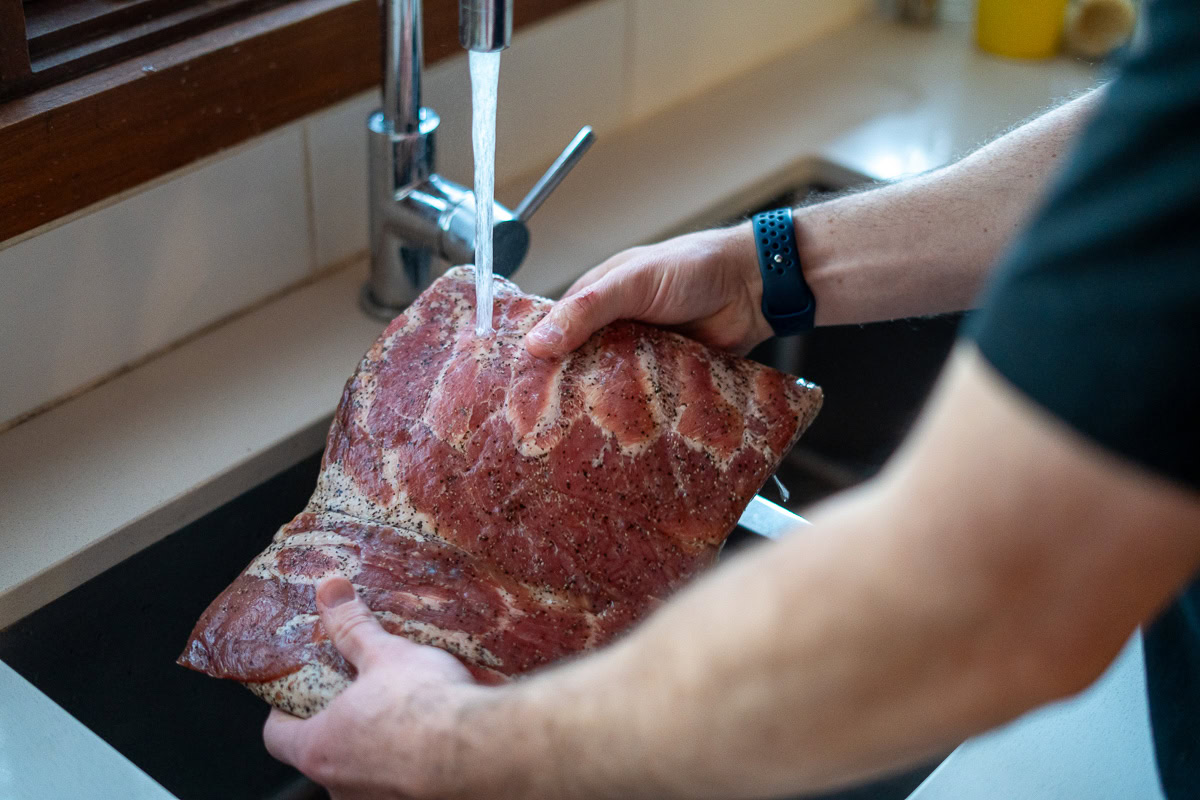
Remove the bacon from the bag and rinse it thoroughly under cold water to remove the excess cure. Then, pat it dry with paper towels.
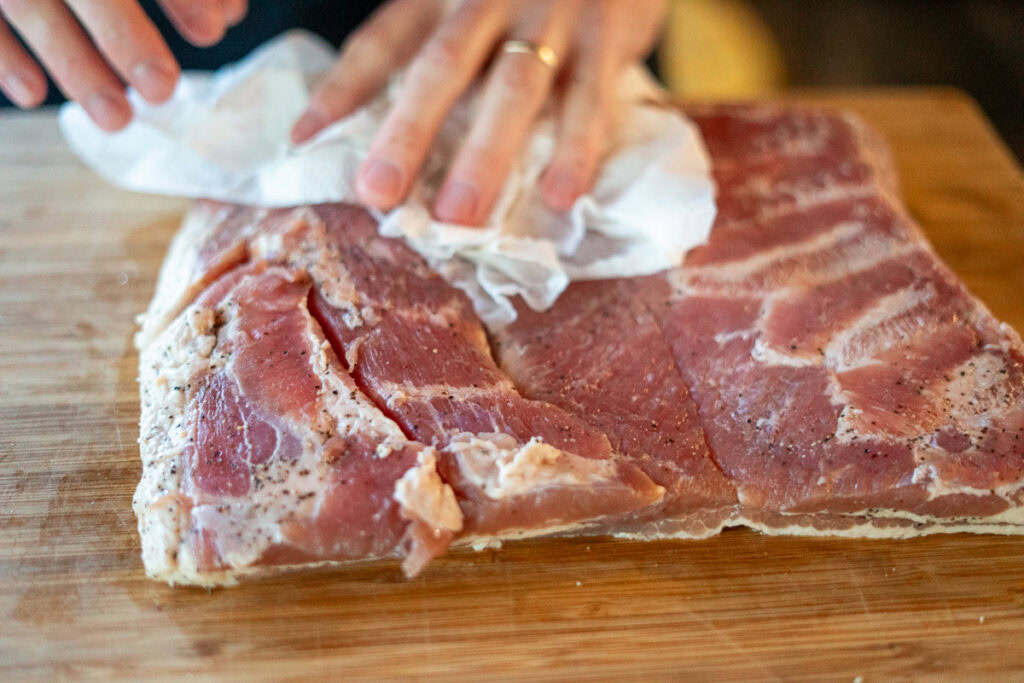
This is also the perfect time to do a quick salt check.
Slice off a few thin pieces, fry them up, and give them a taste. If the bacon is just a little salty, that’s fine. The smoking process will mellow it out. But if it tastes overly salty, soak the slab in cold water for an hour or two, then taste again. Repeat the soak if needed until you’re happy with the balance.
I picked up this tip from a great tutorial by Chuds BBQ. It’s a small step, but it can save your bacon, literally.
One of the most common complaints with homemade bacon is ending up with an inedible salt bomb, and this quick taste test is the easiest way to avoid that.
5. Dry the Bacon and Form a Pellicle
Place the rinsed and dried bacon on a wire rack set over a tray to catch any drips and return it to the fridge, uncovered, and let it sit overnight.
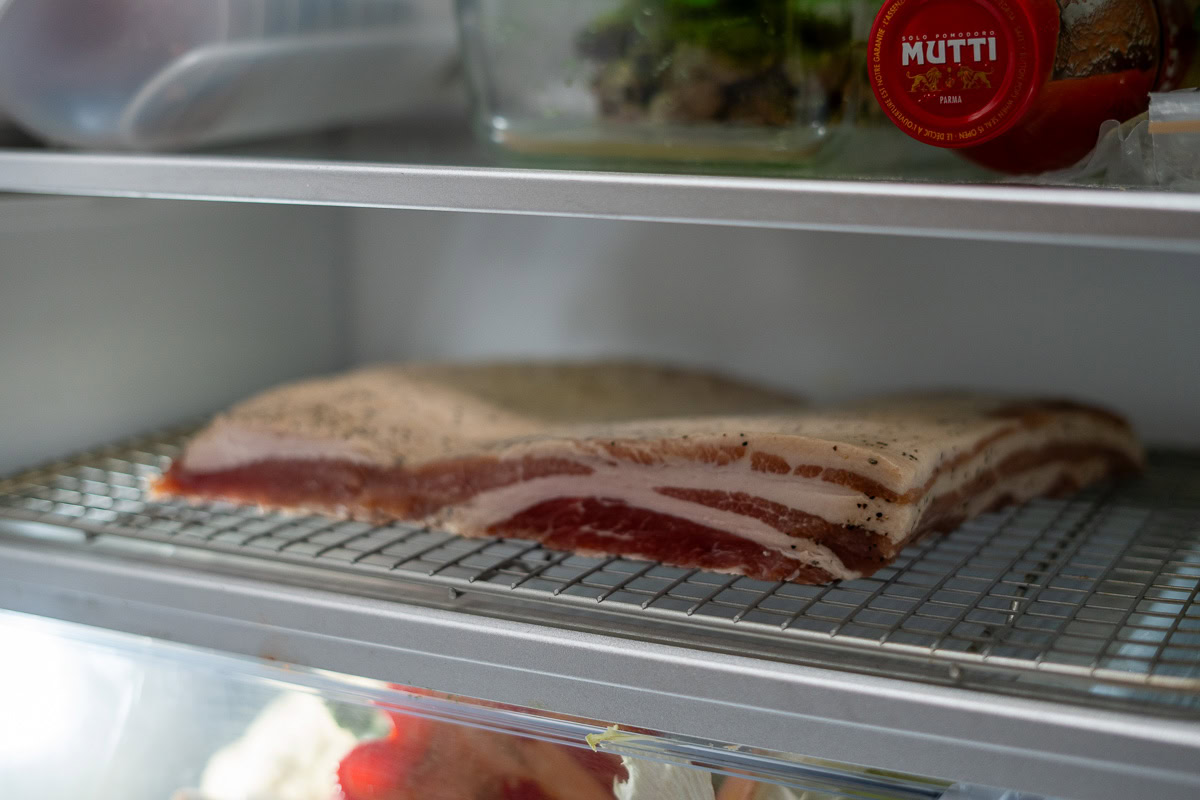
If you are short on time, a few hours in the refrigerator will work, but overnight is ideal.
This final drying step helps the surface of the bacon develop a tacky layer called a pellicle. The pellicle is key for smoking as it allows smoke to adhere more effectively, giving your bacon deeper color and a richer, more pronounced smoky flavor.
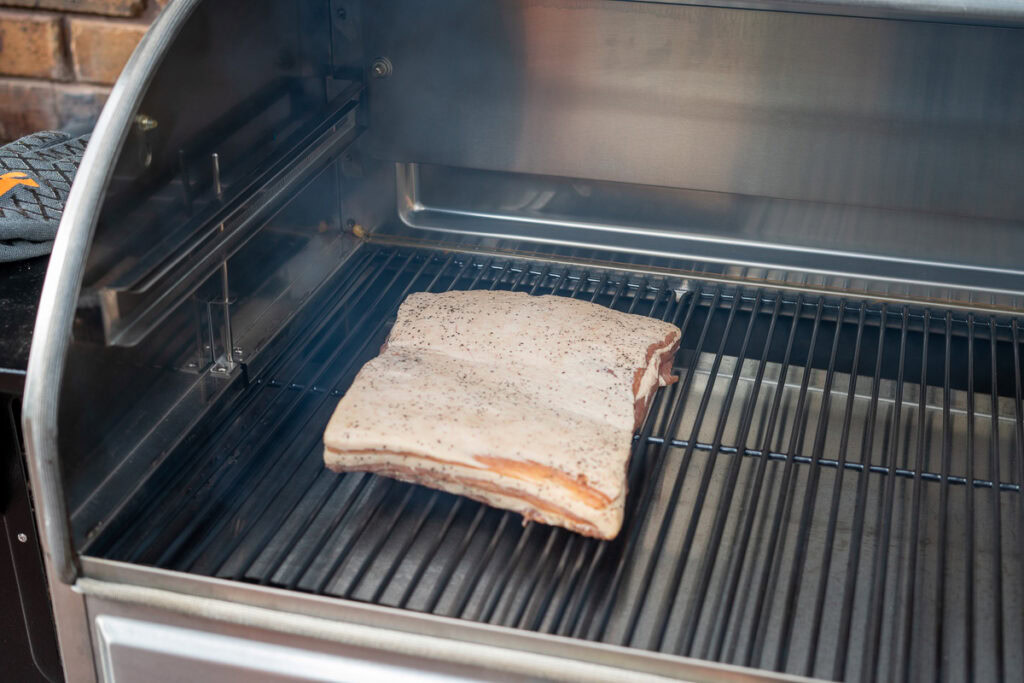
6. Smoking
Once your bacon has dried out in the fridge overnight and developed a pellicle, it’s finally ready for the smoker.
For best results, keep the temperature low and steady. This helps build smoke flavor without drying out the meat or rendering too much fat.
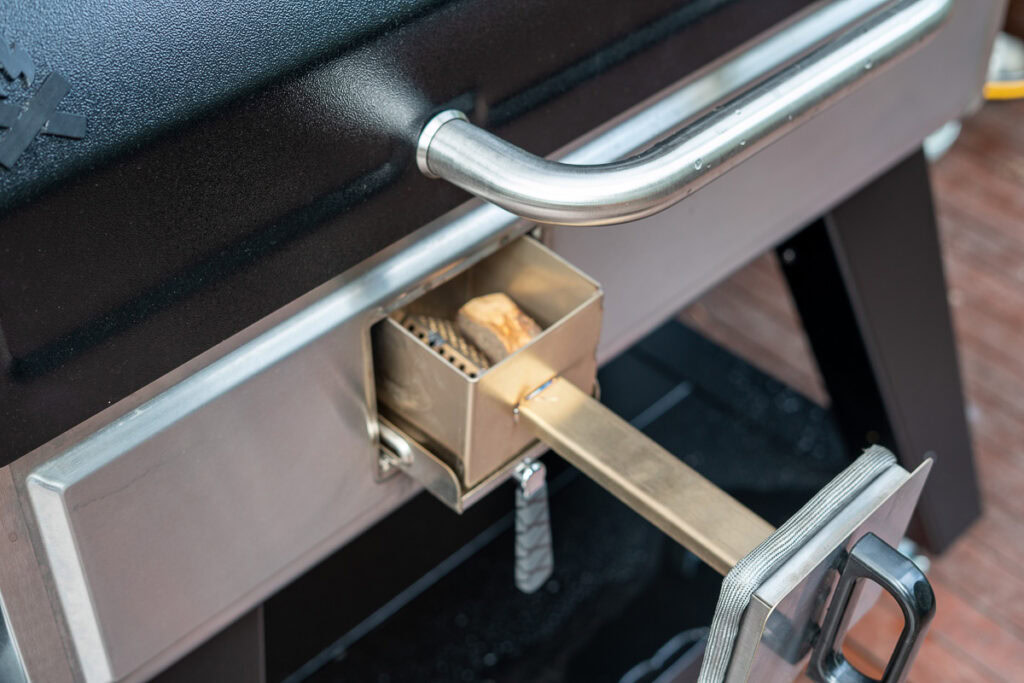
I smoked mine on my Camp Chef Woodwind Pro pellet grill at 165°F, which gave me excellent temperature control and clean, consistent smoke. You can smoke anywhere between 165°F and 200°F, but going much higher can cause the bacon to cook too quickly and lose moisture before absorbing enough smoke.
For wood, I used apple pellets for a mild, clean smoke that pairs well with the maple cure. Cherry is another great option with a deeper, fruitier flavor, and hickory delivers that classic, more intense bacon smoke. The amount of smoke flavor is up to you. Store-bought bacon is usually lightly smoked, so using more wood will give your bacon a richer taste when it’s cooked later.
The Woodwind Pro also allows you to burn wood chunks, so I added some apple wood for a little extra flavor.
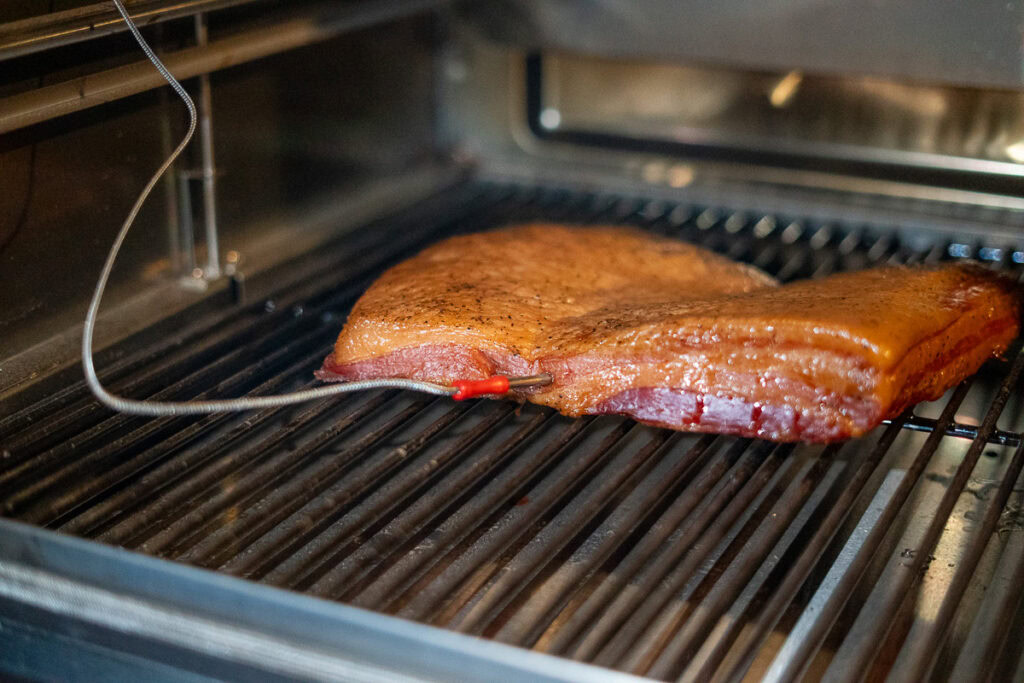
Place the pork belly in the smoker once it’s holding temperature and producing thin blue smoke. Smoke until the internal temperature reaches 150°F to 160°F. I pulled mine at 150°F after about 5 hours. Times will vary based on the size of your pork belly and how steady your smoker runs.
If you’re short on time near the end, you can raise the temperature slightly to help finish it off.
Monitor closely with your smokers’ leave-in probe or use an instant-read thermometer like a Thermapen to check doneness.
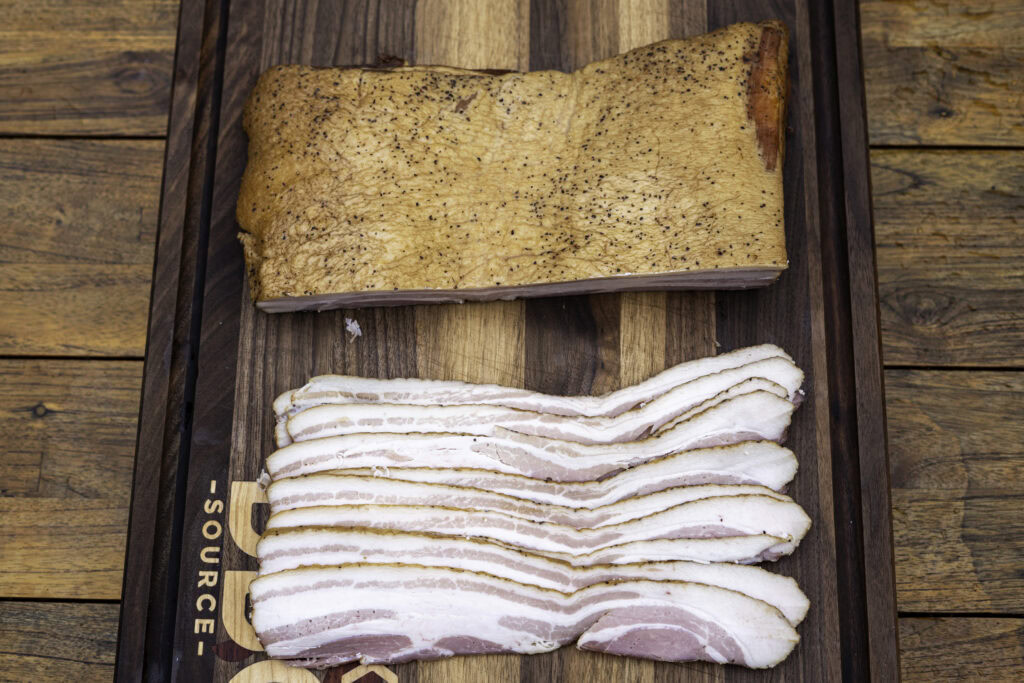
7. Slice It Your Way
Once the bacon reaches an internal temperature of 150°F, remove it from the smoker and let it rest at room temperature for at least 30 minutes.
Before slicing, I recommend chilling the slab in the fridge overnight. I know by this point you’re raring to eat some bacon, but cold bacon is much easier to slice, especially if you’re aiming for consistent rashers.
Now for the big question. Do you want thick-cut or thin-cut bacon?
If I’m serving bacon for breakfast, I like thick slices. If I’m using to make Jalapeño Poppers or Atomic Buffalo Turds or adding it to sandwiches, salads, or burgers, thinner slices work better.
If you’re going to make bacon often, I recommend investing in an electric meat slicer like this 7.5″ slicer from Meat!
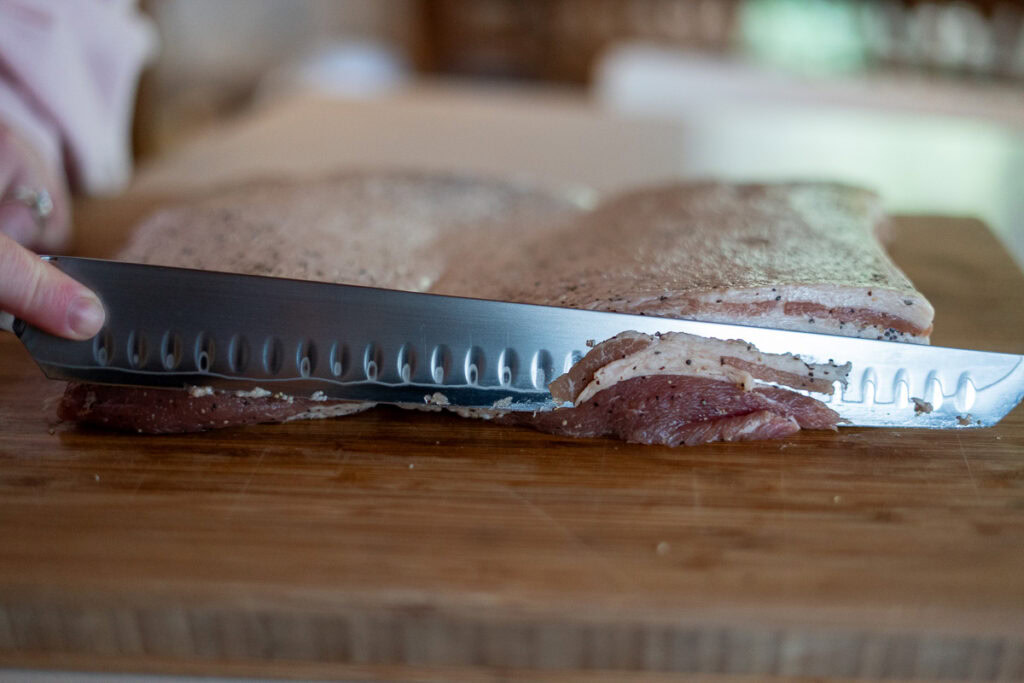
A long slicing or brisket knife will get the job done, though. Take your time and slice against the grain for the best texture.
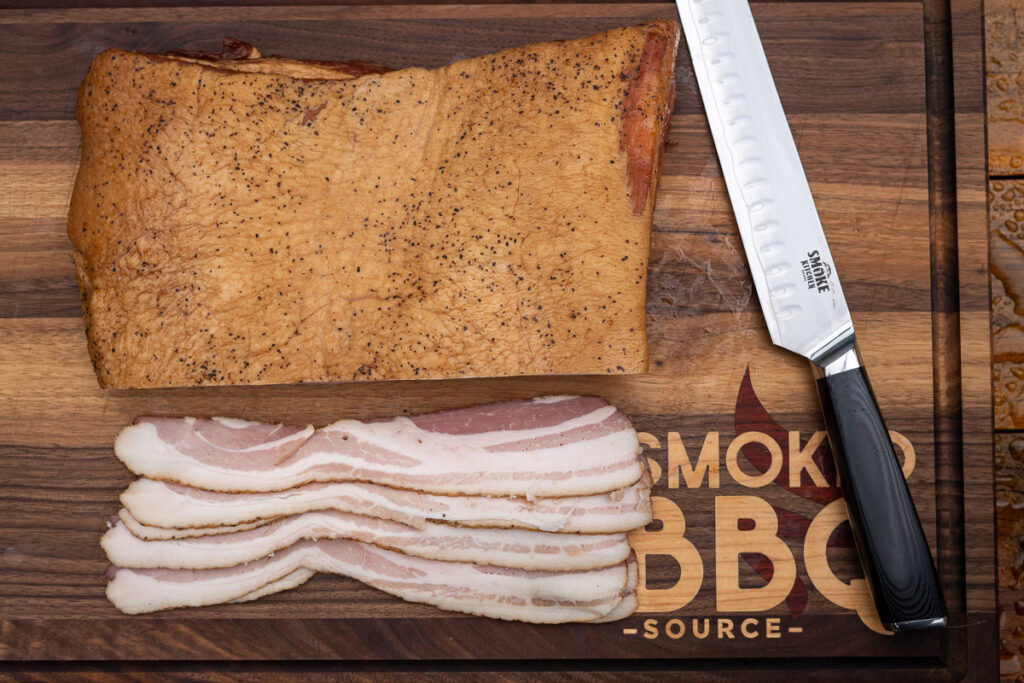
I cut most of the slab into a mix of thin and slightly fatter strips, then cube the uneven edge pieces into lardons. These are great for tossing into salads, making carbonara, or topping baked potatoes.
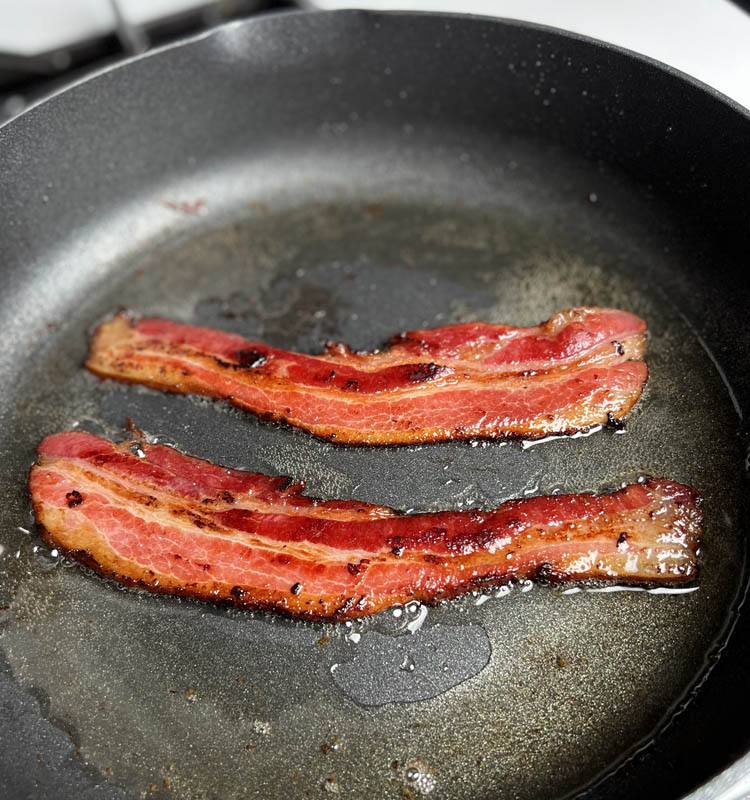
How to cook your bacon
After all that curing and smoking, don’t ruin your bacon by cooking it too hot.
Because of the sugar in the cure, homemade bacon is more prone to burning than store-bought. I recommend cooking it slowly over medium-low heat in a skillet or on the griddle to get crispy edges and rich flavor without scorching.
You can also bake it on a rack in the oven for even more even cooking.
This is what you get after all your hard work. So worth it!
Storing your bacon
Most bacon recipes will tell you that once sliced, bacon stored in an airtight container or bag in the fridge will keep for 7-10 days.
This conservative guideline is taken from commercial bacon after opening and covers liability and worst-case storage scenarios.
Properly cured and stored, homemade bacon often keeps longer than store-bought, but for safety, follow these conservative guidelines:
- Whole slabs can be wrapped tightly and stored in the fridge for up to 3 to 4 weeks.
- Sliced bacon will keep for about 2 weeks in the fridge if sealed in an airtight container or bag.
If the bacon ever smells off or feels slimy, it’s time to toss it.
The vacuum sealer comes in clutch for storing the bacon in individual packages, which is perfect for freezing. Bacon packaged and frozen correctly will hold its quality for 6+ months
Scaling this recipe
Use this calculator to adjust the cure quantities based on the weight of your pork belly. Since the maple is more of a flavor addition, it’s not included in the calculation.
Bacon Cure Calculator
The calculator is based on the following dry curing ratios:
- Prague Powder #1: 0.25 %
- Kosher salt: 2.5 %
- Brown sugar: 1.5 %
- Black pepper: 0.5 %
Here are more ways to eat that bacon
Print
How to Cure and Smoke Your Own Bacon
Learn how to make homemade bacon using a maple-based dry cure and a low-and-slow smoke. This method creates rich, smoky flavor with perfectly balanced salt and sweet.
Course Appetizer, Breakfast, Snack
Cuisine American
Prep Time 8 days days
Cook Time 5 hours hours
Total Time 8 days days 5 hours hours
Servings 18
Calories 1038kcal
- 3 lb skinless pork belly see note 1 for advice scaling this recipe
For the cure
- 2 tbsp (34g) Kosher salt
- ½ tsp (3.4g) prague powder #1 see note 2
- 1½ tbsp (20.4g) brown sugar
- 1 tbsp (6.8g) black pepper
- 2 tbsp (41g) maple syrup
Prepare cure by mixing all ingredients together until well combined.
Apply the cure to pork belly, making sure to cover entirely.
Place the pork belly in a vacuum seal bag or Ziplock and seal well. Place in the refrigerator for 7 days and flip it over every day. There will be a liquid that forms in the bag – be sure to mix and massage this into the pork belly every day when you flip it.
After a week, remove from fridge and give it a thorough rinse to remove the cure.
Pat dry, and return to fridge on a rack over a tray overnight to dry and for pellicle to form.
Set up your smoker to run at 165°F, and smoke the pork belly until it hits an internal temp of 150°F, around 5-6 hours.
Cool on a wire rack for 20–30 minutes, then transfer to the fridge for at least 2 hours or preferably overnight.
Slice to desired thickness and store.
1. Scaling this recipe: The ingredient amounts in this recipe follow equilibrium curing guidelines, which means they’re based on the weight of the meat. If your pork belly is larger or smaller than 3 pounds, use our bacon curing calculator to get accurate measurements for your specific cut. When it comes to curing meat, precision matters. Tablespoons are fine for everyday rubs, but when using curing salt, you need to measure by weight. Volume measurements can vary wildly depending on how tightly an ingredient is packed or the brand you’re using.
2. Pink Curing Salt: Also known as Prague Powder #1, this is a blend of salt and sodium nitrite used for curing meats that will be cooked or hot-smoked, like bacon, ham, and sausage. It helps prevent harmful bacteria and gives cured meats their signature pink color.
Don’t confuse it with Prague Powder #2, which contains both sodium nitrite and sodium nitrate. That version is used for dry-cured meats that aren’t cooked, like salami or prosciutto.
Can be ordered online (Amazon Link) or found in good grocery stores
3. Smoking wood for bacon: Cherry, Hickory, or Apple wood all pair really well with pork. For a richer smoke flavor, you can add more wood during the smoking process
4. How long does it take to smoke bacon: You should smoke until the internal temperature of your bacon reaches 150°F. Depending on the size of your pork belly and the temperature of your smoker, this can take between three and six hours.
5. Update in 2025: This recipe previously used a sweet and savory cure with higher salt and heavier seasoning, including paprika, garlic, and a full teaspoon of pink curing salt. After more test batches, I refined the cure for better balance and accuracy. The updated version uses precise gram weights for kosher salt, brown sugar, and Prague Powder #1, with maple syrup added for depth. I also dropped the smoker temperature to 165°F and extended the cook time, which results in a richer smoke profile.
A previous version of this recipe used fenugreek instead of maple syrup and no curing salt. I’ve included it below as some commentators requested it but I recommend sticking to the ingredients and quantities above.
- 9 Tbsp salt
- 2/3 cup sugar
- 1/3 cup brown sugar
- 1 Tbsp fenugreek, or maple syrup
- 1 Tbsp paprika
- 1 tsp garlic powder
Calories: 1038kcal | Carbohydrates: 8g | Protein: 18g | Fat: 103g | Saturated Fat: 38g | Polyunsaturated Fat: 11g | Monounsaturated Fat: 48g | Cholesterol: 140mg | Sodium: 2057mg | Potassium: 389mg | Fiber: 0.2g | Sugar: 7g | Vitamin A: 24IU | Vitamin C: 1mg | Calcium: 24mg | Iron: 1mg
