This guide will walk you through how to make the best deer jerky. Wade Truong
There are only a few key aspects to making great venison jerky: the preparation of the meat, the amount of salt and seasonings, and the drying time. These fundamentals overlap a bit, and there is some wiggle room, but if you understand the core concepts, you will never make jerky that is under seasoned, overly salty, too chewy, or too dry again. Here’s how to execute those basics and one of my favorite deer jerky recipes.
Meat Preparation
Preparing meat gets the ball rolling in the jerky making process and you want to make sure you’re selecting the right cut of venison before you begin. Jerky is best made with lean cuts of meat to prevent spoilage. Whole muscles from the hind quarter are ideal—top round, bottom round, and sirloin tip. Venison is naturally lean, but depending on the age and time of the year, some deer will have a layer of fat on the skin side of their muscles. Trim any fat off of the meat.

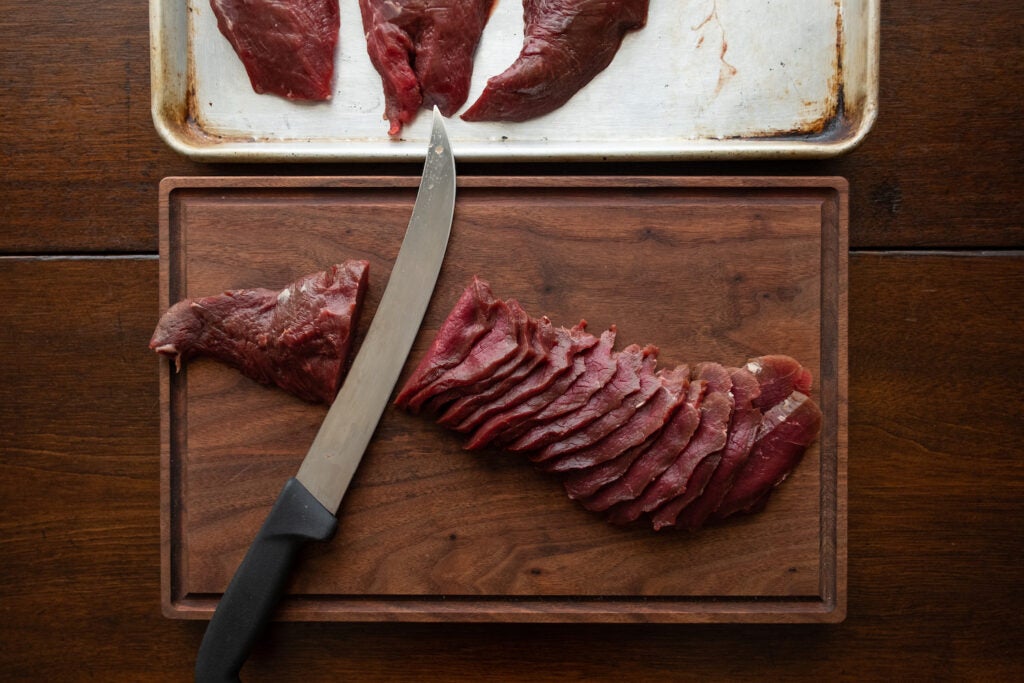
When cutting your meat, it’s important the slices are as even as possible. Wade Truong
While you are trimming, you want to remove as much tough connective tissue as you can because silverskin, sinew, and tendon, once dried, are hard to gnaw through. Removing as much of these tough bits as you can will prevent the jerky from being a chore to chew.
Once trimmed, you want to slice the jerky as evenly as you can. The more uniform the slices, the more consistent the finished jerky will be. This will prevent overly dry edges or underdone centers in your strips of jerky. Place the trimmed meat on a baking sheet and place in your freezer for 30-90 minutes until very firm, but not completely frozen. Using a long, sharp knife, cut slices across the grain of the meat to your desired thickness. My preferred thickness for jerky is ¼ inch.
Read Next: Best Dehydrators for Jerky
Salting and Curing Deer Jerky
Using the right amount of salt in your jerky is important for flavor and preservation. Use the following guidelines to use the proper amount of salt and Instacure in your deer jerky recipe.
Generally speaking, you want 1.5-1.75 percent of salt by weight in your jerky, which is roughly 2 ½ tablespoons of salt per 5 pounds of meat. The addition of other seasonings that contain salt need to be considered. In the below recipe, the 2 tablespoons of soy sauce is the equivalent of ½ tablespoon of salt.
In addition to the salt, Instacure #1 will further prevent spoilage, especially if you plan on storing the finished product at room temperature. Only a small amount is needed, .25 percent by weight, which is 1 level teaspoon per 5 pounds of meat.
Seasoning
This is where making jerky gets fun. You can add in anything you want to season your jerky. The only words of caution here is to remember that the dehydration process will concentrate the seasoning you use. I like to keep most of the venison jerky I make fairly simple—a little bit of heat and some savory notes are all I want in my jerky.

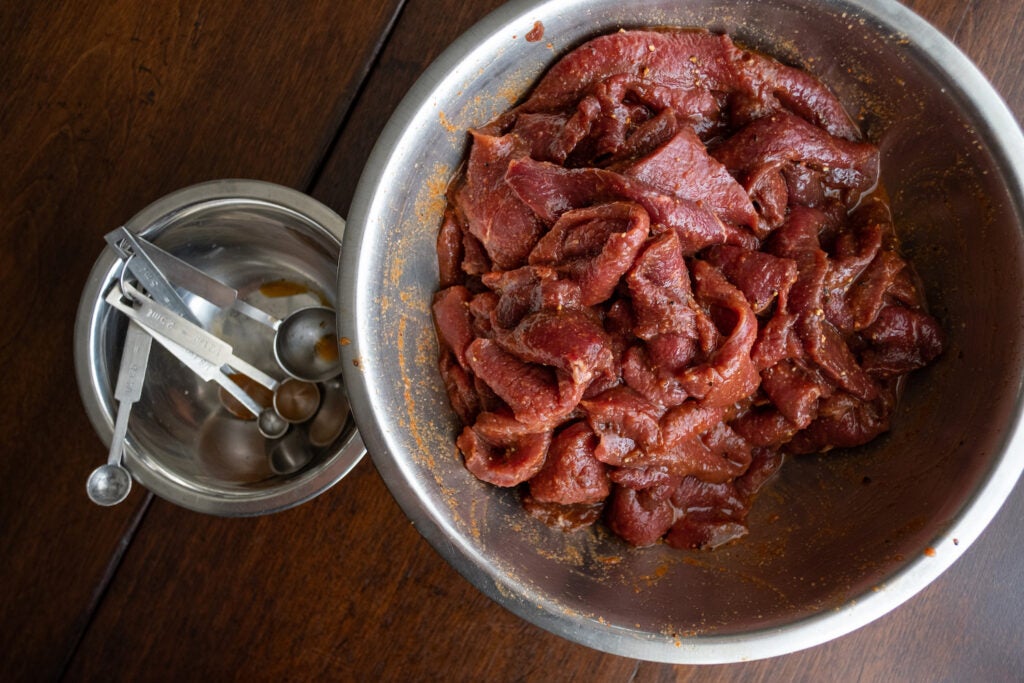
Remember, dehydrating will make your seasoning more concentrated. Wade Truong
A tip on seasoning: Mix the seasonings with water (1 cup per 5 pounds) before adding to the sliced meat. This will help evenly distribute the salt and seasonings. Once the meat is seasoned, cover and refrigerate overnight. This will allow the meat to absorb the seasonings and salt.
Dehydration
The amount of time needed to dry the jerky will depend on the temperature and thickness of the meat. For ¼-inch-thick jerky, 6 to 8 hours at 145 degrees is a good starting point. One thing to keep in mind is you can always dry the jerky more, but you can’t put moisture back into it. After the first 4 hours, I like to check on the progress of the jerky every hour until it’s perfect.

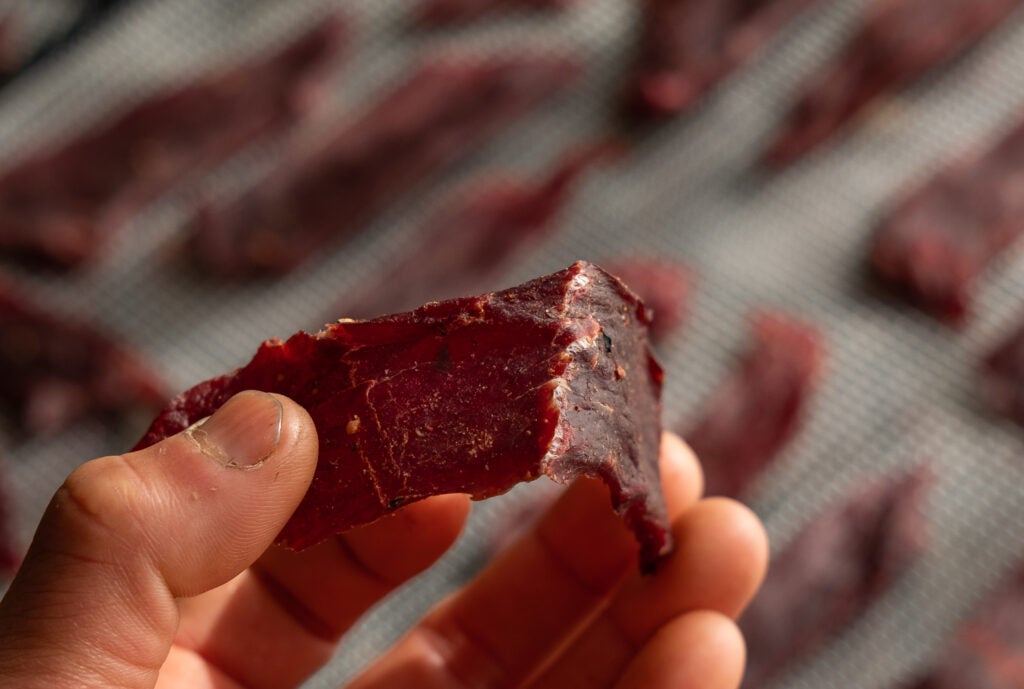
If fibers appear when you bend the meat, it’s ready. Wade Truong
A simple bend test is a good way to determine the doneness of the jerky. Take a piece of jerky and bend it from the long ends, if it’s not done it’ll be very pliable, overly dry and it’ll feel brittle. It’s perfect when white fibers appear at the bend of the meat. Another note: warm jerky will be more pliable than when it is cooled down to room temperature, so take that into consideration when testing for doneness.
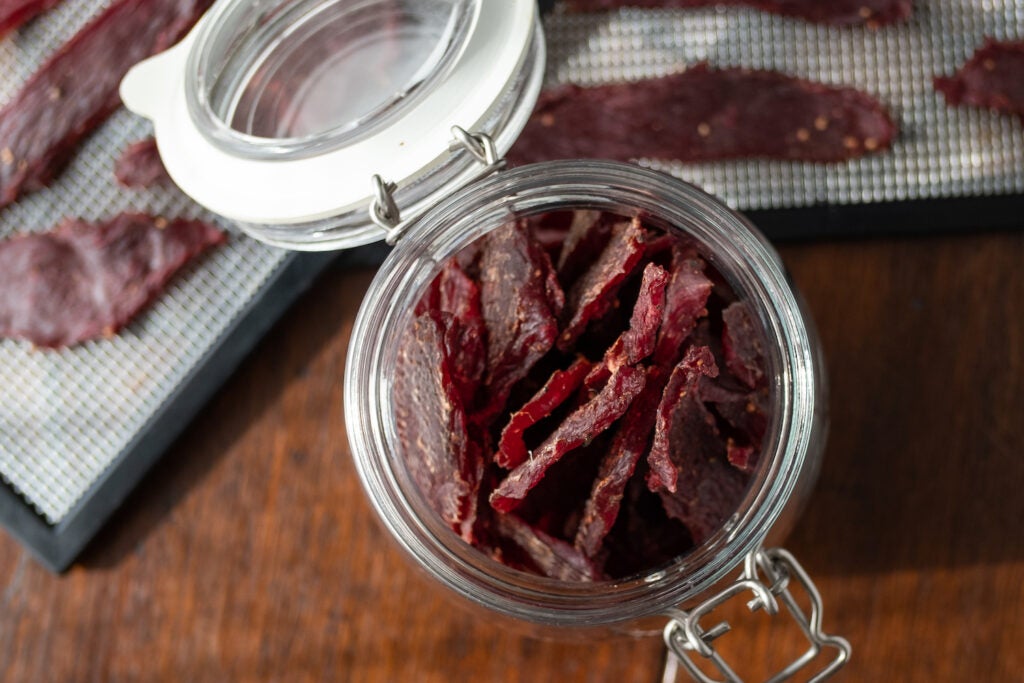
Once dehydrated, allow it to cool down to room temperature before packaging it. From here you can store in an airtight container for weeks at room temperature, or in a refrigerator for months.
Chipotle Venison Jerky Recipe

Chipotle venison jerky is spicy and savory, perfect for a trail snack. Wade Truong
Ingredients
- 5 pounds venison, trimmed, sliced ¼ inch thick
- 2 tablespoons soy sauce
- 2 tablespoons kosher salt
- 1 teaspoon Instacure #1 (Prague Powder #1)
- 1 cup water
- 1 ½ tablespoons black pepper, ground
- 1 ½ tablespoons chipotle pepper, ground
- ½ tablespoon cayenne pepper, ground
- 1 tablespoon onion powder
- 1 tablespoon garlic powder
Directions
Trim the venison of fat and connective tissue. Freeze for 30-90 minutes until firm but not completely frozen.
Slice meat crossgrain ¼-inch thick.
Mix water with remaining ingredients and pour over the sliced venison. Mix well. Cover and refrigerate overnight.
Spread out sliced venison on dehydrator racks. Dehydrate for 6-8 hours at 145F. Check for doneness every hour after the first 4 hours.
Allow to cool to room temperature before packaging.
Read Next: How to Make Deer Jerky in an Oven, Smoker, and Dehydrator
Final Thoughts
This deer jerky recipe makes a great treestand or everyday snack and keeps for weeks in the refrigerator. If you’d like to make it last longer, you can vacuum seal it and freeze it for next hunting season.
The post Deer Jerky Recipe appeared first on Outdoor Life.
By: Wade Truong
Title: Deer Jerky Recipe
Sourced From: www.outdoorlife.com/gear/deer-jerky-recipe/
Published Date: Wed, 09 Mar 2022 17:05:39 +0000
----------------------------------------------
Did you miss our previous article...
https://manstuffnews.com/weekend-warriors/more-freshwater-anglers-should-try-barracuda-fishing
 Backyard GrillingWeekend WarriorsAdvice from DadBeard GroomingTV Shows for Guys4x4 Off-Road CarsMens FashionSports NewsAncient Archeology World NewsPrivacy PolicyTerms And Conditions
