Doing your own 4Runner oil change isn’t just a great way to save a few bucks; it’s one of the best ways to get more in tune with your truck. From start to finish, you can knock out the whole job in about an hour. It really just boils down to draining the old oil, swapping out the filter, and pouring in fresh, clean oil.
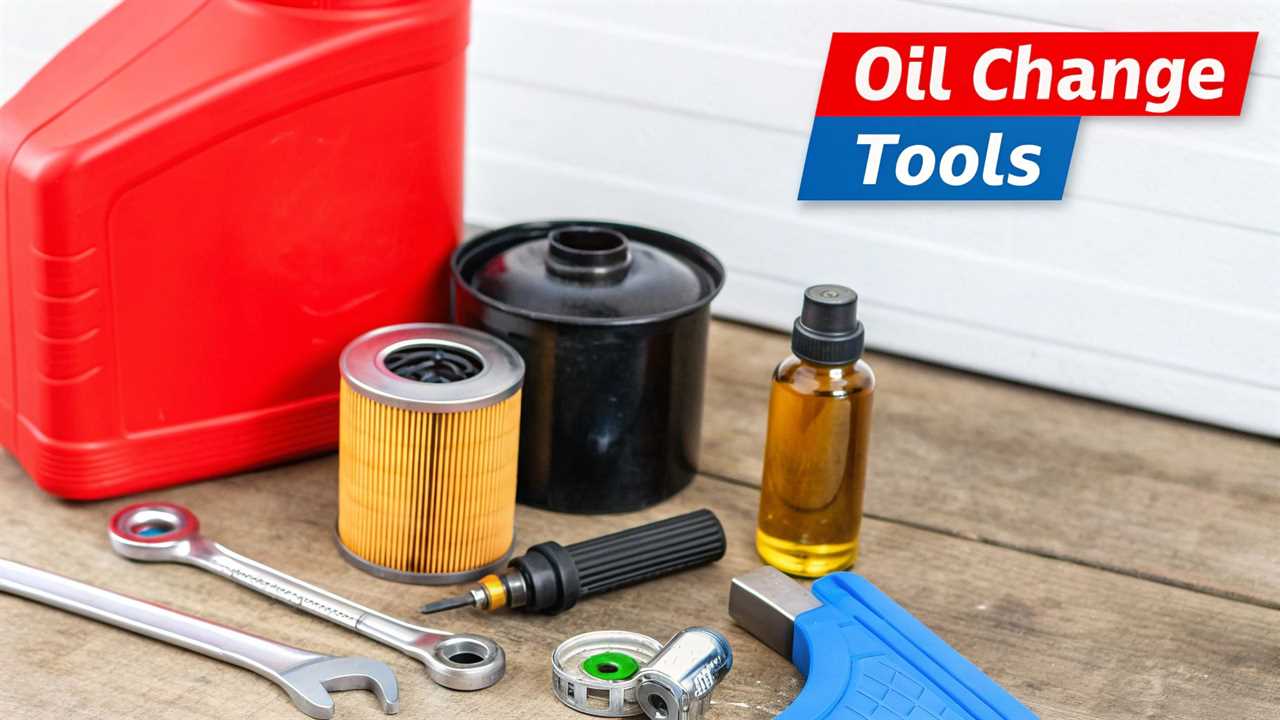
Your Essential 4Runner Oil Change Toolkit
Before you even think about sliding under your truck, the first step is to gather your tools and supplies. Getting everything laid out ahead of time is the secret to a smooth, headache-free oil change. This separates a quick job from a frustrating afternoon scrambling for tools.

This isn’t just some generic list. Think of it as your pre-flight checklist, built from years of wrenching on these trucks. We’ll even get into real-world tips, like which specific tools make the job less messy.
A quality torque wrench is non-negotiable if you want to avoid stripping bolts. It ensures a perfect, leak-free seal when you’re done.
Essential Tools And Supplies For Your 4Runner Oil Change
Here’s a detailed breakdown of everything you’ll want to have within arm’s reach.
| Item Category |
Specific Tool/Part |
Notes & Recommendations |
| Fluids & Parts |
6.6 quarts of 0W-20 synthetic oil |
Always double-check your owner’s manual, but this is the standard for 5th Gen V6 engines. |
|
OEM Toyota Oil Filter (Part #04152-YZZA5) |
Sticking with the OEM filter is a solid bet for a perfect fit and performance. |
|
Drain Plug Gasket (Part #90430-12031) |
This is a cheap, one-time-use crush washer. Don’t skip replacing it! |
| Wrenches & Sockets |
14mm socket or wrench |
For the oil pan drain plug. |
|
64mm oil filter wrench |
This is for the cartridge-style filter housing. The Motivx tool is a popular choice for a reason—it fits perfectly. |
|
Torque Wrench |
Critical for tightening the drain plug and filter housing to the correct specs. |
| Safety & Cleanup |
Jack & Jack Stands |
Never get under a vehicle supported only by a jack. Safety first, always. |
|
Wheel Chocks |
Chock the rear wheels before you lift the front. |
|
Oil Drain Pan |
A 7-quart capacity or larger is ideal to avoid any overflow. |
|
Nitrile Gloves & Safety Glasses |
Keep your hands clean and your eyes safe from drips. |
|
Rags or Paper Towels |
You’ll need more than you think. |
Having these items ready to go will make the entire process cleaner and more efficient.
The Necessities: Oil, Filter, and Wrenches
First, you need the right parts. For most modern 4Runners with the V6 engine, you’ll need about 6.6 quarts of 0W-20 synthetic oil. It’s always smart to confirm the exact spec in your owner’s manual.
Next up are the tools. You’ll need a ratchet with a 14mm socket for the oil drain plug.
The trickier part is the oil filter housing. It requires a special 64mm oil filter wrench. Many 4Runner owners swear by the Motivx tool because it grips the plastic housing perfectly.
A hot topic in 4Runner forums is the oil filter housing itself. Should you stick with the factory plastic one or “upgrade” to a metal version? Honestly, the OEM plastic housing is perfectly fine as long as you don’t overtighten it.
A Few Things That Just Make Life Easier
While you can get the job done with the basics, a few extra items make the process simpler.
A wide-mouth funnel is a must-have for pouring new oil without making a mess. Another game-changer is an oil filter drain tool. This tool lets you drain the filter before you unscrew the whole thing, cutting down on spills.
My personal pro-tip is to slide a big piece of cardboard under your work area. It’s the cheapest, most effective spill mat you can get.
Keeping your rig in top shape, whether with an oil change or a custom project, is what it’s all about. For inspiration, check out some of these top overland 4Runner builds.
How To Prepare For A Safe And Clean Oil Change
Before a single wrench touches your truck, the prep work is where a good oil change begins. I can’t stress this enough; it separates a smooth job from a dangerous mess. A few minutes of setup makes all the difference.
First, warm up the engine just a bit. Let your 4Runner idle for only 2-3 minutes. This thins the oil so it flows out faster and more completely.
You don’t want the engine scalding hot, which can cause nasty burns. After the short warm-up, kill the engine and park on a solid, level surface.
Securely Lifting Your Vehicle
Getting your 4Runner safely in the air is absolutely non-negotiable. Never get under a vehicle held up only by a jack. Jacks are for lifting, not for holding.
Start by chocking the rear wheels to prevent rolling. Next, use a floor jack on a solid frame point to lift the front end. Once it’s high enough, slide jack stands under the frame rails on both sides and lower the truck onto them.
Safety First: A common mistake is rushing the setup. Always give the vehicle a firm shake after it’s on the stands to ensure it is completely stable before you get underneath. Your safety is worth the extra 30 seconds.
Keeping Your Workspace Clean
An oil change can get sloppy, but it doesn’t have to stain your concrete. The simplest trick is to slide a big piece of cardboard under the engine area. It costs nothing and will catch any drips or splashes.
Make sure you slide your oil drain pan right under the drain bolt. Check that it’s big enough to hold all the old oil—about 6.6 quarts for the 5th Gen V6.
Keep a roll of shop towels or old rags close by, too. A little prep here saves a lot of cleanup later. For those interested in how maintenance might change with newer models, you can check out what is new for the 2021 Toyota 4Runner.
Draining Old Oil And Swapping The Filter
Alright, with your 4Runner on stands and tools laid out, it’s time to get your hands dirty. This is where the real work of a 4Runner oil change begins. I’ll walk you through everything so you can do this with confidence.
First, get under the front end and pop off the small access panel on the skid plate. This door reveals the oil filter. Next, remove the main skid plate to get to the oil drain plug.
A pro-tip for later: put a dab of anti-seize on those skid plate bolts. It makes the next oil change much easier.
This whole process really boils down to three main actions.
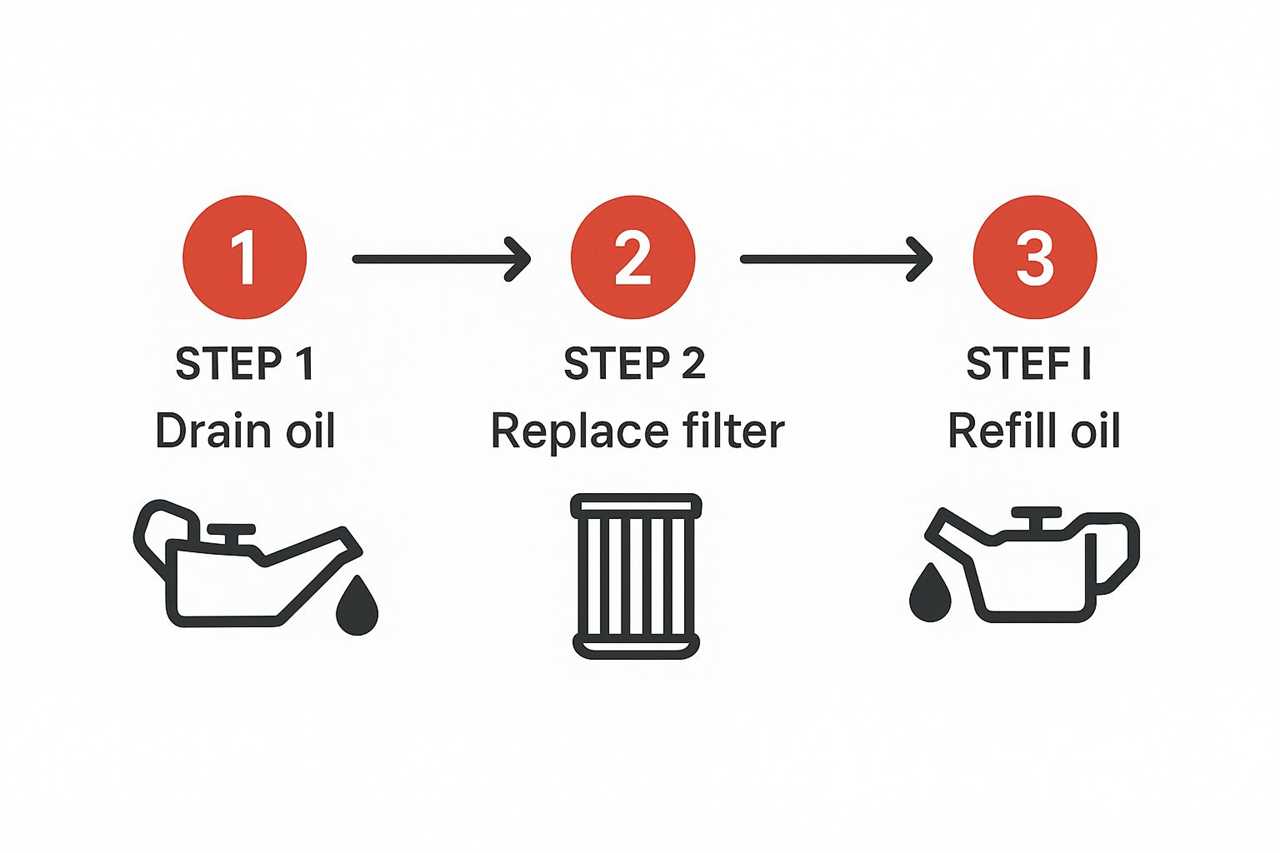
Thinking about it this way simplifies the job into a few key tasks.
Releasing The Old Motor Oil
Slide your drain pan right under the oil drain plug. Using your 14mm socket, turn the plug counter-clockwise to break it loose. Once it spins by hand, get ready, as the oil will follow fast.
To minimize the mess, keep upward pressure on the plug as you unthread it. At the last thread, pull it away quickly. The warm oil will gush out, so double-check your pan’s position.
Let it drain until it’s a slow drip, which takes about 10-15 minutes. While it drains, wipe the plug clean and slide on a new crush washer. Never reuse the old one, as this cheap part prevents leaks.
Demystifying The 4Runner Oil Filter
The 5th Gen 4Runner has a cartridge-style oil filter. It looks different from spin-on cans but is simple to use. The key is to drain the housing before unscrewing it to avoid a mess.
Your new filter should come with a small plastic drain tool. You can use that, or an aftermarket tool works even better.
Thread the drain tool into the bottom of the black plastic filter housing. This opens a valve and lets the trapped oil drain neatly into your pan. It’s a much cleaner approach.
A critical aspect of engine health is the timing of your oil changes. For the popular 5th generation 4Runner, many owners suggest the first oil change at 1,000 miles to clear break-in metals. Afterward, a routine interval of every 5,000 miles is a common recommendation. You can watch a detailed explanation of 4Runner maintenance schedules for more expert insights.
Installing The New Filter And Gaskets
Once the housing is drained, use your 64mm oil filter wrench to unscrew the assembly. Take out the old filter and find the two old O-rings—one large and one small. You must replace these every time to prevent leaks.
Your new OEM filter kit includes the filter and both O-rings. Before installing the new ones, lightly coat them with fresh motor oil. This helps them slide into place without getting pinched or torn.
Here’s a tip: pre-fill the filter housing about a third of the way with fresh oil. This step helps the engine get oil pressure instantly on startup.
Finally, tighten everything to spec with your torque wrench. Getting these numbers right is non-negotiable.
- Oil Filter Housing: 18 ft-lbs
- Filter Housing Drain Plug: 9 ft-lbs
- Engine Oil Pan Drain Plug: 30 ft-lbs
Over-tightening is a common DIY mistake. It can crack the plastic housing or strip the pan threads. A torque wrench is the only way to get it just right.
Adding New Oil And Performing Final Checks
With the old oil drained and a fresh filter installed, you’re on the home stretch. This part of the 4Runner oil change is all about precision. Refilling the engine with fresh oil is as important as getting the old stuff out.

This final phase is more than just pouring oil. It involves crucial checks to ensure your hard work pays off. We’ll walk through everything from the initial pour to resetting the dashboard light.
Pouring The Fresh Synthetic Oil
Grab your funnel and seat it in the oil filler cap. For the 5th Gen 4Runner’s V6, you’ll need about 6.6 quarts of 0W-20 synthetic oil. The key here is to pour slowly to prevent messy spills.
A classic rookie mistake is dumping the entire jug in at once. Pour in about six quarts first, leaving a half-quart in the bottle. This trick is your best defense against overfilling.
After adding the first six quarts, step back for a minute. Let the oil settle down into the pan. This pause gives you an accurate reading when you check the level.
Checking The Dipstick Accurately
Now it’s time to check your work. Pull the dipstick, wipe it clean, and slide it all the way back in. Pull it out again and check the level.
The oil should be near the lower dot on the stick. Add the rest of the oil a little at a time. Keep repeating this until the oil level sits perfectly at or just below the top dot.
What If You Overfill?
Don’t panic; it happens. If you’ve only gone slightly over, it’s usually not a huge deal. If you’ve really overshot it, get back under the truck, crack the drain plug, and let a small amount drain out.
Final Inspection And Skid Plate Reinstallation
With the oil level spot-on, you’re ready to button everything up. Before bolting the skid plate back on, fire up the engine for about 30 seconds. This circulates the new oil and builds pressure.
Shut the engine off and do one last, critical inspection. Grab a flashlight and check for any drips around these key spots: the oil drain plug, the oil filter housing, and the filter housing drain plug.
If everything is clean and dry, you’re clear to reinstall the skid plate. Here’s a pro tip: put anti-seize on the skid plate bolts.
How To Reset The 4Runner Maintenance Light
The last step is letting your 4Runner know it’s been serviced. Getting rid of the “Maintenance Required” light is a simple sequence.
- Turn the key to the “On” position, but don’t start the engine.
- Click the trip odometer button until the display shows “TRIP A”.
- Turn the ignition completely off.
- Press and hold the trip odometer button while turning the ignition back to “On”.
- Keep holding the button until the display flashes, shows “000000,” and the light goes off.
You’ve now completed your 4Runner oil change. You’ve saved money and gained peace of mind.
When To Actually Change Your 4Runner’s Oil
https://www.youtube.com/embed/5HFIHsNheQQ
Your 4Runner’s manual might suggest a 10,000-mile oil change interval. But that number is based on “ideal” driving conditions. Think long, gentle highway cruises.
For most of us, especially those who use our 4Runners as intended, “ideal” is a fantasy. The single biggest factor for your oil change schedule is how you actually drive.
Towing, hitting trails, or daily city traffic makes your engine work much harder. This extra work breaks down your oil and reduces its protective qualities faster.
Severe Driving And Your Oil’s Lifespan
Think of your engine oil like a sponge. Under perfect conditions, it can soak up contaminants over 10,000 miles. But hard driving gets that sponge filthy and saturated much faster.
So, what counts as “severe” use? It’s more common than you might think:
- Frequent Towing: Hooking up a trailer puts massive heat and stress on your engine and oil. Check out our guide comparing 4th and 5th Gen towing capacities for more info.
- Off-Roading: Kicking up dust, mud, or sand contaminates your oil. Slow-speed, high-RPM rock crawling is incredibly tough on engine lubrication.
- Short Trips: Drives under five miles don’t let the engine get hot enough to burn off moisture. This gunk can build up in the oil and turn into sludge.
- Stop-and-Go Traffic: City driving is harder on an engine than cruising at a steady speed.
If that sounds familiar, the 10,000-mile interval is asking for trouble. Many seasoned mechanics and owners cut that to every 5,000 miles. It’s cheap insurance for your engine.
Oil change intervals for 4Runners have evolved. Newer models, like the 6th generation, suggest up to 10,000 miles. However, many techs advocate for 3,000-mile changes for the 6th gen’s new twin-turbo engine. Discover more insights about these 4Runner oil change findings on 6thgen4runner.com.
Why Synthetic Oil Matters
Even high-quality synthetic oil breaks down under severe conditions. Synthetics handle heat and reduce wear well, but they aren’t bulletproof. The additives that keep your engine clean get used up over time.
If you’re using synthetic oil, the interval might differ. Explore synthetic oil change interval tips for optimal engine health.
The best oil change interval is one that matches your driving habits. Don’t just follow the manual. Pay attention to how you use your 4Runner to give it a long life.
Common 4Runner Oil Change Questions
Even after doing a job a dozen times, questions can pop up. This is true for a 4Runner oil change. Here is our quick-hitting guide to the most common questions from owners.
One of the biggest debates is about the oil filter housing. Is it worth swapping the plastic housing for a metal one? The consensus is clear: stick with the OEM plastic housing.
Toyota’s engineers designed the plastic housing to expand and contract with the engine’s temperature. A metal part has a different thermal expansion rate. This can create more problems than it solves, like new leaks.
Key Questions Answered
Here are a few other rapid-fire answers to common questions.
-
What should I do with the old oil?
Never pour used motor oil on the ground or down a drain. Pour the old oil into the empty jugs from your new oil. Nearly every auto parts store and recycling center will take it for free.
-
Do I really need a torque wrench?
Yes, this is a non-negotiable tool. It’s easy to crack the plastic housing or strip the drain plug threads if you guess the tightness. A torque wrench is the only way to hit the exact specs and avoid an expensive mistake.
-
What’s the best oil for my 4Runner?
For most modern 4Runners, especially the 5th Gen V6, SAE 0W-20 full synthetic motor oil is what Toyota calls for. It provides the best engine protection and fuel economy. Always double-check your owner’s manual for your specific model year.
Getting your hands dirty is the best way to learn. Still, it never hurts to get more perspective on vehicle care. You can find solid general vehicle maintenance advice from professional shops to round out your experience.
At Offroading.com, our mission is to provide you with the expert guides and tutorials you need to tackle any project with confidence. Whether you’re doing a simple oil change or planning a full overland build, we’ve got your back. Explore more expert advice and gear reviews at https://www.offroading.com.
https://offroading.com/4-runner-oil-change/?utm_source=rss&utm_medium=rss&utm_campaign=4-runner-oil-change
Did you miss our previous article...
https://manstuffnews.com/4x4-off-road-cars/your-guide-to-pickup-truck-bed-dividers
