Building a proper Toyota 4Runner overland rig is a journey, not a sprint. It all starts from the ground up, with the parts that connect you to the trail. Get this wrong, and every other mod you bolt on will be compromised.
Why Your Foundation Matters
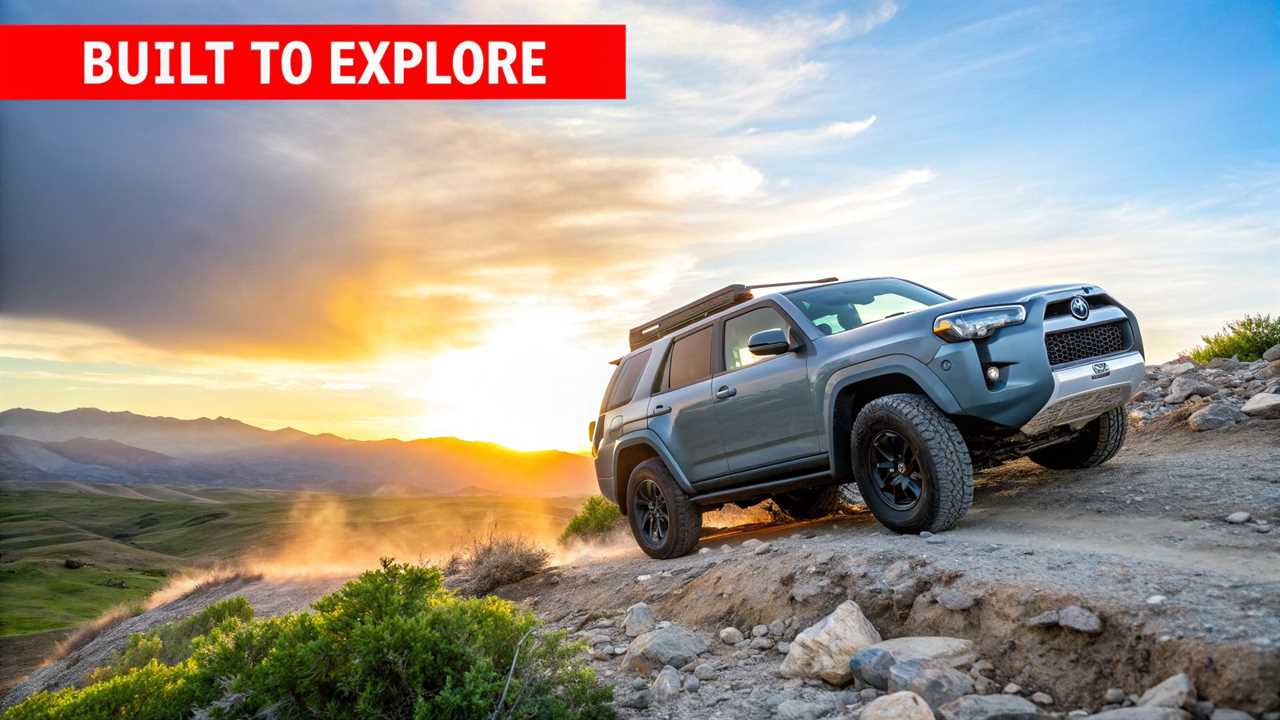
Turning your stock 4Runner into an overland explorer is about more than just adding cool gear. It’s a systematic process. The factory suspension is great for paved roads, but it will quickly reach its limits under the weight of equipment.
Your first move should be upgrading the suspension and tires. Everything from your rooftop tent to your recovery gear depends on this foundation. A well-matched setup improves ground clearance, supports weight, and keeps the truck stable on rough trails.
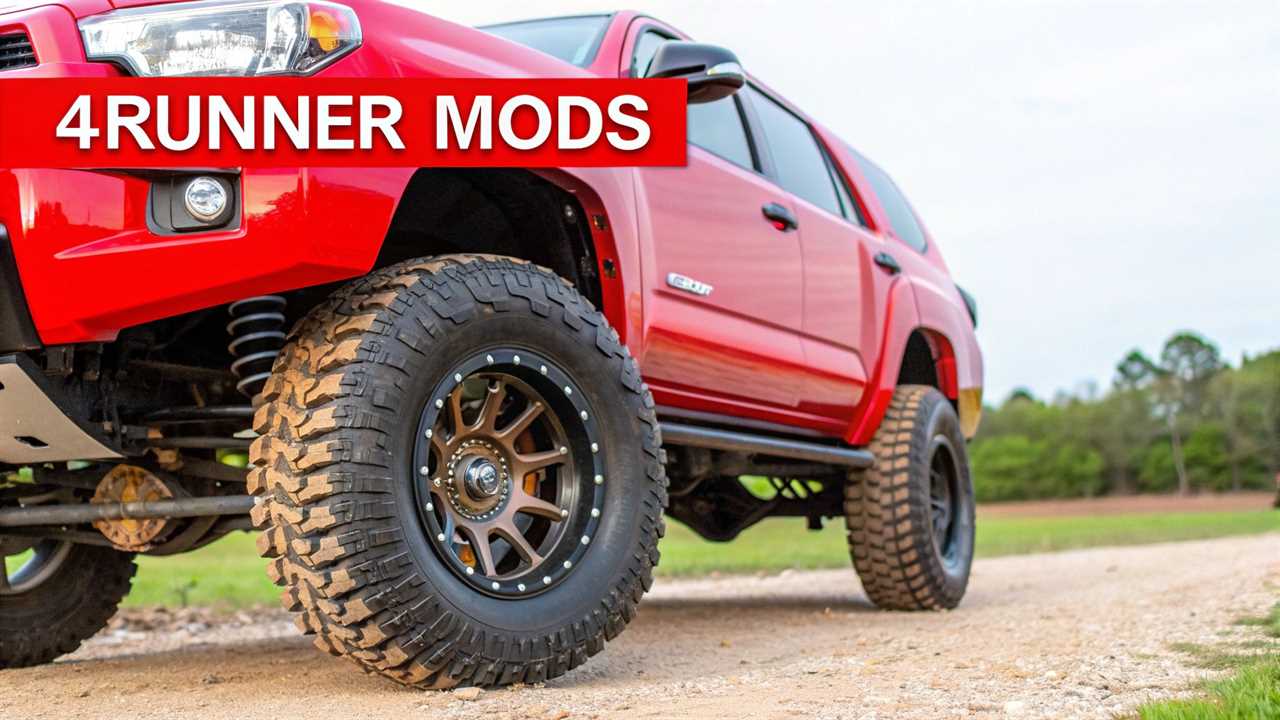
Selecting the Right Suspension
Your 4Runner’s suspension is the single most important upgrade for overlanding. It changes how the vehicle handles extra weight and soaks up bumps. The goal is to improve capability without sacrificing your daily driving comfort.
You have several options, each with a different price and performance level.
- Spacer Lifts: These are a budget-friendly option, using pucks to give you a bit of lift. They make room for bigger tires but do not improve suspension performance or load-carrying ability.
- Complete Lift Kits: These serious kits bundle new shocks and springs designed to work together. They offer a huge improvement over stock handling and are built to support the constant weight of overland gear.
- Adjustable Coilovers: For peak performance and total control, high-end coilovers are the best choice. They let you dial in ride height and damping, perfect for adjusting to different loads and terrains.
The most critical factor is choosing a suspension rated for your planned Gross Vehicle Weight Rating (GVWR). If you install a system for a light setup and then overload it, it will sag and handle poorly.
Choosing Your Tires
Tires are your only point of contact with the ground, making them a non-negotiable part of your build. Focus on real-world performance and durability, not just aggressive looks. For a Toyota 4Runner overland build, you need tires that can handle rocks, rough trails, and highways.
Most people choose between All-Terrain (A/T) and the more aggressive Rugged-Terrain (R/T) tires. For most builds, A/T tires offer the perfect balance of off-road traction and on-road comfort.
If you regularly tackle gnarly trails, an R/T tire provides a tougher sidewall and a more aggressive tread.
When shopping for tires, keep these three things in mind:
- Load Rating: Ensure the tires can handle your fully loaded 4Runner. A “Load Range E” tire is a popular choice for its strength.
- Sidewall Strength: The sidewall is a tire’s weakest point off-road. Look for tires with tough, 3-ply sidewalls for better puncture protection.
- Tread Compound: A good compound offers grip in various conditions—wet roads, mud, rocks—and lasts longer.
The fifth-generation 4Runner, starting in 2009, cemented the platform’s legendary status. Its long production run and respectable payload of around 1,600 pounds made it an overlanding favorite. You can dive deeper into the 4Runner’s history on Expedition Portal.
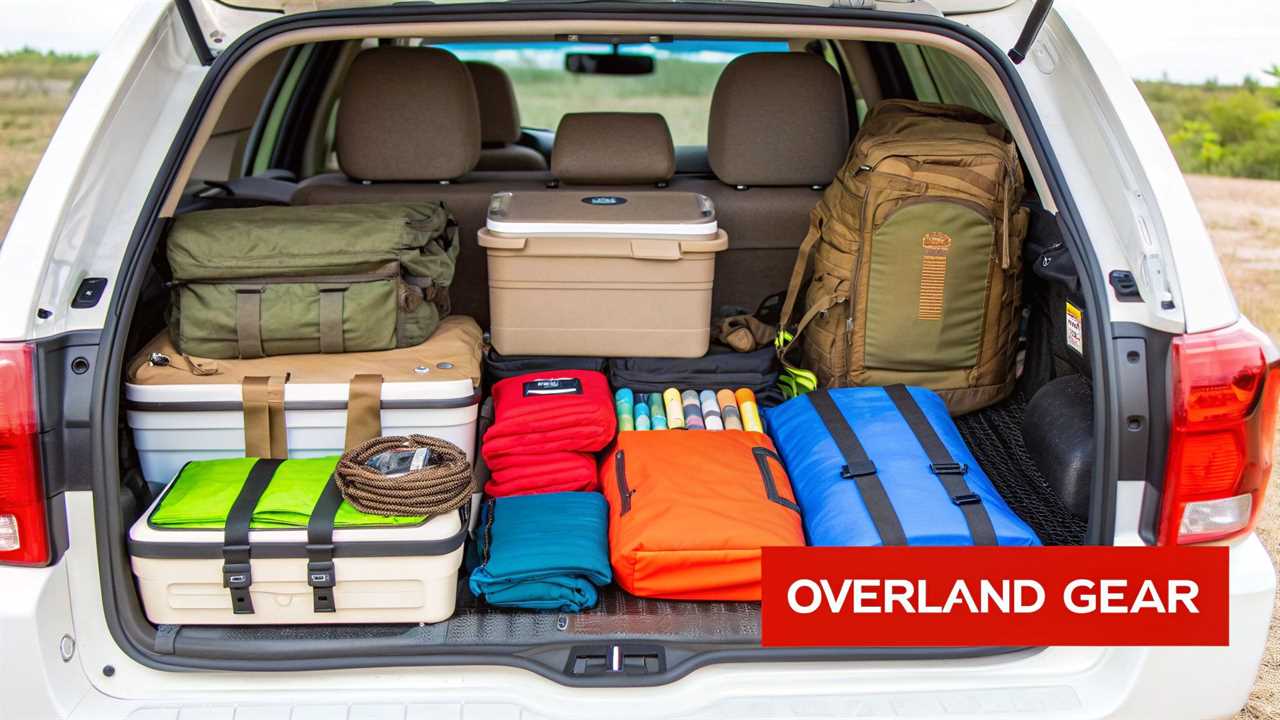
Smart Storage and Cargo Management
A well-sorted Toyota 4Runner overland build is all about efficiency. Smart storage is about making gear accessible and secure without upsetting your vehicle’s stability.
The goal is to create a system where you can grab what you need easily. Everything needs a dedicated, secure home. An organized rig is a safer and much more enjoyable rig.
Organizing the Interior Cargo Area
The back of your 4Runner is the heart of your storage system. An open space leads to a chaotic mess of sliding bins and bags. This is why a dedicated drawer system is one of the best upgrades for any serious build.
Drawer systems provide low-profile, locked-down storage for heavy and frequently used items. Your kitchen, tools, and recovery gear can be neatly organized and accessible. This setup also keeps the heaviest gear low, which is critical for maintaining a safe center of gravity.
By keeping dense items like tools, food, and water as low and forward as possible, you combat the top-heavy feeling that can make a 4Runner feel unstable on off-camber trails.
A drawer system also creates a flat, raised platform. This surface is perfect for mounting a fridge slide, stacking lighter boxes, or building a sleeping platform. These ideas also apply to other vehicles; find inspiration for truck bed cargo management if you run a pickup.
Maximizing Rooftop Storage
Your roof is the next big piece of real estate for storage. A quality roof rack is a must-have for carrying bulky, lightweight gear. This includes rooftop tents, awnings, and traction boards.
When choosing a roof rack, you have two main styles:
- Platform Racks: These offer a flat, low-profile surface with tons of tie-down points. Their versatility allows you to mount a tent or arrange gear in any layout.
- Basket Racks: These have raised sides, great for corralling loose items like firewood or duffel bags. However, they sit higher and are less aerodynamic than a platform rack.
The golden rule for rooftop storage is to keep it light. Your 4Runner’s roof has a dynamic weight capacity—the amount it can carry while driving. Exceeding this limit can ruin your handling and increase rollover risk.
Liquid Storage and Other Considerations
Water is one of the heaviest things you’ll carry, so its placement matters. It pays to understand the strength and durability of polyethylene tanks for secure off-road water storage.
Don’t forget the small nooks and crannies. MOLLE panels on rear side windows or seatbacks are awesome for mounting smaller items. This is a simple way to use vertical space and keep essential gear like first-aid kits easy to grab.
Essential Recovery Gear and Armor
Sooner or later, every overlander gets stuck. Being prepared transforms a potential disaster into a minor inconvenience. A proper Toyota 4Runner overland build needs solid recovery gear and protective armor.
This process starts with giving yourself a safe, solid place to pull from. Without secure attachment points, even the best gear is useless. From there, it’s about having the right tools to apply force or protect your rig from damage.
Foundational Recovery Equipment
Before thinking about winches, you need the absolute essentials. Your 4Runner’s factory tie-down points are not recovery points. They are for transport and can fail catastrophically under recovery loads.
Installing rated recovery points on the front and rear of your 4Runner is a non-negotiable first step. Once you have those, you’ll need the gear to connect to another vehicle.
- Kinetic Recovery Rope: This is not an average tow strap. A kinetic rope stretches, storing energy that helps “pop” a stuck vehicle out gently.
- Soft Shackles: These are strong, lightweight alternatives to metal D-rings. They are safer if something fails under load.
- Traction Boards: For situations in deep sand, mud, or snow, traction boards are invaluable. Wedge them under your tires to create a grippy surface.
A classic rookie mistake is using a basic tow strap for a dynamic recovery. Tow straps have very little stretch and are meant for pulling a rolling vehicle, not yanking a stuck one.
For self-recovery without another vehicle, a winch is the ultimate tool. If considering this upgrade, learn how to pick a winch for your 4×4. A general rule is to choose a winch with a capacity of 1.5 times your Gross Vehicle Weight (GVW).
Protecting Your 4Runner With Armor
Recovery gear gets you out of trouble, but armor helps you avoid it. The underside of your 4Runner has many vulnerable components. Protective armor is crucial.
Here’s a quick reference for the recovery gear you shouldn’t leave home without.
Essential Recovery Gear Checklist
| Gear Item |
Primary Use |
Priority Level |
| Rated Recovery Points |
Safe, secure attachment points for shackles |
Critical |
| Kinetic Recovery Rope |
Dynamic vehicle-to-vehicle recovery |
High |
| Soft Shackles (x2) |
Connecting recovery rope to vehicles |
High |
| Traction Boards (pair) |
Self-recovery in sand, mud, or snow |
High |
| Winch & Winch Kit |
Self-recovery without another vehicle |
Recommended |
| Shovel |
Clearing debris from around tires |
Critical |
| Tire Deflator/Gauge |
Lowering tire pressure for increased traction |
High |
| Air Compressor |
Re-inflating tires after trail use |
High |
This checklist covers the must-haves for most situations you’ll encounter.
Rock sliders are arguably the most important piece of armor. They are not the same as flimsy factory side steps. Real rock sliders bolt to the frame and can support the entire side of your 4Runner.
Skid plates are the next priority. The factory “skids” offer little real protection. Aftermarket skid plates provide a robust shield for your entire drivetrain, letting you slide over obstacles safely.
Creating Your Home on Wheels
A great overland trip balances rugged adventure with comfortable living. Your Toyota 4Runner overland build transforms from an off-roader into a rolling basecamp. Nailing this part makes long-term trips genuinely fun.
The idea is to create simple, reliable systems for power, shelter, and cooking. Smart setups reduce daily frustrations, letting you focus on exploring.
Powering Your Adventures
Overlanding runs on electricity for fridges, phones, and GPS units. Your 4Runner needs a dependable power system. The two main options are portable power stations or a dual-battery setup.
Portable power stations are a battery, inverter, and ports in one box. Their flexibility is fantastic, and they are often sufficient for weekend trips.
A dual-battery system is a more permanent, powerful solution. It adds a second battery under the hood, managed by an isolator. This setup can run a fridge for days without draining your starter battery.
A huge mistake is underestimating your power usage. List every electronic device you’ll bring to determine if a portable unit is enough or if you need a dual-battery system.
Shelter Options for Every Style
Your sleeping arrangement is critical for a good trip. The big debate is usually rooftop tents versus high-quality ground tents.
Rooftop tents (RTTs) offer convenience, getting you off the ground and set up in minutes. Our guide on choosing a rooftop tent details different styles.
A good ground tent offers freedom to set up camp and then use your 4Runner for other tasks. They are also lighter, cheaper, and won’t affect your vehicle’s center of gravity as much as an RTT.
The Camp Kitchen and Awning
A simple, efficient kitchen makes life on the road much better. A two-burner stove, folding table, and organized tote are often all you need.
Pairing your kitchen with an awning is a game-changer. An awning creates a sheltered space, getting you out of the sun or rain. It can double your usable living area, offering a comfortable spot to cook, eat, or relax.
The Toyota 4Runner overland platform’s popularity is due to its reliability. Sales hit an incredible 144,696 units in 2021. Resources from experts in campervan and caravan services can provide great outfitting ideas.
Pre-Trip Planning and Maintenance
A tricked-out Toyota 4Runner overland rig is only as good as its last maintenance check. Diligent planning and consistent maintenance are your most important tools. A preventable mechanical issue can leave you stranded.
Successful trips are built long before you hit the trail. It’s about creating a repeatable process to inspect your vehicle and plan your route.
Your Pre-Trip Vehicle Checklist
A thorough vehicle inspection before any big trip is non-negotiable. You need to get hands-on and check critical components. Your mission is to find anything loose, leaking, or worn out beforehand.
Start under the hood by checking all your fluids. Keep an eye out for any drips on the ground where you park. A tiny leak in your driveway can become a catastrophic failure on a rough trail.
Then, get underneath the truck.
- Suspension Bolts: Physically check the torque on all major suspension bolts. Vibrations from dirt roads can cause hardware to loosen.
- Drivetrain Leaks: Look closely at your differentials, transfer case, and transmission for any fluid seepage.
- CV Axle Boots: Inspect the rubber boots on your front CV axles for rips or tears. A compromised boot can lead to a failed axle.
Here’s a great visual of what this process looks like.
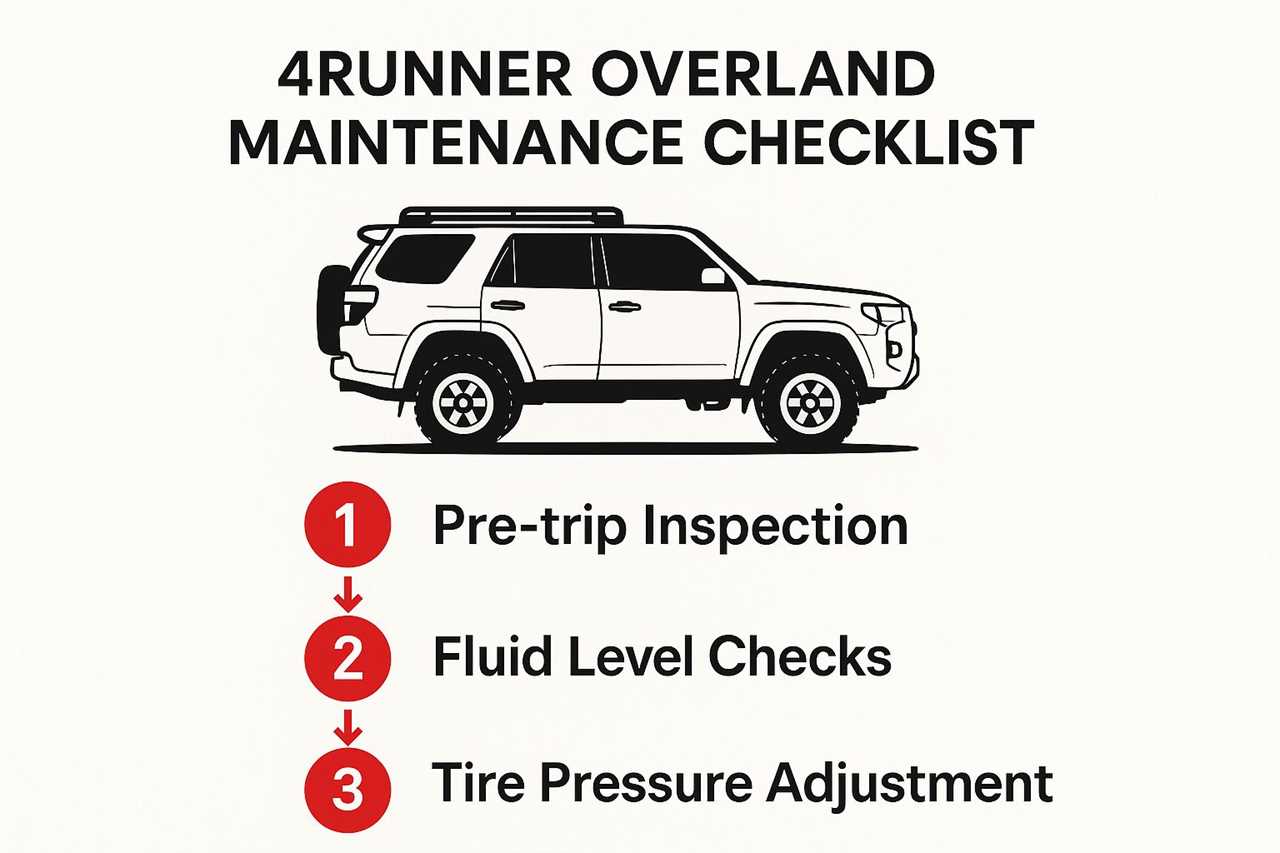
This checklist is a fantastic starting point to run through before every major adventure.
Pre-Trip 4Runner Maintenance Checklist
Here’s a quick table you can reference for high-priority items.
| Component Check |
What to Look For |
Frequency |
| Tires & Wheels |
Correct PSI, uneven wear, cuts, lug nut torque |
Before every trip |
| All Fluids |
Proper levels (oil, coolant, brake, steering) & leaks |
Before every trip |
| Suspension |
Loose bolts, damaged shocks, torn bushings |
Before every major trip |
| Brakes |
Pad life, rotor condition, fluid leaks |
Every few months & before big trips |
| CV Axles |
Torn or leaking boots |
Before every major trip |
| Lights & Electrical |
All lights functional, battery terminals clean |
Before every trip |
Making this a habit will save you a world of headaches.
Route Planning and Fuel Calculation
Knowing your route is as critical as having a sound rig. Always have offline maps downloaded on multiple devices as a backup.
Calculating your fuel range is a huge piece of the puzzle. Your 4Runner’s fuel economy will drop when loaded and in four-wheel drive. Track your mileage in these conditions to get a realistic MPG figure.
A good rule for fuel planning: have enough gas to get to your next stop, turn around, and get back to your last known fuel source. This covers you if the next station is closed.
If your route takes you more than 100-150 miles between fuel stations, carrying extra fuel is a must.
Packing For Success
Your packing list must account for self-sufficiency and unpredictable conditions. Always pack waterproof outerwear, insulating layers, and sun protection.
Your toolkit should be tailored to your truck. Make sure you have wrenches and sockets that fit your aftermarket parts. Understanding the reasons for regular vehicle maintenance is foundational to building a dependable rig.
The 2025 Toyota 4Runner brings new powertrains, like a standard i-FORCE engine with 278 horsepower. The i-FORCE MAX hybrid pushes out 326 horsepower. Our checklists will adapt to these more advanced systems.
Common 4Runner Overlanding Questions
Once you start building a 4Runner, questions come fast. Getting solid answers can save you time and money. Let’s dig into some of the most common questions.
These are the big topics that get debated endlessly. We’ll break them down so you can make the right calls for your rig.
What Is the Best 4Runner Generation for Overlanding?
This is a highly debated question. The short answer is it depends on your budget and goals.
The 5th Generation (2010-2024) is the most popular platform for a modern Toyota 4Runner overland build. You can’t beat the volume of aftermarket support. You also get the proven 4.0L V6 and modern off-road tech.
But don’t overlook the 4th Generation (2003-2009). These rigs are an incredible value, offering the same V6 and an optional 4.7L V8. A well-maintained 4th Gen is a capable and affordable starting point.
The choice usually boils down to these factors:
- Aftermarket Support: The 5th Gen wins, hands down.
- Technology: The 5th Gen offers a more modern interior and traction control.
- Cost: The 4th Gen shines with its lower price, leaving more budget for the build.
How Much Does a Complete Overland Build Cost?
This is a “how long is a piece of string?” question. A build can cost anywhere from a few thousand dollars to more than the vehicle itself. The smartest way to tackle it is in phases.
A solid “Phase 1” build focuses on essentials like quality tires and a modest lift kit. This initial setup might cost around $2,500 – $4,000. Add basic recovery gear, and you have a rig ready for serious weekend trips.
From there, you add layers of capability. A roof rack, rooftop tent, and rock sliders can easily add another $5,000 – $10,000.
The electrical system is often the real budget-buster. A good dual-battery setup, a 12V fridge, and solar panels can push your build into the next tier but are worth it for long trips.
Do I Need a V8 4Runner for Overlanding?
The V8 question is unique to the 4th Gen. While the V8 is smooth and great for towing, it’s not a requirement for overlanding.
The standard 4.0L V6 in both 4th and 5th Gens is a workhorse. It has more than enough power, especially if you re-gear your differentials.
Additionally, the V6 generally gets slightly better fuel economy. Unless you plan to tow a heavy trailer frequently, the V6 is a fantastic, practical choice for an overland build.
At Offroading.com, we provide the expert guides and tutorials you need to build your rig with confidence. From choosing the right gear to mastering recovery techniques, we’re here to help you get out there and explore. Discover more at https://www.offroading.com.
https://offroading.com/toyota-4-runner-overland/?utm_source=rss&utm_medium=rss&utm_campaign=toyota-4-runner-overland
