Understanding why a sway bar bushing replacement is important is the first step. Hearing clunks over bumps or feeling “sloppy” steering are signs of failing bushings. These small parts greatly impact your vehicle’s stability and safety.
Why This Small Part Makes a Big Difference
The sway bar, or anti-roll bar, keeps your vehicle from leaning too much in a turn. It ensures your car remains stable and planted on the road. The bushings connect the bar to the frame and absorb noise and vibration.
When bushings wear out, the solid connection becomes loose. You will feel this when cornering, as excessive body roll makes the vehicle feel unsafe. This is about restoring proper handling and control, not just quieting a noise.
This repair is a fundamental suspension job and a great skill for any DIY mechanic. Sway bar bushing replacements can make up 15%-20% of suspension jobs in professional shops. Checking them is a smart part of routine maintenance, like what we cover in our complete truck maintenance checklist.
Assembling Your Toolkit for the Job
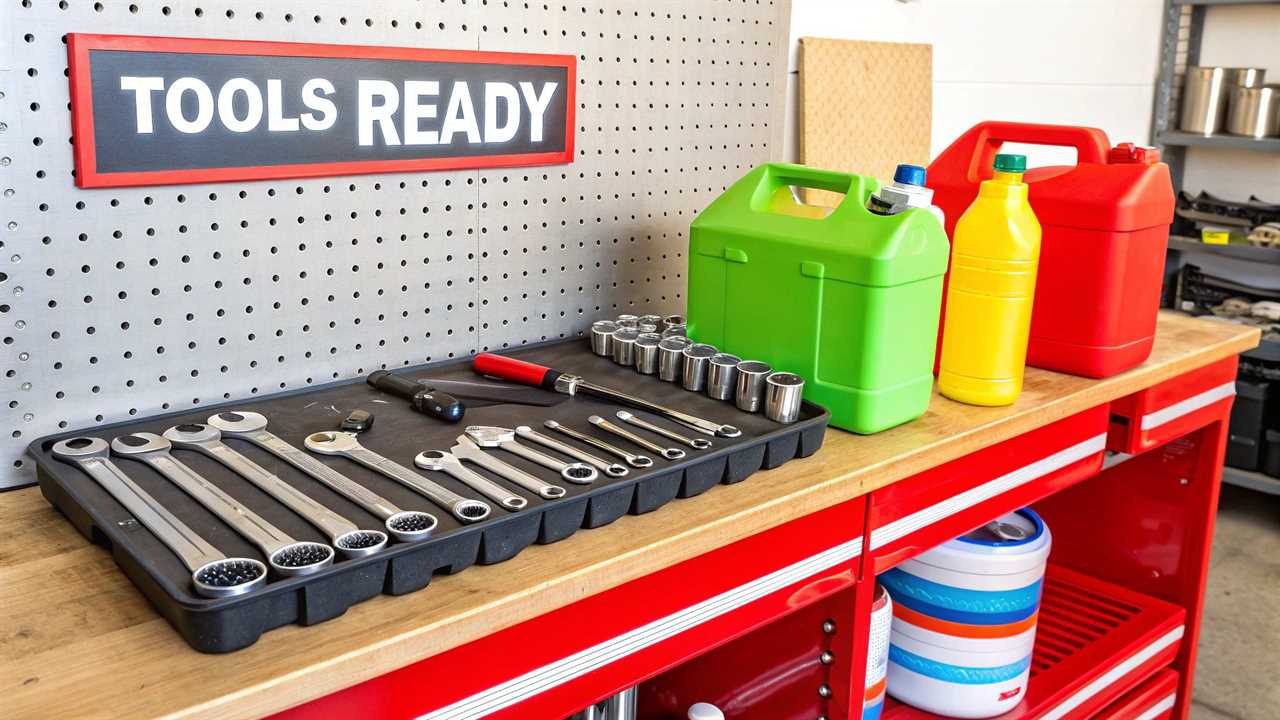
A successful DIY project starts with having your gear ready before you get under the vehicle. This makes the process smoother, faster, and safer. There’s nothing worse than realizing you’re missing a key tool halfway through a job.
This task doesn’t require a lot of special equipment. However, a few items are absolutely essential. Let’s get your toolkit in order before you lift the car.
Essential Toolkit for Sway Bar Bushing Replacement
Here is a checklist of what you’ll need and a few nice-to-haves. Having these ready will turn a potential headache into a straightforward afternoon project.
| Tool/Part |
Purpose |
Pro Tip |
| Socket & Ratchet Set |
To remove and tighten the bracket and end link bolts. |
A set with both metric and standard sockets is a must. A flex-head ratchet can be a lifesaver in tight spots. |
| Torque Wrench |
To safely tighten bolts to the manufacturer’s specification. |
This is a critical safety tool. Overtightening can damage parts; undertightening can be disastrous. Don’t skip this one. |
| Jack & Jack Stands |
To safely lift and support the vehicle. |
Never, ever work under a car supported only by a jack. Always use sturdy, properly rated jack stands. |
| Breaker Bar |
For extra leverage on stubborn, rusted bolts. |
Gives you the muscle to break free bolts that have been seized for years without straining your ratchet. |
| Penetrating Oil |
To loosen rusted bolts and nuts. |
PB B’laster or WD-40 Specialist Penetrant are your best friends here. |
| Pry Bar (Recommended) |
To help manipulate the sway bar into position. |
Can make getting the bar aligned with the new bushings and brackets much, much easier. |
| New Bushings & Brackets |
The replacement parts for the job. |
Always check that you have the correct size for your specific vehicle model before you start. |
With these tools at your side, you’re set up for a much smoother repair.
My Go-To Tip: Before touching a bolt, generously spray every nut and bolt on the sway bar with penetrating oil. Let it soak for a solid 15-20 minutes or longer. This simple step can prevent you from snapping a stubborn bolt head clean off.
Removing the Old Worn-Out Bushings
Alright, this is where the real work begins. First, lift your vehicle and securely place it on jack stands. I cannot stress this enough—never work under a car supported only by a jack.
Once set up, slide underneath and locate the sway bar and its mounting brackets. This is where you will find the old bushings you need to replace.
You will likely find some stubborn, rusty bracket bolts. A liberal spray of penetrating oil is your best friend here. Let it soak in, then use a breaker bar for extra leverage to loosen them without shearing anything off.
Here’s a closer look at the sway bar, highlighting the parts you’ll be working on.
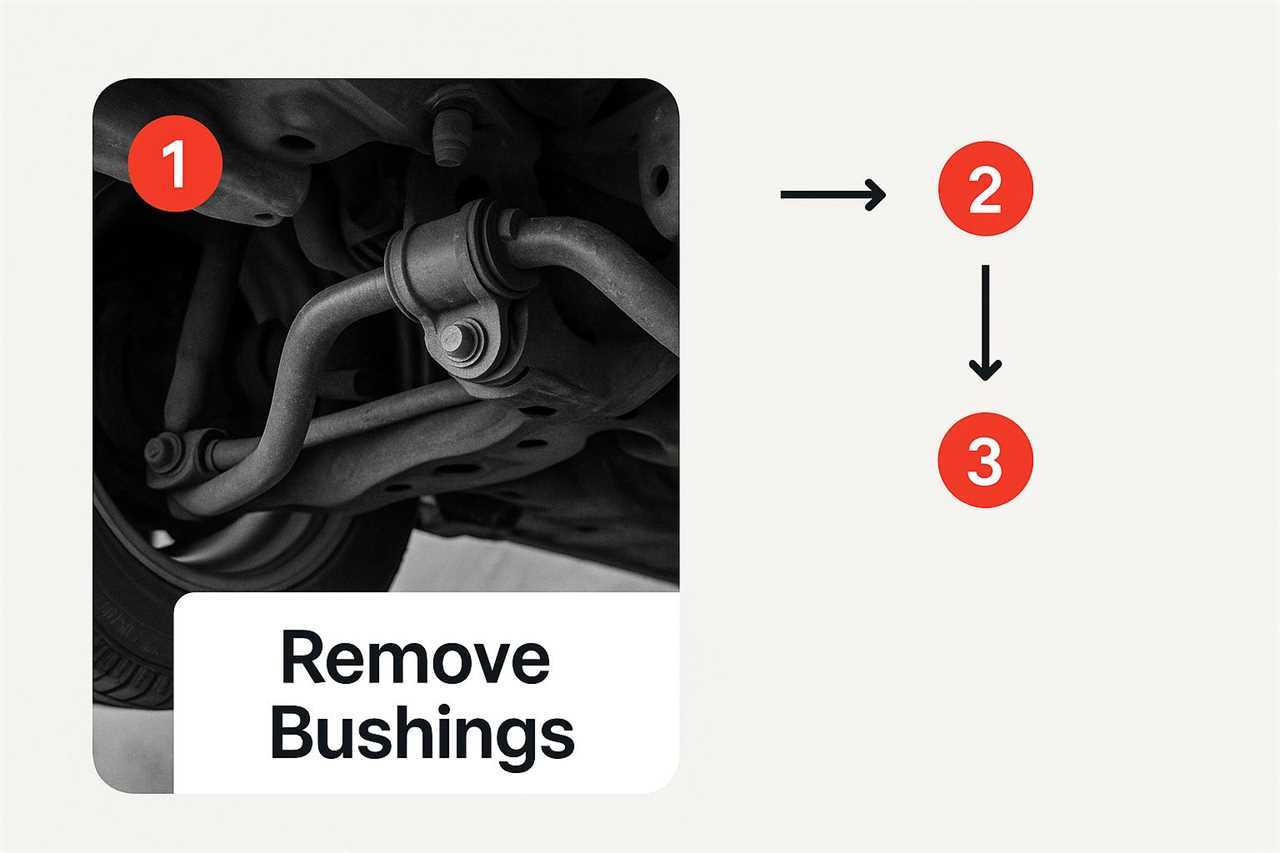
This visual should clarify which bracket and bushing to focus on. After unbolting the bracket, you can pry the old bushing off the sway bar. A flathead screwdriver or small pry bar usually works well for this.
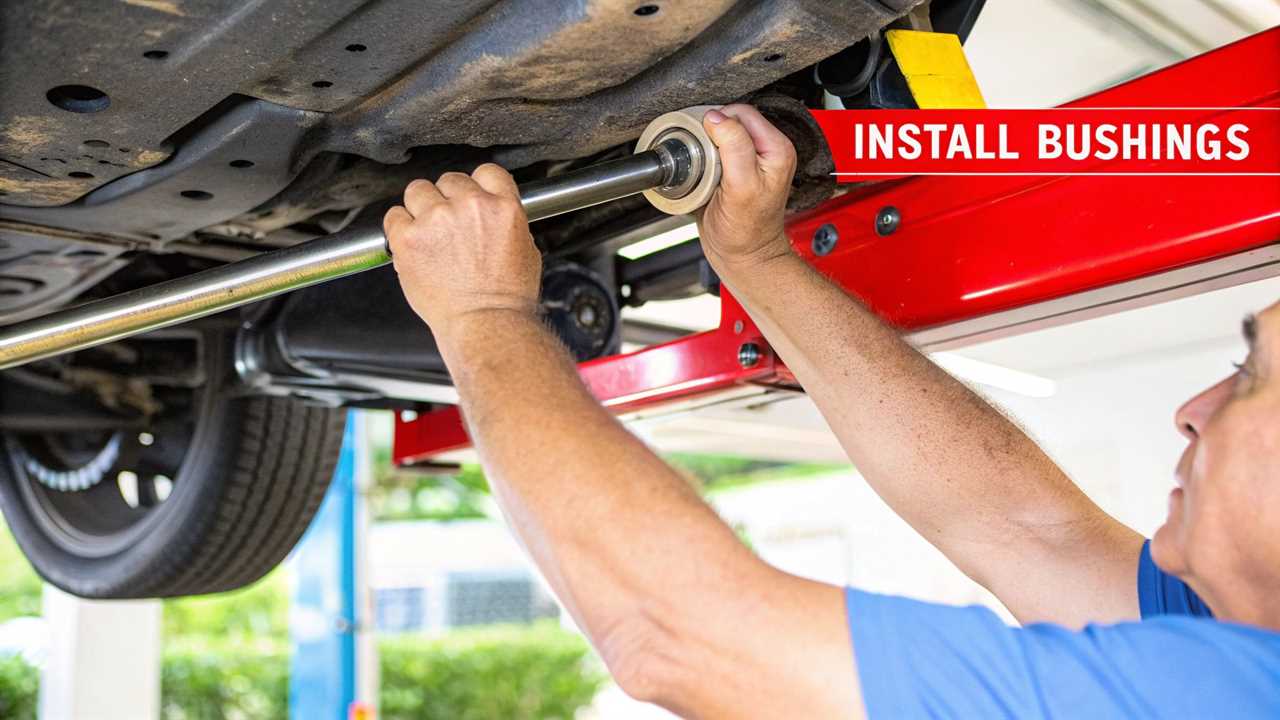
Getting the New Bushings Installed Correctly
With the old parts gone, it’s time to put everything back together. A little care here ensures your repair is quiet and long-lasting.
First, grab the grease that came with your new bushings and don’t be stingy. Generously coat the inside surface, then slide it onto the clean section of your sway bar. Pay attention to its orientation, as most have a split that must face a specific direction.
A Quick Pro-Tip: You must use a silicone-based grease for this job. Petroleum-based grease will eat away at the rubber or polyurethane. Using the wrong grease will lead to annoying squeaks and another worn-out part.
Now, place the mounting bracket over the new bushing. I always start the bolts by hand for a few turns. This step is crucial to avoid cross-threading them, which can turn a simple job into a major headache.
Once hand-tight, use your torque wrench to tighten the bolts to factory specifications. Don’t guess on the tightness. This final step ensures a professional-grade repair.
Insider Tips for a Professional Finish
Let’s talk about the tricks that make this job go smoothly. You will likely find a stubborn, seized bolt. When you do, use plenty of penetrating oil and a good breaker bar for leverage.
If a bolt still won’t budge, be patient. Taking your time now is better than snapping a bolt head clean off. Trust me on that one.
Here’s another pro-tip: clean the sway bar and bracket with a wire brush. Wiping away grime ensures the new bushing fits perfectly and prevents future squeaks. Also, inspect the sway bar end links, as they often wear out at the same rate.
Modern polyurethane bushings offer much better durability, especially for trucks and 4x4s. These synthetic materials provide longer-lasting performance from a simple repair. You can dig deeper into this trend in the sway bar bush market analysis.
Common Questions About This Repair
It’s natural to have questions, especially if this is your first time tackling a job like this. Getting your hands dirty can be intimidating. Having answers ahead of time makes all the difference.
Let’s clear up a couple of the most common questions we hear.
Can I Drive with Bad Sway Bar Bushings?
Technically, you can drive with bad sway bar bushings, but it’s a very bad idea. Worn-out bushings seriously compromise your vehicle’s stability. You will feel it most during turns, quick lane changes, or any sudden maneuver.
My advice is to get the job done as soon as you notice the classic signs. It is much safer than risking an accident. Don’t put off this important repair.
Do New Bushings Need to Break In?
Good news: new sway bar bushings do not need a formal break-in period. You will feel a huge difference right away. The steering will feel tighter and body roll will be dramatically reduced.
That said, it’s always smart to take it easy for the first 50-100 miles. Normal, moderate driving is enough to let everything settle into place. This ensures your work is solid and the repair will last.
For more expert guides and in-depth tutorials on maintaining your rig, trust the team at Offroading.com. Explore our full library of resources at https://www.offroading.com.
https://offroading.com/how-to-replace-bushings-on-sway-bar/?utm_source=rss&utm_medium=rss&utm_campaign=how-to-replace-bushings-on-sway-bar
Did you miss our previous article...
https://manstuffnews.com/4x4-off-road-cars/your-ultimate-overlanding-gear-list-for-2025
