There are hundreds of ways to cook a steak, and everyone has their preferences, but we can all agree that a great crust can really make or break a perfect steak.
Infrared searing is a great way to achieve an amazing crust on any cut of steak. The process is similar to how you are probably cooking your steaks already.
I use the infrared burner on my Napoleon Phantom Presige to reverse-sear this New York Strip to build the perfect crust.
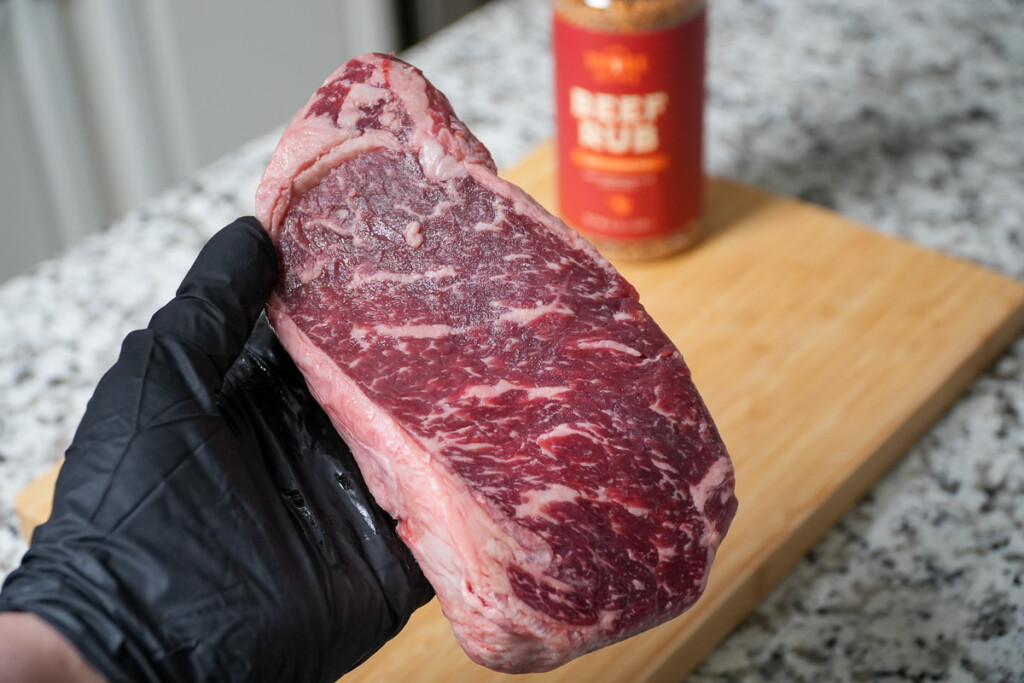
Porter Road New York Strip.
How to use an infrared burner to cook a steak
Ingredients you’ll need
- Steak – this recipe works for most cuts of steak. I’m using a New York Strip from Porter Road for this recipe, but feel free to swap with whatever cut of steak you prefer.
- Steak Seasoning – for the seasoning I used our Smoke Kitchen Beef Rub. It adds a ton of flavor and tastes great on all types of red meat. You can’t go wrong with simple salt and pepper. It’s best to avoid rubs with a lot of sugar as extreme heat from the infrared will burn it. But you wouldn’t be using sugar on a steak rub anyway!
Equipment you’ll need
What are the benefits of using an infrared grill?
The infrared element allows the grates to get up to a very high temperature while maintaining a uniform level of heat across the entire surface of the grates. This high temperature allows you to build a beautiful crust (or char) on your steak without overcooking the inside of the steak.
If you have ever eaten a steak in a high-end steakhouse, you have likely had an infrared-cooked steak before! Many steakhouses utilize an infrared salamander in the kitchen to achieve that beautifully charred exterior while still providing a perfect, medium-rare steak inside.
How to cook a steak and reverse sear on an infrared grill
1. Season
Nobody likes a bland steak, so it’s important to season your steak generously prior to cooking.
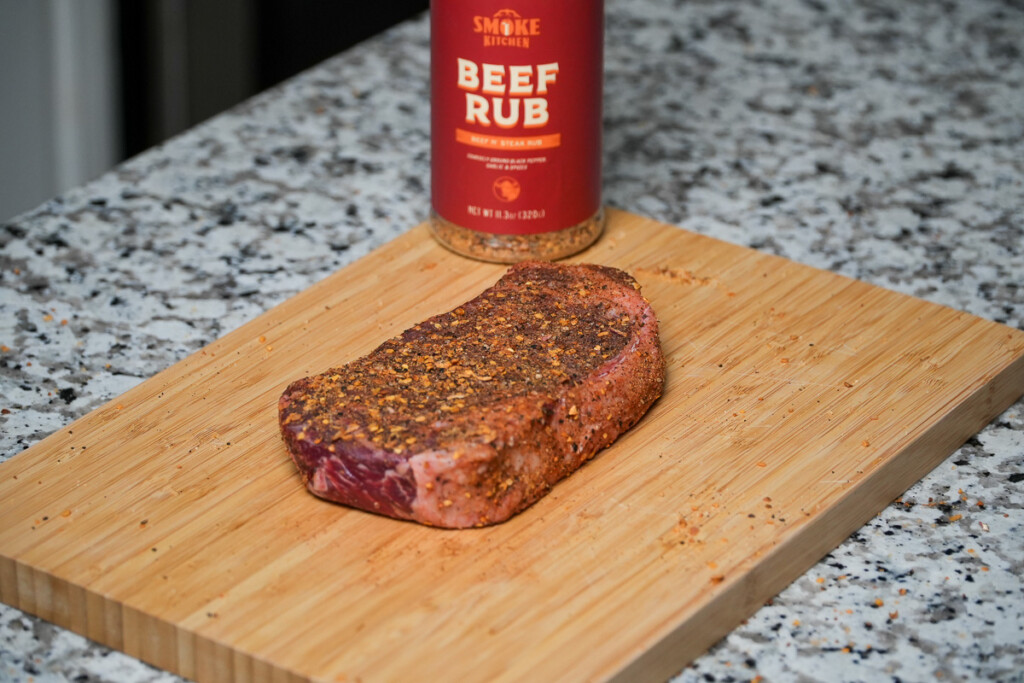
You can leave the steak at room temperature while you preheat the grill to let the seasoning penetrate down into the meat.
You want to season your steak on all sides and be sure to season the edges and the fat cap as well.
2. Preheat
Preheat your grill to 300°F.
You’re going to start cooking your steak on the main grill grates at a low temperature. We’re not trying to sear our steak at this point in the cook, we are going to keep it at a low temperature to ensure that the steak cooks evenly and retains as much moisture as possible.
If your gas grill doesn’t have a temperature gauge, you just want to shoot for a medium-low temperature.
If your grill tends to spike or get hot spots, you can alternatively place the steak on the indirect cooking side ( the side of the grill with the burners shut off) to prevent it from overcooking.
You don’t need to preheat the infrared burner at this point. Infrared burners heat up very quickly, so you can wait to ignite the heating element until right before you are ready to sear your steak.
3. Grill
Once the grill is preheated, you can place the steak directly on the grates. Because we are cooking at a low temperature, it’s going to take about 15-20 minutes before it’s ready to sear.
I like to flip my steaks every 5 minutes or so to ensure that they cook evenly and I don’t end up with a gray-colored band around the edges. I want wall-to-wall perfection!
You are going to keep the steak on the main grates of your grill until it reaches an internal temperature of about 110°F (if you are shooting for medium rare). If you prefer a different steak temperature, you can reference the chart below:
- Rare – grill until 100°F then sear until 120°F
- Medium rare – grill until 110°F then sear until 135°F
- Medium – grill until 115°F then sear until 140°F
- Medium well – grill until 130°F then sear until 150°F
- Well done – grill until 145° then sear until 160°F
4. Sear
Now, the moment we’ve all been waiting for… it’s time to sear your steak!
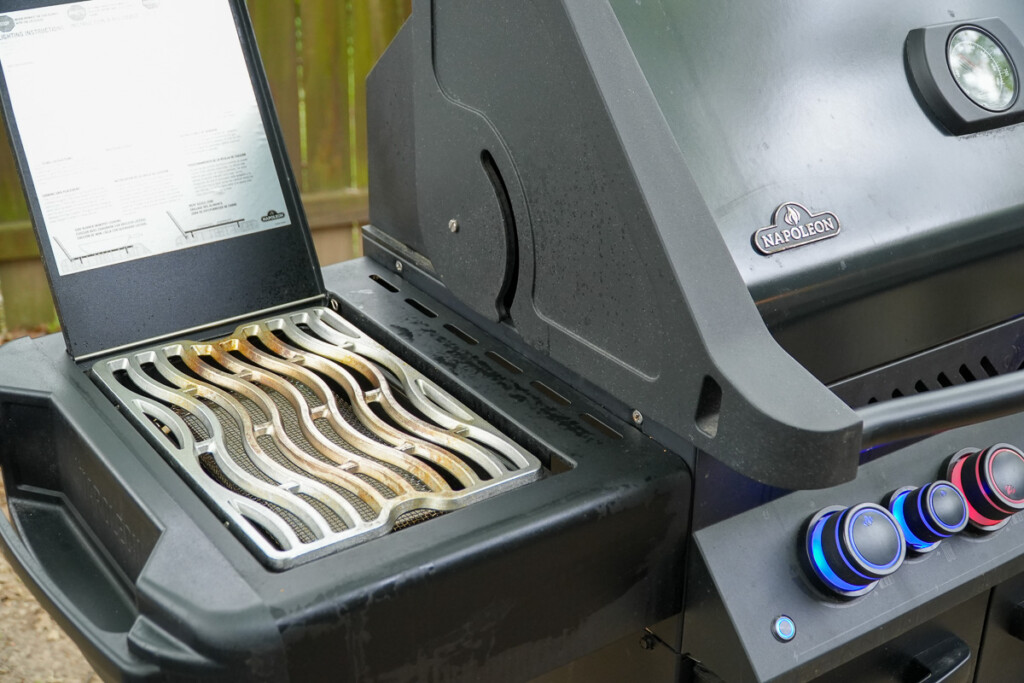
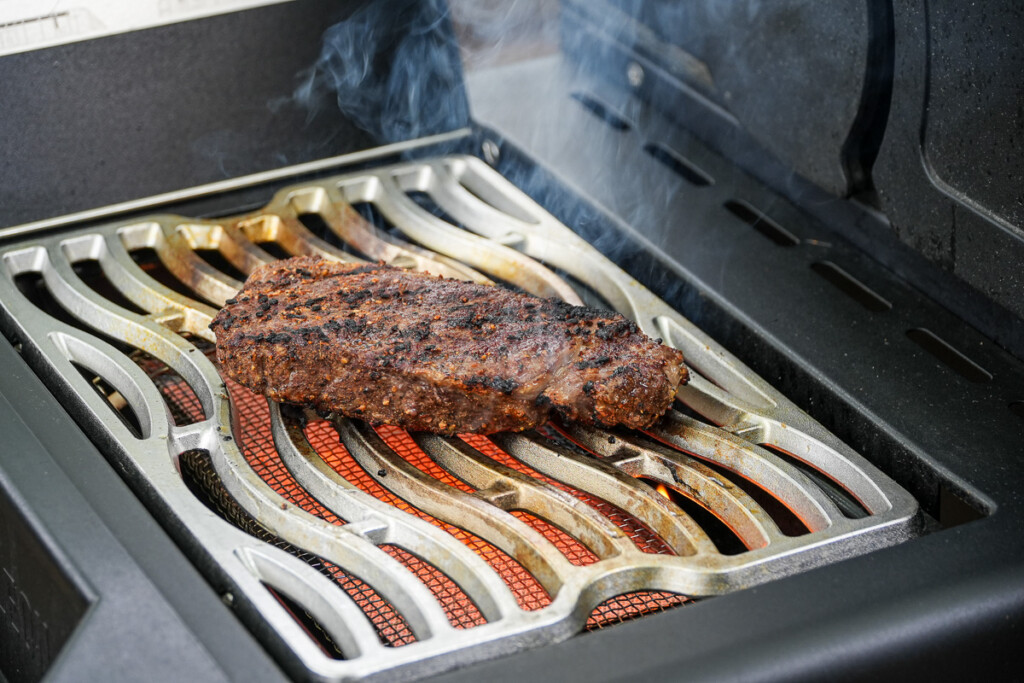
This is why infrared burners and grills are so amazing; they are able to reach high temperatures very quickly and provide an even, high-heat sear across the entire surface of your steak without the risk of overcooking the inside.
When your steak reaches temperature, preheat your infrared burner to medium-high heat (you are shooting for about 500°F).
Remove your steak from the main grill grates and transfer it to the infrared burner. You will immediately hear it sizzle and start building that beautiful crust.
You want to flip the steak every minute or so to let that crust really do its thing, and the whole searing process will take between 3 and 5 minutes, depending on the size of your steak.
When the crust looks good, and you have reached your desired internal temperature, you can remove the steak from the grill and shut down the grill.
5. Rest
As with all steak cooking methods, it’s important to let the steak rest. This allows the juices inside to redistribute through the meat and allows the muscle fibers in the steak to relax and prevent the moisture from running out onto your cutting board when you slice in.
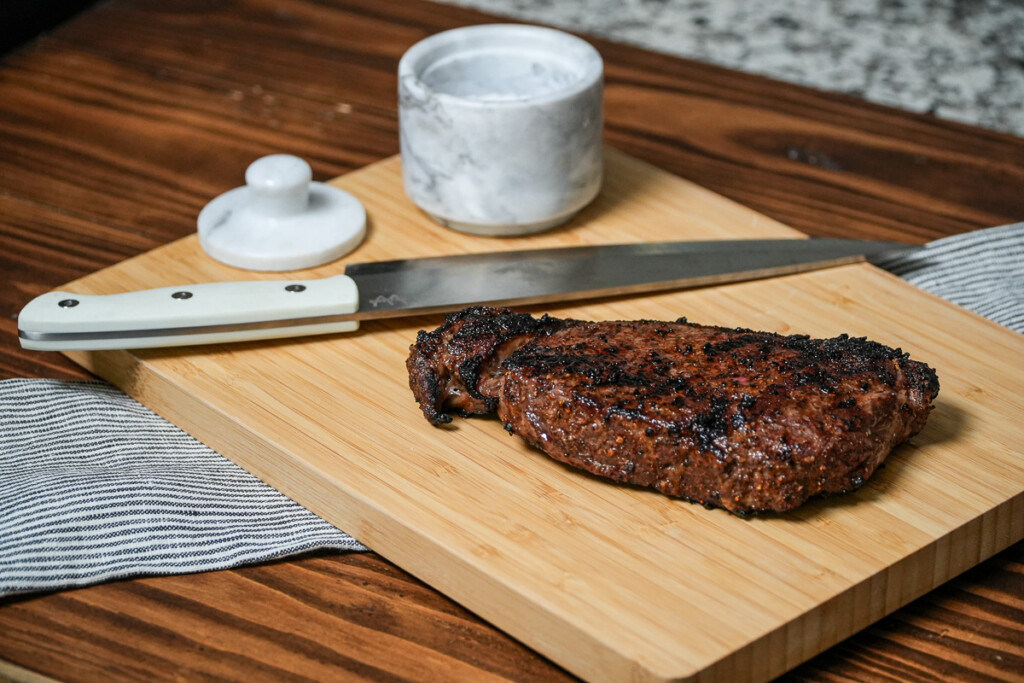
You want that delicious steak juice inside of your steak, not on your cutting board!
A good rule of thumb is to let the steak rest for at least 10-15 minutes. If you are concerned about losing too much temperature, you can always tent the steak with a little foil while it’s resting to help retain heat.
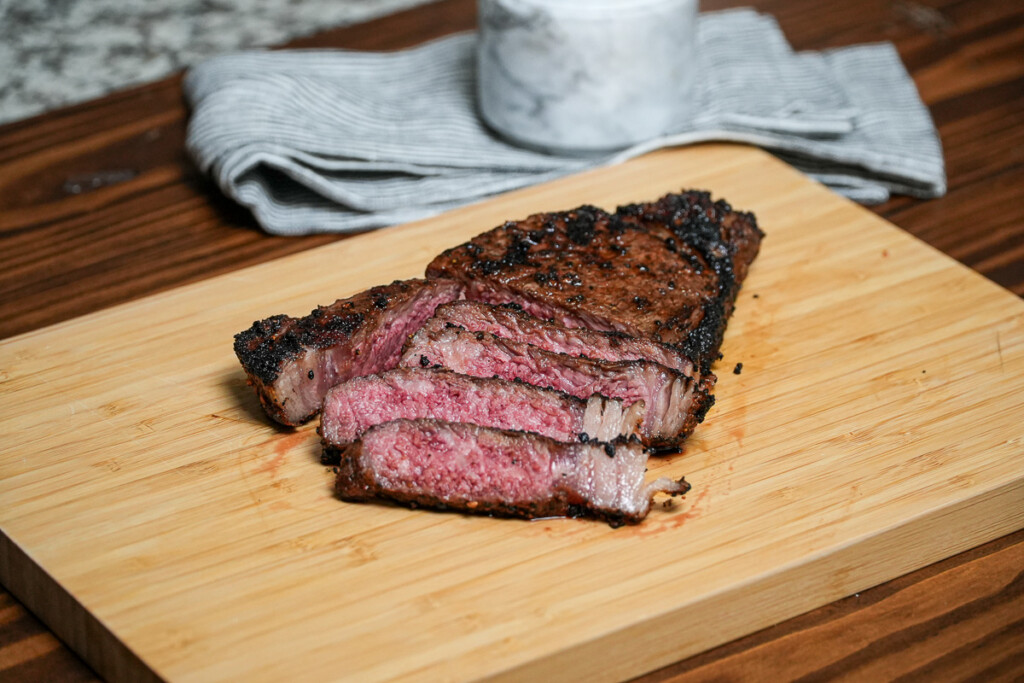
Once your steak has rested, it’s ready to slice and enjoy immediately!
Keen to try a few more reverse sear recipes?
Print
How to Reverse Sear a Steak on an Infrared Grill
Classic cooked steak seasoned with beef rub, finished off on the infrared burner to ensure a great crust.
Course Main Course
Cuisine American
Prep Time 5 minutes minutes
Cook Time 25 minutes minutes
Total Time 30 minutes minutes
Servings 1
Calories 1028kcal
Author Breanna Stark
Preheat your grill to 300°F on the main grill grates.
Season your steak liberally on all sides with your favorite seasoning.
Once the grill is preheated, place your steak on the grates and let it cook for 15-20 minutes, flipping every 5 minutes, until it reaches 110°F internal temperature.
While the steak is grilling, preheat your infrared burner to medium-high heat.
Once your steak reaches 110°F, remove it from the main burners and transfer it to the infrared burner.
Cook for 3-5 minutes, flipping every minute, to build crust, until the steak reaches 135°F (for medium rare).
Remove the steak from the burner and let it rest at room temperature for 10-15 minutes. Slice and serve immediately.
Guide for steak doneness:
- Rare – grill until 100°F then sear until 120°F
- Medium rare – grill until 110°F then sear until 135°F
- Medium – grill until 115°F then sear until 140°F
- Medium well – grill until 130°F then sear until 150°F
- Well done – grill until 145° then sear until 160°F
Calories: 1028kcal | Carbohydrates: 3g | Protein: 94g | Fat: 69g | Saturated Fat: 28g | Polyunsaturated Fat: 3g | Monounsaturated Fat: 29g | Cholesterol: 363mg | Sodium: 237mg | Potassium: 1447mg | Fiber: 0.5g | Sugar: 0.1g | Vitamin A: 105IU | Vitamin C: 0.5mg | Calcium: 144mg | Iron: 8mg
Did you miss our previous article...
https://manstuffnews.com/backyard-grilling/grilled-duck-breast
 Backyard GrillingWeekend WarriorsAdvice from DadBeard GroomingTV Shows for Guys4x4 Off-Road CarsMens FashionSports NewsAncient Archeology World NewsPrivacy PolicyTerms And Conditions
