The King of BBQ: Big Green Egg Smoked Beef Plate Ribs
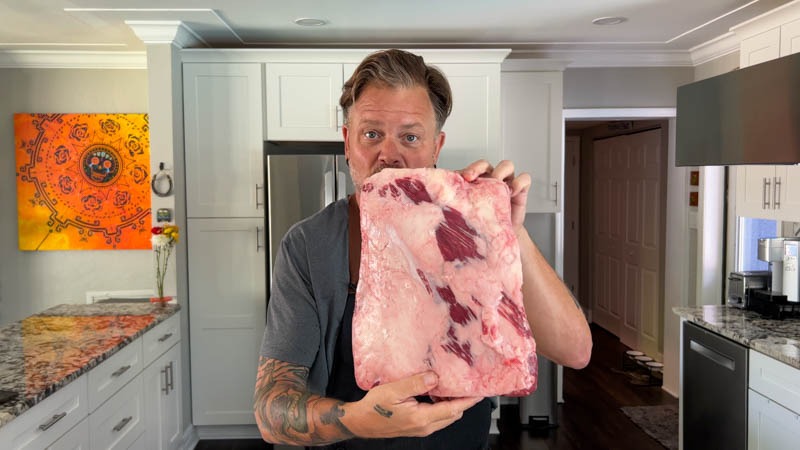
If there is a “Holy Grail” in the world of backyard barbecue, you are looking at it. Often referred to as “Dino Ribs” due to their massive size or “Brisket on a Stick” because of their incredible richness, Beef Plate Ribs are the ultimate showstopper for any pitmaster.
But what exactly makes a “Plate” rib different from the back ribs you see at the local grocery store? These ribs are sourced from the Plate Primal of the cow, the lower section near the belly. Because of their location, they boast a significantly higher fat content and a thick layer of marbled muscle that sits on top of the bone. As every pitmaster knows, fat equals flavor, and these ribs have it in spades.
Where to Find the “Butcher’s Cut”
You won’t typically find these sitting in the meat case at a standard supermarket. This is a true butcher’s cut. To get the best results, I recommend heading to your local craft butcher or doing what I did: ordering a high-quality rack from Snake River Farms. When you start with American Wagyu beef, you’re already halfway to a masterpiece.
The Experience
When cooked low and slow on the Big Green Egg, the fat renders down, the connective tissue melts away, and you are left with a crusty, peppery bark that gives way to the most tender beef imaginable. It is the richest, most decadent bite in BBQ.
This guide will walk you through the essential prep work, the specific seasoning profile for beef, and the step-by-step technique to master these on your Big Green Egg.
So, let’s get that charcoal lit. Sit back, grab an ice-cold Lone Star Beer, and enjoy this deep dive into Big Green Egg Smoked Beef Plate Ribs.
Why They Call Them “Dino Ribs”:
The Visual: There is nothing more impressive than pulling a shimmering, black-crusted rack of plate ribs off the Egg.
The Size: A single bone can often weigh over a pound after cooking.
The Texture: Imagine the best point-end brisket you’ve ever had, but more succulent.
Big Green Egg Smoked Beef Plate Ribs
The Prep: Trimming for Maximum Bark
Before we talk about fire and smoke, we have to talk about prep. For this cook, I am working with a massive 6-pound section of beef plate ribs. When you pull a rack like this out of the vacuum seal, the sheer scale of the bones and the thick layer of meat can be intimidating, but the goal here is simple: Aerodynamics and Bark.
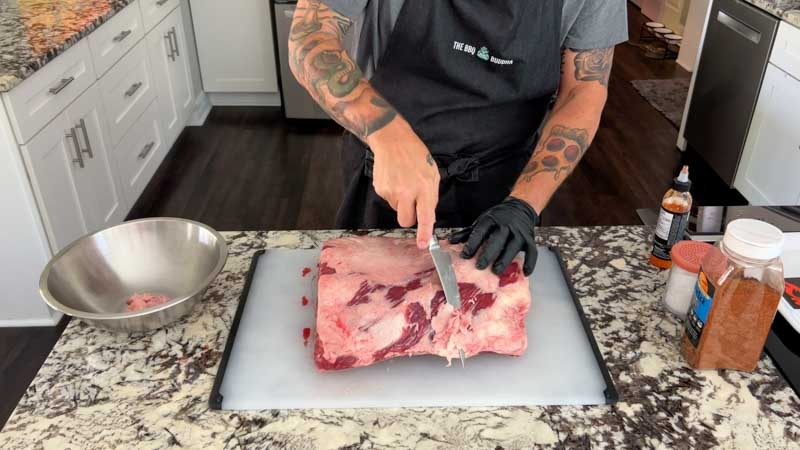
Managing the Fat Cap
Unlike pork ribs, where you might leave a bit of fat for moisture, beef plate ribs come with a very thick, heavy fat cap on top of the meat. While “fat equals flavor,” too much of it will prevent your rub from adhering and stop the smoke from penetrating the muscle.
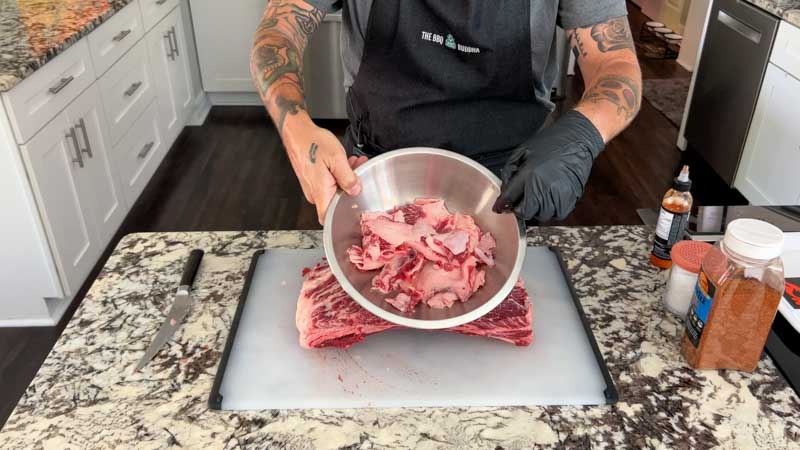
- The Trim: Using a sharp boning knife, trim the fat cap down until there is only about 1/8th of an inch remaining. You want to see the “meat through the fat.” This thin layer will render beautifully during the long cook, basting the beef while allowing a crusty, peppery bark to form directly on the meat.
- Remove the Hard Fat: If you find any “hard” kernels of fat (the kind that feels like cold candle wax), trim those away entirely. They won’t render down, and they’ll just create a greasy barrier.
To Peel or Not to Peel? (The Membrane)
This is a point of debate in the BBQ world, but here is my take for Dino Ribs: Leave the membrane on.
On a rack of pork ribs, we almost always pull the silver skin. However, beef plate ribs are so heavy and cook for so long that the membrane on the bone side actually serves a structural purpose. It acts as a “harness” that keeps the meat from falling off the bone as it tenderizes and shrinks.
- Pro Tip: If the membrane bothers you, don’t peel it; just take your knife and score a crosshatch pattern into it. This allows some smoke to get through without compromising the structural integrity of the rack.
Final Inspection
Check the edges of the rack for any loose “shag” or hanging bits of meat and fat. Trim these off to create a smooth, uniform surface. A clean, aerodynamic rack ensures that the smoke flows evenly over the beef, preventing any “hot spots” from burning or drying out.
Seasoning the Beef Plate Ribs
The Seasoning: Building a Heavyweight Bark
Beef plate ribs are incredibly rich and “beefy,” so they require a seasoning strategy that can stand up to all that fat and intense flavor. We aren’t looking for a subtle dusting here; we want a thick, peppery crust that provides a satisfying crunch in every bite.
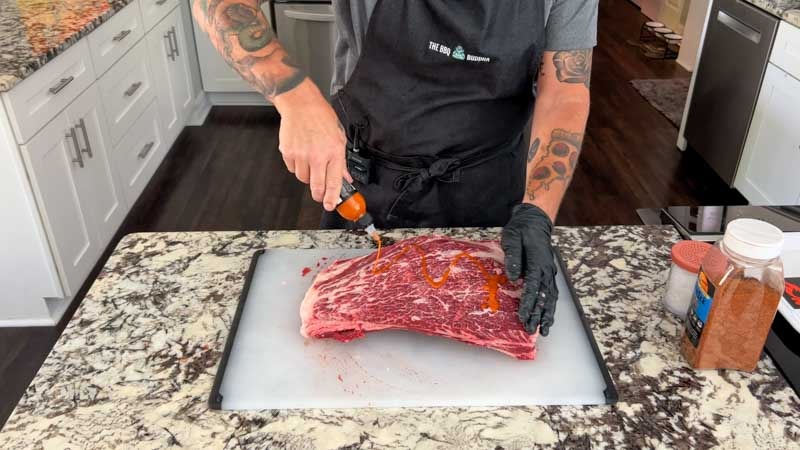
The Binder: A Flavorful Foundation
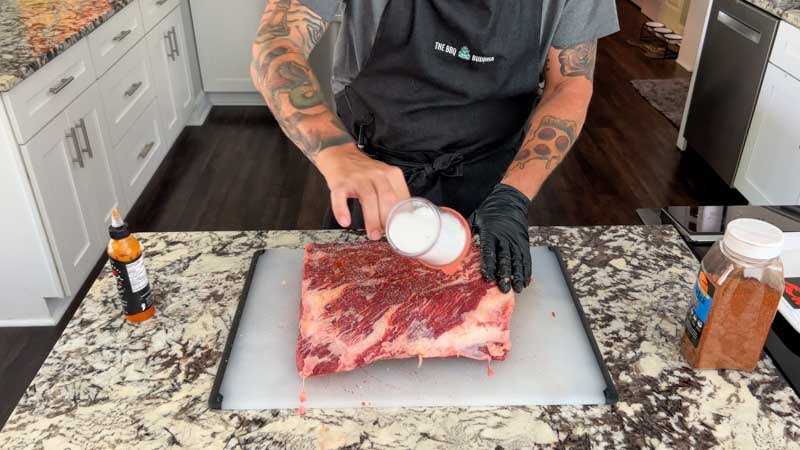
To get our rub to stick to that 6-pound rack, we need a binder. For this cook, I’m using hot sauce.
- Why it works: The vinegar in the sauce helps “cut” through the rich beef fat, while the peppers provide a subtle back-end kick.
- Don’t worry about the heat: Much like using mustard on a pork roast, the intense “fire” of the hot sauce mellows out significantly during the 6- to 8-hour smoke. It leaves behind a tacky surface that is absolutely perfect for grabbing onto the dry rub.
- The Application: Slather a light layer over the entire rack… top, bottom, and especially the meaty sides.
The Layering Process
For these ribs, I’m using a two-step seasoning process to ensure the flavor penetrates deep into the meat.
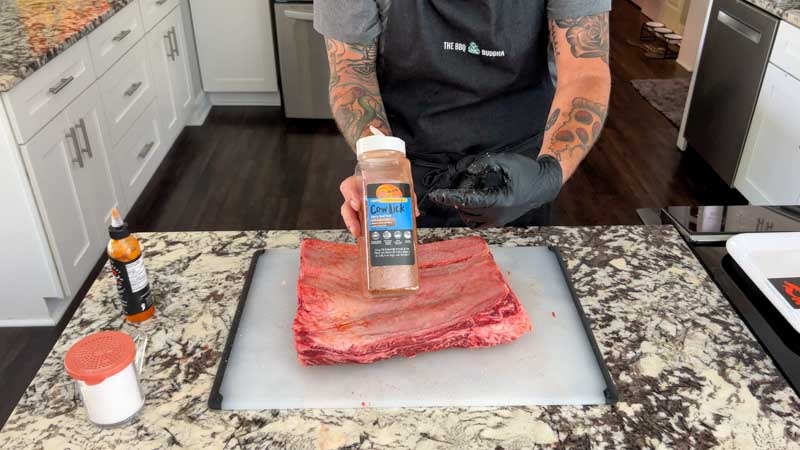
- The Salt Base: Start with a light, even layer of Kosher salt on all sides. Salt is a flavor magnifier; it helps the proteins retain moisture while ensuring the center of that thick meat isn’t bland.
- The Main Event: Now, season all sides of the ribs generously with Dizzy Pig Cow Lick beef seasoning. This is a fantastic commercial blend as it’s spicy, peppery, and sugar-free, which is exactly what you want for a long beef smoke.
Other Flavor Options
If you don’t have Cow Lick on hand, you have plenty of ways to win:
- The “Texas Trinity” (Homemade): Mix 2 parts coarse black pepper, 1 part Kosher salt, and 1/2 part garlic powder. It’s the classic central-Texas profile that lets the beef shine.
- Commercial Alternatives: Look for “Big Bad Beef” rubs or anything labeled as a “Dalmatian rub” (heavy salt and pepper). Brands like Hardcore Carnivore Black are also great for achieving that jet-black color.
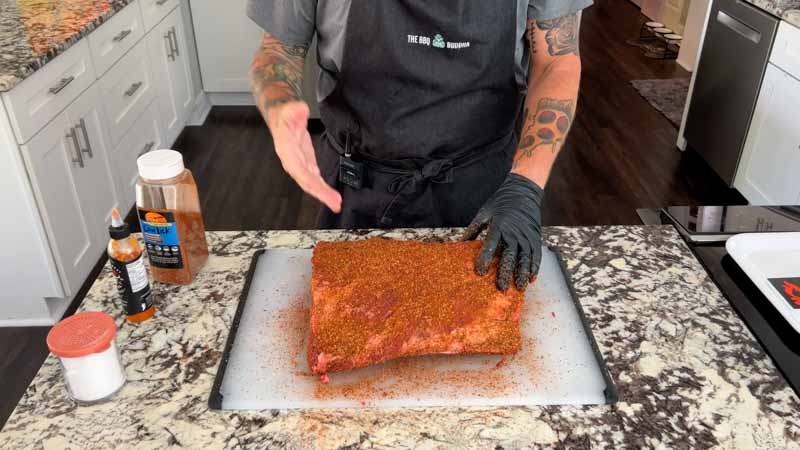
The “Sweat”
Once the ribs are coated, let them sit for about 15-20 minutes at room temperature. You’ll see the rub turn from a dry powder to a dark, wet paste. This “sweat” is the signal that the salt is doing its job and the flavor is locked in.
Pitmaster Tip: The “Bark” Test
If you can still see the red of the meat through your rub, you probably haven’t added enough. For plate ribs, you want a solid “wall” of seasoning. This barrier protects the meat during the long cook, keeping the inside juicy while the outside develops that world-class, peppery crunch.
Setting Up the Big Green Egg
The Fire: Setting the Big Green Egg for the Long Haul
With your beef ribs seasoned and ready, it’s time to focus on the Big Green Egg. For a massive 6-pound rack of plate ribs, consistency is the name of the game. You need a steady, indirect heat that will gently render out the intramuscular fat over several hours.
The Indirect Setup
To achieve that perfect “brisket on a stick” texture, you must set up your Egg for indirect cooking:
- The convEGGerator: Place it in the “legs up” position.
- Drip Pan: I highly recommend placing a drip pan on the convEGGerator. These ribs will render a significant amount of fat, and catching it prevents acrid grease smoke from ruining your bark.
- The Grate: Once the convEGGerator and drip pan are in, set your stainless steel grate on top.
Wood Selection: Bold Wood for Bold Beef
While we used apple wood for the delicate pork loin, beef plate ribs require a wood that can stand up to the rich, heavy flavor of the meat.
- Post Oak: This is the traditional choice for Texas-style beef. It provides a clean, “medium” smoke flavor that is unmistakable.
- Hickory or Pecan: If you want a slightly more pungent or nutty smoke profile, these are excellent alternatives.
- The “Clean Smoke” Rule: Just like with the pork, wait for the smoke to turn into that faint, thin blue wisp. If you put a 6-pound rack into thick, white “billowy” smoke, the exterior will end up tasting like soot.
Locking in at 250°F
Ensure your Egg is stabilized at 250°F. This temperature allows the fat to render slowly without the exterior of the meat drying out before the connective tissue breaks down.
Placement: Bone Side Down
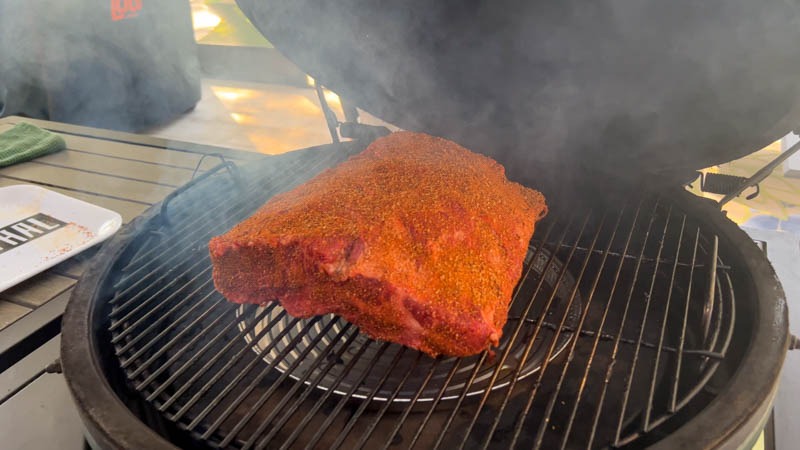
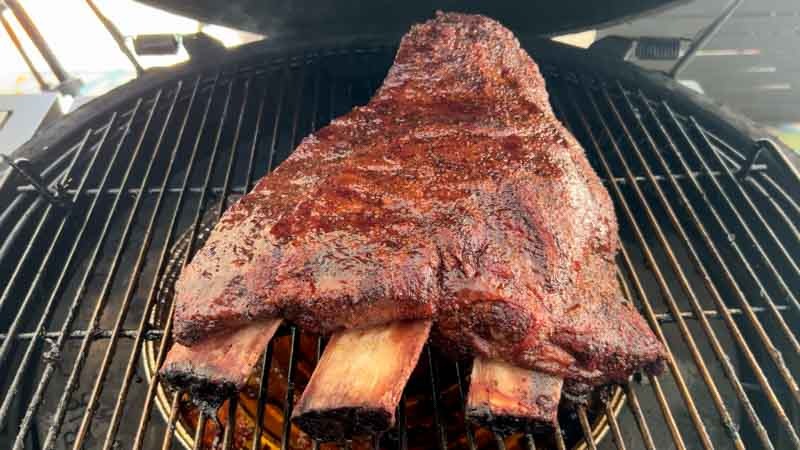
Once the temp is locked in and the smoke is clean, place your beef plate ribs on the center of the grate, bone side down.
- The Heat Shield: The bones act as a natural heat shield, protecting the delicate meat from the upward radiation of the coals.
- Don’t Peek: Close the lid and let the smoke work. For the first few hours, your only job is to maintain that 250°F temperature and resist the urge to open the dome.
What to Expect
As the ribs cook, the meat will begin to “pull back” from the bone, exposing the tips. This is exactly what you want to see, it’s the first sign that the rendering process is underway.
Spritzing the Beef Plate Ribs
The Mid-Cook: Hydration and Bark Development
Once the ribs are on the Big Green Egg, the first three hours are all about setting the bark. During this time, the smoke is bonding with the rub and the heat is beginning to render that thin layer of fat we left on top.
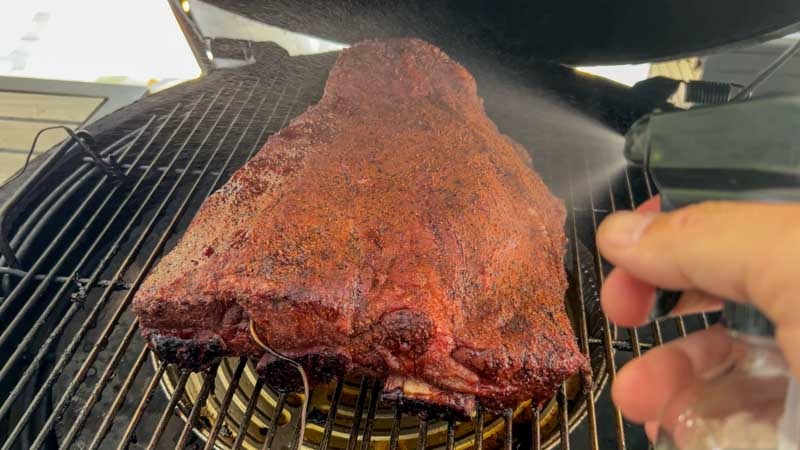
The Power of the Spritz
After the first 3 hours of smoking undisturbed, it’s time to start “spritzing.” For this cook, I keep it simple and use plain water.
While some pitmasters use apple juice or cider vinegar, water is perfect for beef plate ribs because it adds moisture without adding extra sugar that might burn or mask the natural flavor of the beef.
Why we spritz:
- Cooling the Surface: Spritzing slightly cools the surface of the meat, which slows down the formation of the bark. This allows the interior of these thick ribs more time to catch up without the exterior becoming too hard or “crunchy.”
- Smoke Attraction: Smoke is naturally attracted to cold, wet surfaces. By keeping the exterior slightly damp, you are helping the beef absorb more of that beautiful post oak or hickory flavor.
- Moisture: It prevents the edges of the meat from drying out during the long stretch toward the finish line.
The Schedule: “As Needed”
Continue to smoke the ribs, spritzing every hour after that initial three-hour mark.
Pitmaster Tip: The key is to be quick! Open the dome, give the rack a generous misting, and close it immediately. We want to keep that 250°F environment as stable as possible. If the bark looks nice and “set” (meaning it doesn’t rub off when you touch it), you are doing it right.
Looking for the “Pull-Back”
As you open the Egg to spritz, you’ll start to see the meat retreating down the bone. This is the “Dino Rib” transformation in action. Those bones will start to peek out an inch or more—this is a great visual indicator that the connective tissue is breaking down and the meat is tightening up into a tender, concentrated bite.
Pull and Wrap the Beef Plate Ribs
The Transition: Setting the Bark and the Pan Method
As you move past the 5 or 6-hour mark, you are looking for a specific visual cue: the mahogany transformation. By this point, the combination of the hot sauce binder, the Cow Lick seasoning, and the steady stream of blue smoke should have created a dark, rich, and crusty exterior. You aren’t just looking for “brown”; you want a deep, mahogany-to-black color that looks like polished stone. This is your bark, and once it is “set”, meaning it doesn’t move or smear when you poke it, it’s time for the next phase.
The 165°F Benchmark
When your internal temperature probe hits roughly 165°F, the ribs will typically hit “the stall.” This is the point where the evaporation of moisture from the meat matches the heat of the grill, and the temperature stops rising.
While you could power through this without a wrap, I prefer to move the ribs into a large aluminum pan.
Why the Pan?
- The Braise: Placing the ribs in a pan allows you to catch all those incredible rendered beef drippings. It creates a small “micro-environment” that helps soften the bark just enough to be tender while accelerating the breakdown of the tough connective tissues.
- The “Boat” Method: You aren’t fully submerging them; you are simply protecting the bottom and sides. If you want to keep the bark on top extra crispy, you can leave the top of the pan open or tent it loosely with foil. This ensures the meat gets tender without becoming “pot roast” mushy.
- Efficiency: This move helps you push through the stall faster, ensuring the interior of these massive ribs reaches that “melt-in-your-mouth” state without the exterior drying out into beef jerky.
The Finishing Touch
Once the ribs are in the pan, they go back onto the Big Green Egg. The goal now is to let that internal temperature climb while the fat fully liquefies. You are looking for that magical window between 200°F and 205°F, but more importantly, you are looking for the “feel.”
Braise the Beef Plate Ribs
The Braise: Infusing Extra Succulence
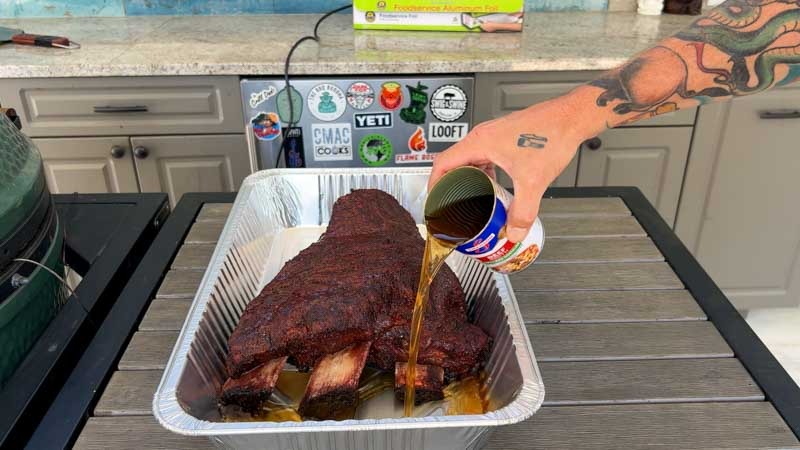
Once the ribs are nestled in the aluminum pan, it’s time for the “secret weapon” that ensures these ribs reach peak tenderness. Take one full can of beef broth and pour it into the bottom of the pan around the ribs.
Why Add Beef Broth?
At 165°F, the meat has taken on all the smoke it needs, and the bark is firmly established. Now, the mission shifts from smoking to tenderizing. Adding the broth serves a dual purpose:
- The Steam Effect: The liquid creates a gentle, savory steam within the pan. This helps break down the stubborn collagen and connective tissue that make plate ribs notoriously tough if not handled correctly.
- Flavor Reinforcement: Using beef broth instead of water or apple juice doubles down on that savory, “umami” profile. It keeps the environment inside the pan rich and salty, ensuring the meat doesn’t lose its “beefiness” during the final stretch of the cook.
How to Pour
Be careful not to pour the broth directly over the top of the ribs. You worked hard to build that beautiful mahogany bark and peppery crust; you don’t want to wash it off! Instead, pour the broth into the corners of the pan so it pools around the bones. This creates a “braising bath” for the bottom of the rack while leaving the seasoned top exposed to keep its texture.
The Finish
With the broth added, you can either leave the pan open for a firmer bark or cover it tightly with heavy-duty aluminum foil to speed up the tenderizing process (the “Texas Crutch”).
Place the pan back onto the Big Green Egg. The liquid will begin to simmer, braising the ribs from the bottom up and turning those drippings into “liquid gold.”
Finish the Beef Plate Ribs
The Final Push: The Braise and the Finish
Now that your ribs are resting in a savory bath of beef broth, it’s time to seal the deal. This stage is where the magic happens, where “beef” becomes “butter.”
Sealing in the Heat
First, re-insert your remote temperature probe into the thickest part of the meat, making sure you aren’t hitting the bone (which can give a false high reading). Once the probe is set, cover the pan tightly with heavy-duty aluminum foil. You want a nice, tight seal to trap the steam. By doing this, you are creating a high-pressure environment that forces the beef broth and the rendering fat to work together, dissolving the tough connective tissue that makes up this massive cut.
Back to the Egg
Place the covered pan back onto the Big Green Egg at your steady 250°F. You’ll want to let them cook like this for approximately another 2 hours.
The Target: 204°F and Beyond
We are aiming for an internal temperature of 204°F. While 145°F is safe for beef, plate ribs need to go much higher to be palatable. At 204°F, the fat has completely liquefied and the collagen has turned into gelatin.
The “Butter” Test: While the thermometer says 204°F, your hand tells the real story. Take your instant-read probe and slide it through the foil into the meat. It should go in and out with absolutely zero resistance.
- If it feels like you’re poking a sponge, they’re ready.
- If you feel any “grip” or tension, seal that foil back up and give them another 15-30 minutes.
The Reward
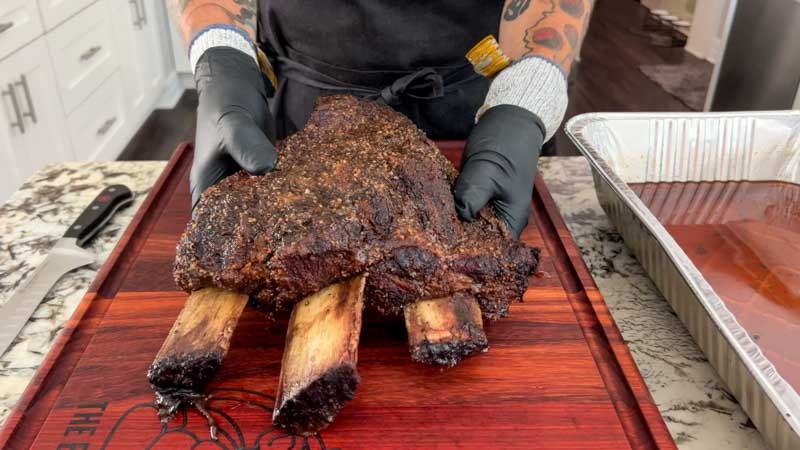
When you finally hit that 204°F mark and the probe slides in like a hot knife through butter, you know you’ve done it. The ribs will have shrunk significantly, the bones will be sticking out like handles, and the meat will be wobbling like jello.
Pitmaster Tip: The Drippings
Don’t you dare throw away the liquid in that pan! Once the ribs are done, that beef broth has combined with rendered wagyu fat and BBQ rub. It is essentially the most flavorful au jus on the planet. Save it for dipping your slices or for the best roast beef sandwiches of your life the next day.

Pull and Rest the Beef Plate Ribs
The Final Test: Probe Tenderness
In the world of BBQ, the thermometer is your guide, but your feel is the final judge. When that timer hits the two-hour mark, or your remote probe reads 204°F, it’s time for the “Butter Test.”
Slide your instant-read thermometer probe through the foil and into the meat. If it feels like there is any “tug” or tension, they aren’t ready yet. You are looking for it to slide in and out with absolutely no resistance… exactly like a hot knife through a stick of room-temperature butter. Once you feel that, you have officially mastered the Dino Rib.
The Most Important Step: The One-Hour Rest
As tempting as it is to rip that foil off and dive in immediately, you must resist. This is a massive, dense muscle that has been under intense heat for 7 to 9 hours.
- Seal it up: Ensure the foil is tightly crimped around the edges of the pan to keep all that steam and moisture inside.
- The Wait: Place the pan on your counter (or in a dry, room-temperature cooler if you need to hold them longer) and let the ribs rest for at least one hour.
Why the rest matters:
During the cook, the internal pressure pushes the juices toward the surface. If you slice the ribs now, those juices will come pouring out onto the cutting board, leaving you with dry meat. During the hour-long rest, the temperature stabilizes, and the muscle fibers relax and reabsorb all that rendered fat and beef broth. This is what gives the meat that glistening, “wet” look when you finally slice it.
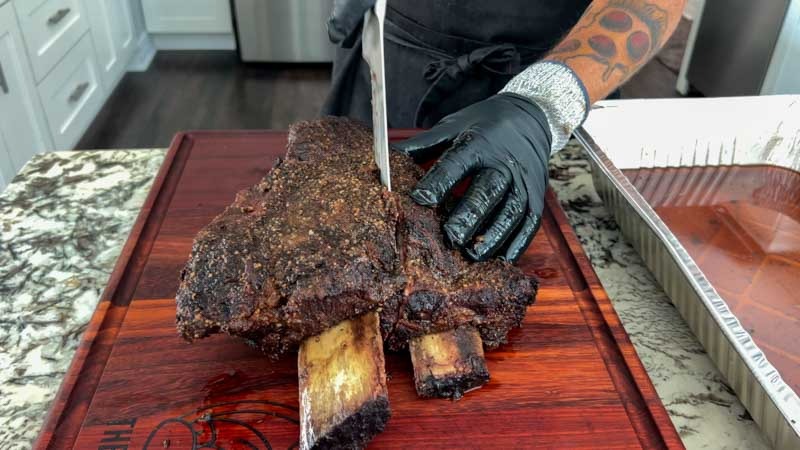
The Grand Reveal: Slicing and Serving
After the hour is up, peel back the foil and prepare for the aroma of a lifetime. The ribs will be dark, wobbly, and incredibly tender.
The Juices: Remember that liquid at the bottom of the pan? Pour it into a small bowl and serve it on the side as an au jus. Dipping a slice of that crusty bark back into the rendered fat and broth is an experience your guests won’t soon forget.
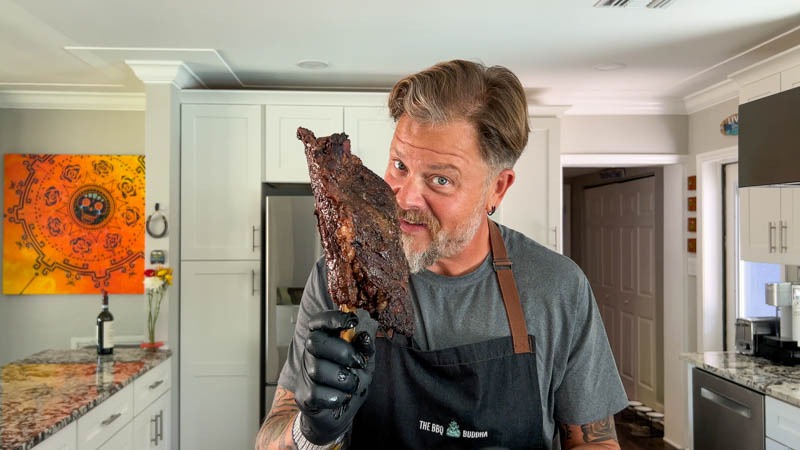
How to Slice: Move the rack to a large cutting board. Following the line of the bones, slice down through the meat to separate the rack into individual “Dino Ribs.”
The Presentation: Because these ribs are so rich, one bone is usually enough to feed two people—unless you’re feeling particularly ambitious!

Print
Big Green Egg Smoked Beef Plate Ribs
This recipe for Big Green Egg Smoked Beef Plate Ribs shows you how to make amazing dino ribs every time!
Course BBQ
Cuisine American
Keyword Beef Ribs, Big Green Egg, Dizzy Pig BBQ, Smoked, Snake River Farms, Texas BBQ, Wagyu
Prep Time 20 minutes minutes
Cook Time 5 hours hours
Resting time 1 hour hour
Total Time 6 hours hours 20 minutes minutes
Servings 4 people
- 6 pounds Beef plate ribs
- Hot sauce
- Kosher Salt
- Dizzy Pig Cow Lick Rub
- 1 can Beef broth
Preheat your Big Green Egg setup for indirect cooking to 250°F. Use 3-4 chunks of smoking wood like Hickory.
Trim the top fat layer of the beef ribs exposing the meat below. Leave the membrane intact on the rib side of the rack.
Slather a small amount of hot sauce on the ribs. Season generously with kosher salt then with the Dizzy Pig Cow Lick rub.
When the Big Green Egg is ready, place the seasoned rack of ribs inside bone side down.
Let the ribs smoke for 3 hours spritzing with water (as needed) every hour until the internal temperature of the ribs reaches 165°F.
Pull the ribs out of the Big Green Egg and place in a large aluminum pan with 1 can of beef broth. Cover the pan with a sheet of foil and seal tightly. Place the pan back in the Big Green Egg and cook another 2 hours or until the internal temperature reaches 204°F.
When the ribs reach 204°F and the temperature probe slides in and out of the meat with little to no resistance, reseal the pan so the ribs are wrapped, pull the pan from the Big Green Egg, and rest for an hour.
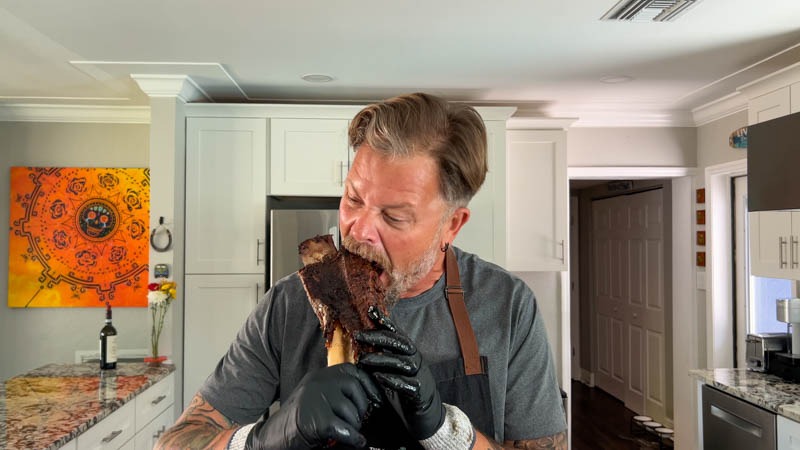
After resting move the ribs to a cutting board and slice between the bones. Now enjoy your smoked brisket on a stick!
The post Big Green Egg Smoked Beef Plate Ribs appeared first on The BBQ Buddha.
